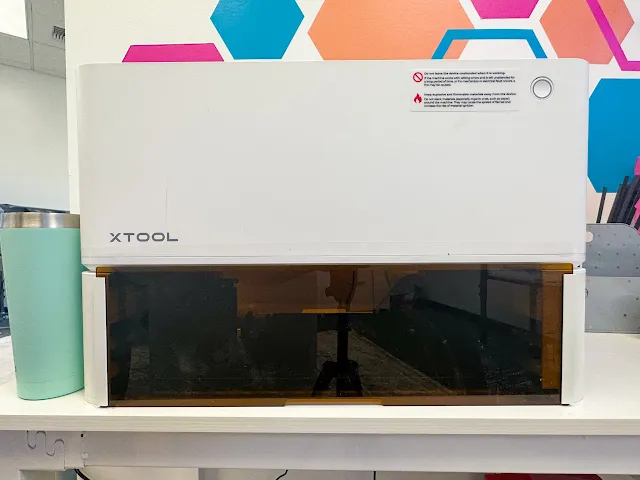
If you're new to laser engraving tumbler, I have a bunch of tips today to make your first laser engraved tumbler go as successful as possible.
You can engrave stainless steel tumblers with all of the xTool lasers, but I prefer to use my xTool P2 CO2 laser since it just engraves so fast! Read on for my best tips.
1. Add Height to Your Laser
The 55w CO2 xTool P2 laser and xTool S1 diode laser both require the riser base to use the rotary.
The xTool M1 can use the riser or the feet. The open frame xTool D1 laser requires the feet to lift the laser. The portable xTool F1 laser does not require any type of riser or feet.
2. Use the Chuck Rotary
You can use the chuck rotary and position the arms inside the tumbler or on the outside. Use the little balancing piece to balance the bottom end of the tumbler.
3. Design Squished or Distorted?
If the laser engraved image is distorted or squished, the dimensions or measurements entered into xTool Creative Space are either wrong OR the rotary chuck is not turning.
Check the connection between the xTool laser and the rotary. If the connection is not snug or if the wire is damaged the rotary won't turn and then the engraving will be distorted which i what happened in this example.
4. Practice Makes Perfect
Get a practice tumbler and find the best settings by running a test grid to determine the best combination of power and speed for the tumbler you're engraving. Different laser engrave differently and different color stainless steel tumblers require different combinations of settings.
5. Aligning Your Image
Place the image you're engraving at the 0 position on the Y axis. This will ensure it's always engraving at the top or highest point of your tumbler.
6. Start Simple
Your first tumbler engraving should be something simple. When I say something simple I mean a single, one-sided design on a straight tumbler that does not have a handle.
Laser engraving tumblers with handles with a full wrap design is NOT FOR BEGINNERS!!!
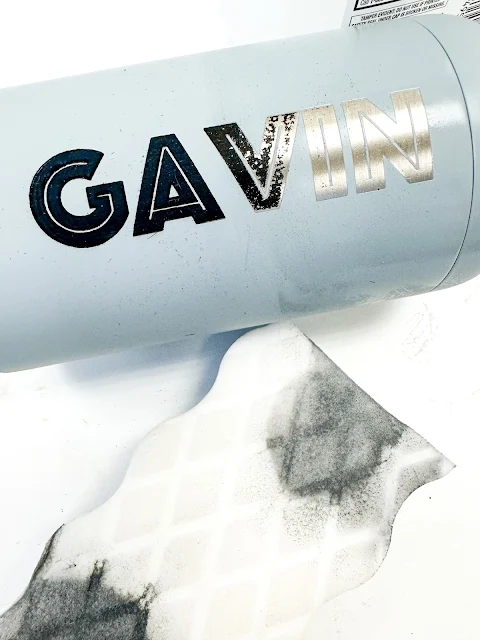
7. Clean Your Laser Engraving
Once you've laser engraved your tumbler, clean it up to make it shine by using a magic eraser.


%20copy.png)


.png)


No comments
Thanks for leaving a comment! We get several hundred comments a day. While we appreciate every single one of them it's nearly impossible to respond back to all of them, all the time. So... if you could help me by treating these comments like a forum where readers help readers.
In addition, don't forget to look for specific answers by using the Search Box on the blog. If you're still not having any luck, feel free to email me with your question.