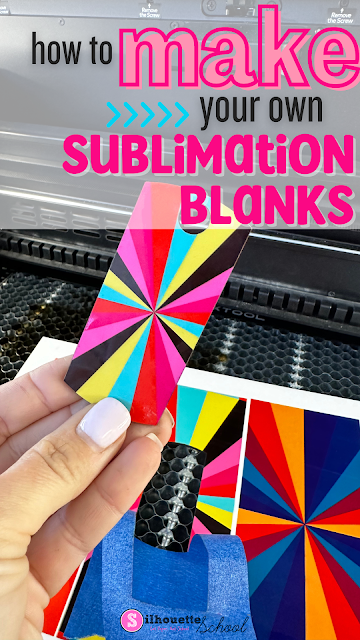
You can make your own sublimation blanks which will not only save you money, but also give you creative freedom.
Cutting full sheets of MDF sublimation hardboard into custom shapes means you can match your sublimation blanks to your designs. Read on for how to make your own sublimation blanks.
Saving Money By Making Your Own Sublimation Blanks
Sublimation hardboard can be laser cut allowing you to create your own sublimation blanks at home for earrings, ornaments, keychains, tumbler toppers, picture frames, signs, and even puzzles.
I found a 12 pack of 12x12" sublimation hardboard sheets on Amazon for $47.69. When you divide that by 12, each sheet is $3.97.
You can fit 15 3" round circles, for ornaments, on a 12" sheet. Your cost on each circle would be just 26 cents. This is just an example to show you how low you can get the price per blank when you buy hardboard in bulk and then laser cut them yourself.
Now you can buy standard round sublimation blanks many places online, but the real advantage of being able to make your own sublimation blanks is you can do ANY shape or size giving you a huge advantage in your customization business. If you were to purchase custom cut sublimation blanks, the price would be much higher than 26 cents.
How Do You Make Your Own Sublimation Blanks?
I use my 10w xTool M1, 40w xTool S1 or CO2 xTool P2 to laser cut hardboard. You can literally cut any shape you want out and you can either sublimate on the hardboard before or after cutting. In the few examples you'll see below, I printed sublimation prints on my Sawgrass SG1000 and sublimated directly onto the hardboard before cutting.
Whether you sublimate before or after you laser, be sure to peeling off the film on the hardboard and use painters tape to mask the hardboard. Masking with tape gives the best result as it prevents the edges of the white hardboard from getting stained with soot while laser cutting.
Lay the full sheet (or use your laser to cut smaller sheets) in the xTool laser. If you're using the xTool S1 use the honeycomb tray and place the sheet in from the top.
If you have a larger piece of hardboard, like a standard size 15x18", you can use xTool P2 but you'll need the riser and honeycomb tray.
You'll need to remove the grates and open the front panel to drop the tray down one or two levels then slide the sublimation sheet in on top of the honeycomb tray. A 15x18" piece will not fit into the P2 from the top.
In xTool Creative Space refresh the camera view if you have a camera (P2) and then position your laser cut files over the hardboard.
The best laser cut settings for sublimation hardboard is:
xTool P2: Power 100, Speed 10, 1 Pass
xTool S1 40W: Power 80, Speed 10, 2 Passes
xTool M1 10W: Power 100, Speed 4, 2 Passes
When the laser cutting is complete, peel off the tape and use a magic eraser to clean up the edges,
I've used this method to make sublimation blanks for keychains, tumbler toppers, and puzzles.


.png)


No comments
Thanks for leaving a comment! We get several hundred comments a day. While we appreciate every single one of them it's nearly impossible to respond back to all of them, all the time. So... if you could help me by treating these comments like a forum where readers help readers.
In addition, don't forget to look for specific answers by using the Search Box on the blog. If you're still not having any luck, feel free to email me with your question.