You can easily design custom location graphics if you know a few little tricks including the best font..and how to curve text.
The custom location hoodies are super popular right now and they're super easy to make. Read on for how to design in Silhouette Studio.
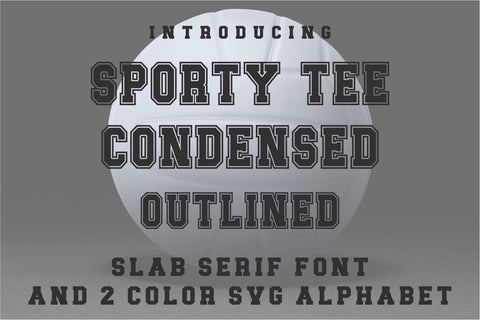
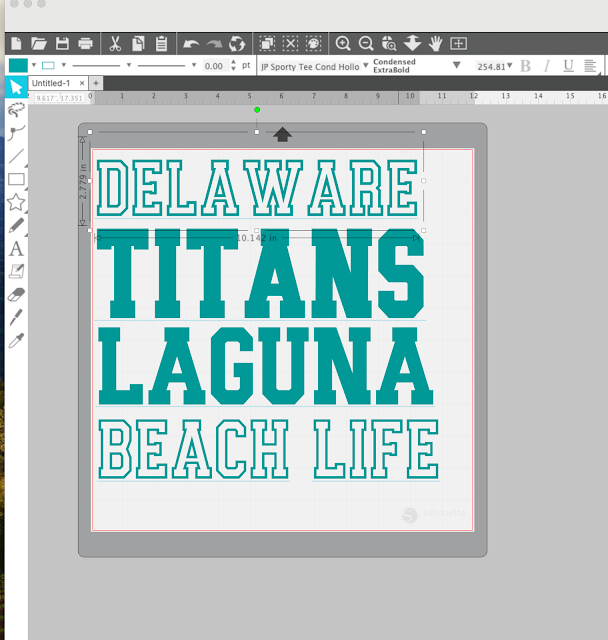
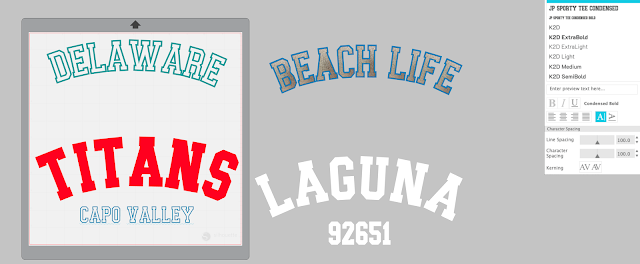
You can of course use whatever font you want to make custom location designs, but a sporty type font like JP Sporty Tee Condensed or Sporty Tee Condensed Hollow are perfect.
How to Install New Fonts in Silhouette Studio
Start by downloading and installing the font on your computer and then re-start Silhouette Studio so that the font shows up in your Text Style panel.
You can use Silhouette Studio to design even without having a Silhouette cutting machine. The software is very powerful and while it's free to download and use, in order to export as an SVG you will need the one time $50 upgrade for Business Edition.
Click the Text tool on the left sidebar to start a new text box and then type out your font.
You can select the font you want to use by opening the Text Style panel from the right sidebar.
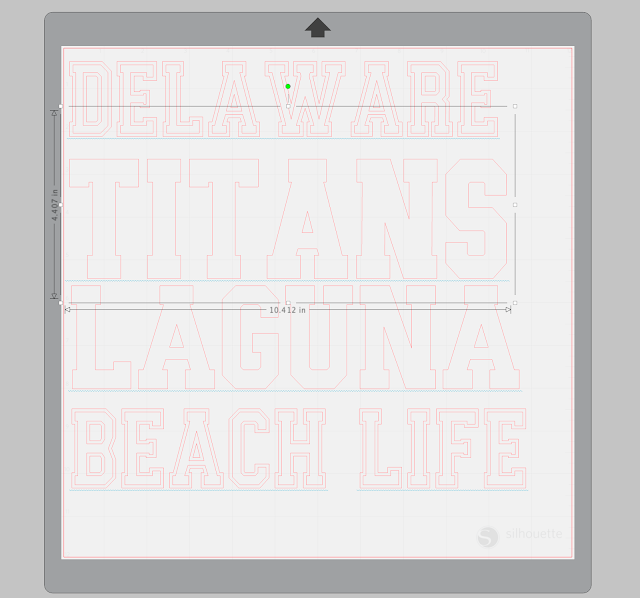
Measure the surface where the location graphic is going to go. Usually these are pretty big and straight across the chest of an oversized hoodie, but again it's totally up to you. I'm making mine about 10" wide.
How to Curve Text in Silhouette Studio
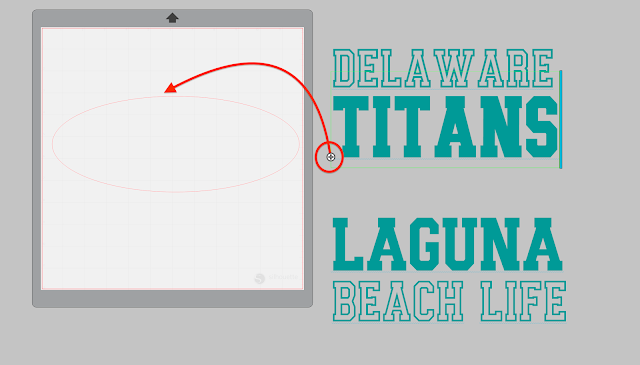
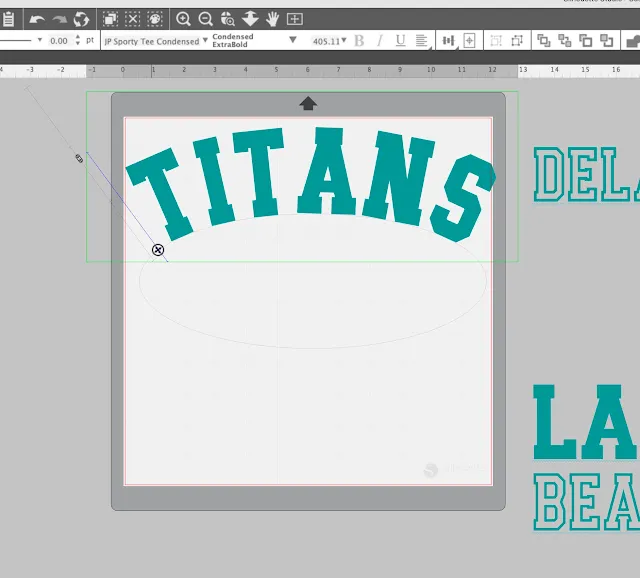
To curve the text, click the Draw an Ellipse tool on the left sidebar and use your mouse to draw out a long horizontal oval.
The oval should be about the same length as your text.
To curve the text you need to drop it along the top of the circle. To do that, double click the text and grab the little bullseye circle in the bottom left corner. Drag it onto the top of the oval until it snaps in place and curves the text.
If you need to adjust the distance between the letters you can do that by moving the Character Spacing bar on the Text Style panel.
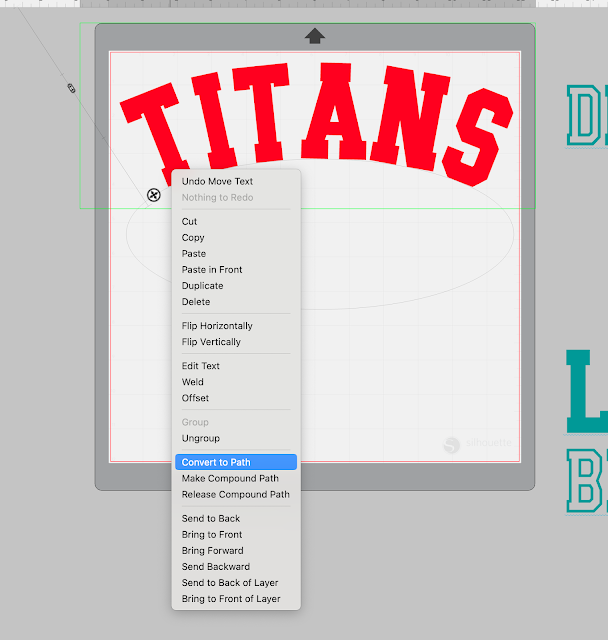
When you have it like you want it, right click and click "Convert to Path".
This will freeze the text in this position so you can move it off the oval. Keep in mind though the text will now be convert to a path or a shape and can no longer be edited as text.
If you want to further customize the curved location graphic, you could use the same font, or one in the same family to add something like the school, the zip code, or the state below.
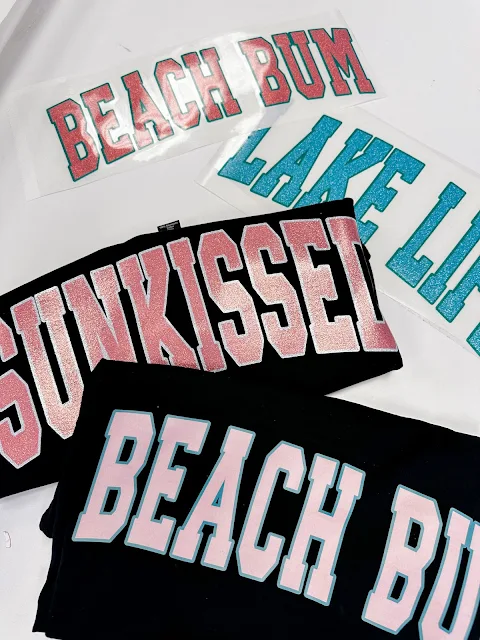
Now that you have the curved location designs you can cut or print them as needed! With your Silhouette CAMEO you could cut these on smooth, glitter or even patterned HTV.
Another option is to export the designs an SVG or PNG and use to print and cut glitter transfers on a Roland BN2-20A or even print them or have them printed as DTF transfers.







.png)


No comments
Thanks for leaving a comment! We get several hundred comments a day. While we appreciate every single one of them it's nearly impossible to respond back to all of them, all the time. So... if you could help me by treating these comments like a forum where readers help readers.
In addition, don't forget to look for specific answers by using the Search Box on the blog. If you're still not having any luck, feel free to email me with your question.