This retro look is all the rage right now so read on for the step by step details on how to make retro wavy text in Silhouette Studio.
How to Create Text Boxes in Silhouette Studio
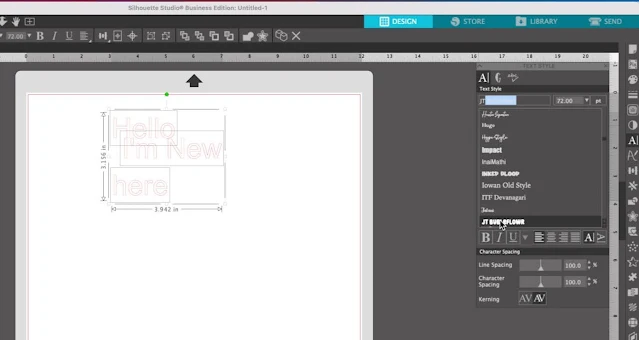
You'll want to make each line of text a separate text box.
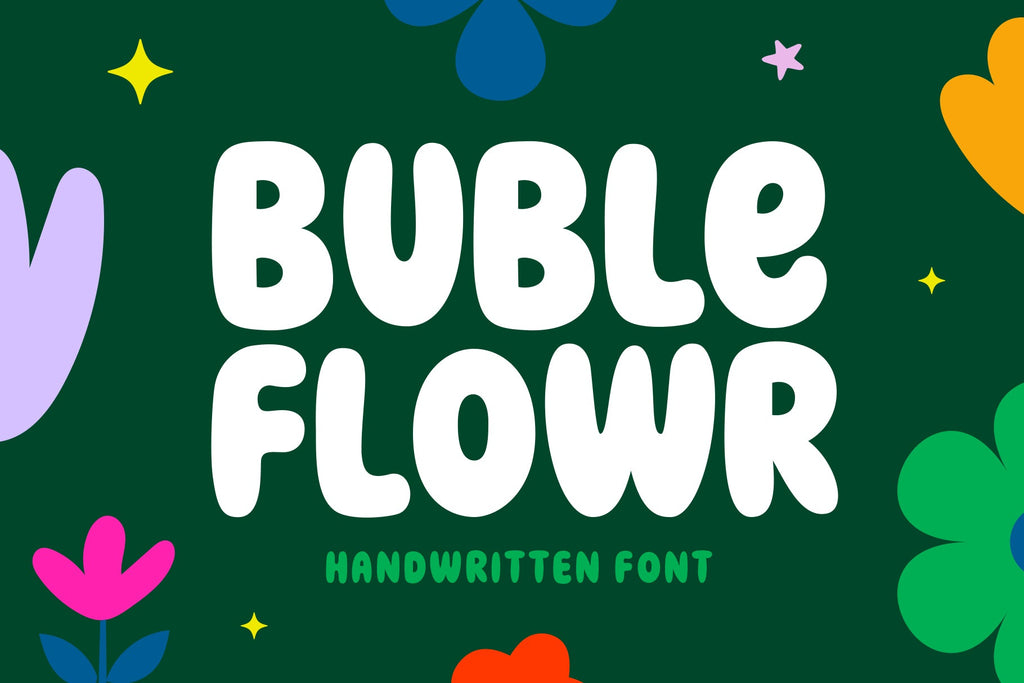
In the Text Style box choose your font. I'm using the JT Buble Flowr font from So Fontsy.
Remember, to add new fonts to Silhouette Studio, the font will need to be downloaded and installed on your computer, and Silhouette Studio re-started for fonts to show up in the Text Style panel.
Once you'e picked your font, size each line of text and use the align tool to justify it how you want.
Filling Text and Designs with Color in Silhouette Studio
Then to get a better visual of the finished design, you can fill the text with colors using the Fill Color tool. I also prefer to change the line color to transparent.
How to Make Wavy Text in Silhouette Studio
Now you're ready to warp the text.
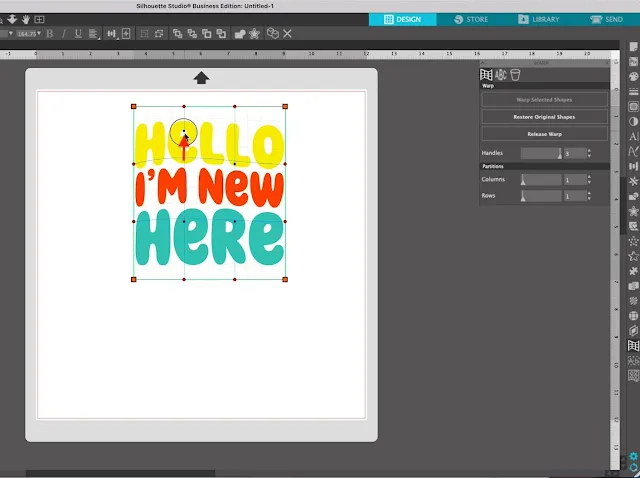
Select all three text boxes and click the Warp tool from the right side menu.
Select the option to "Warp Selected Shapes."
Use your mouse to grab the internal anchors and start moving them up and down to get the retro wavy look.
Change each of the four internal anchors dragging the two on the left up and the two on the right down.
The further you move them the more dramatic the wavy text will be.
Once you're happy with the wavy-ness of the design, click "Release Warp."
At this point your text is no longer text, but instead a path or shape. Each letter has been ungrouped so select all of the same-color letters and group them all together.
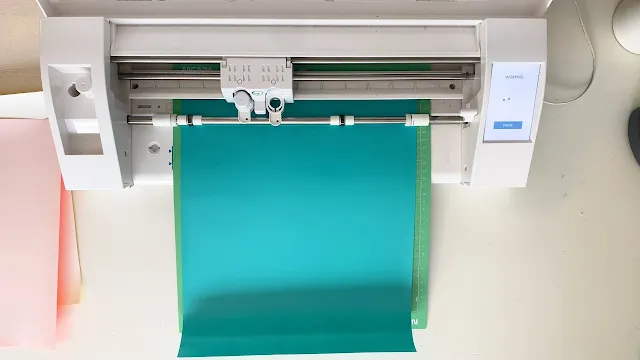
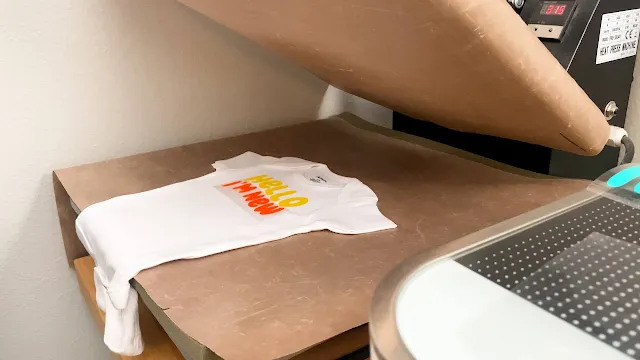
Now you can size your design. Since this was going on a baby bodysuit, I size it down to about 4" wide. Mirror the image to cut on HTV and then send each color to cut.
Weed and press each layer separately.
You're all set with an adorable retro wavy text!








.png)


No comments
Thanks for leaving a comment! We get several hundred comments a day. While we appreciate every single one of them it's nearly impossible to respond back to all of them, all the time. So... if you could help me by treating these comments like a forum where readers help readers.
In addition, don't forget to look for specific answers by using the Search Box on the blog. If you're still not having any luck, feel free to email me with your question.