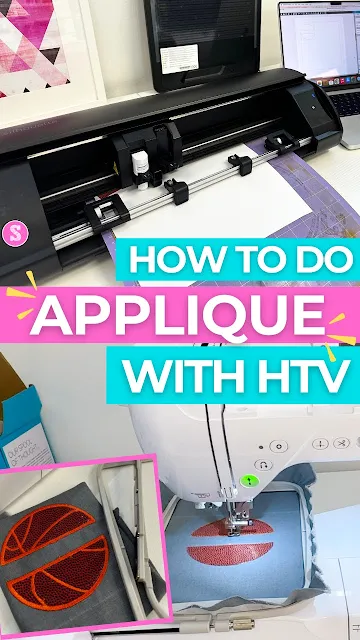
You can do applique with HTV to give a different look than fabric!
There are two different ways to do applique with HTV. There's the tear away method and then the more traditional method that's similar to how you would do fabric applique where the fabric is cut first.
In this tutorial I'll show you how to do applique with HTV where the vinyl is pre cut with a Silhouette CAMEO.
Before you start, make sure you have Silhouette Studio Designer Edition Plus or higher so you can open embroidery files. The placement stitch line is what you will use as the cut file.
It's very important to make sure you use the exact same file in both Silhouette Studio and your embroidery machine so the sizing is exact. I'm working with my 5x7" Brother SE2000 embroidery and sewing machine.
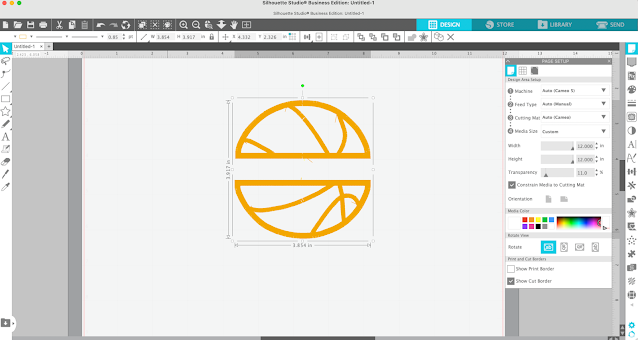
Start by opening the PES File in Silhouette Studio.
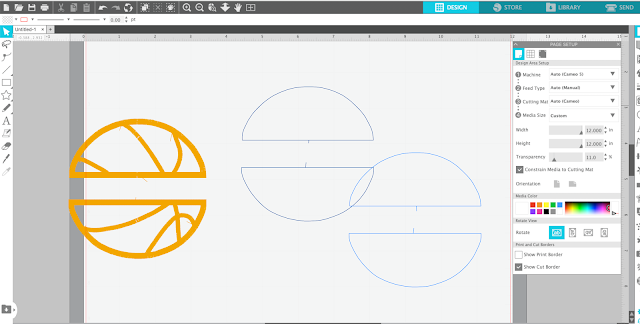
Use your mouse to separate the file.
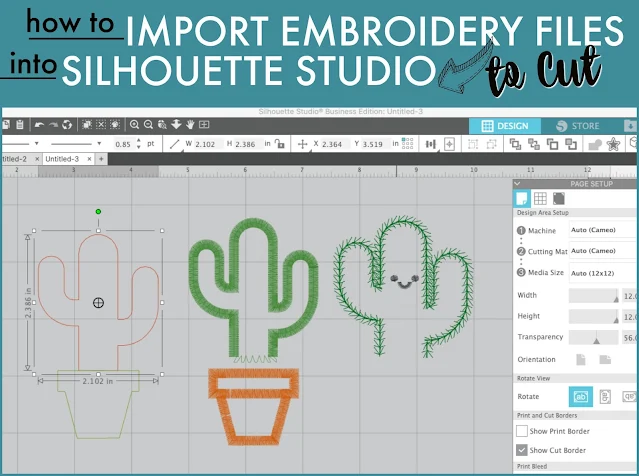
There should be three parts of the file. If you need a refresher for how to import and separate PES files in Silhouette Studio, check out this beginner tutorial.
Once you have your placement stitch separated, delete the tackdown stitch line and the satin stitch line from Silhouette Studio.
OPTIONAL: Select the remaining cut line (originally the placement stitch) and make a small offset around it. The reason this is important is it will make the HTV applique just slightly bigger than the tackdown stitch so it catches.
Select the design in Silhouette Studio > right click > flip horizontally.
How to Cut HTV for Applique Embroidery
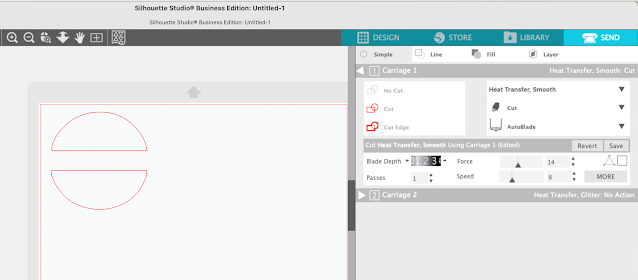
Move to the Send panel and change the material to Heat Transfer Vinyl, Smooth.
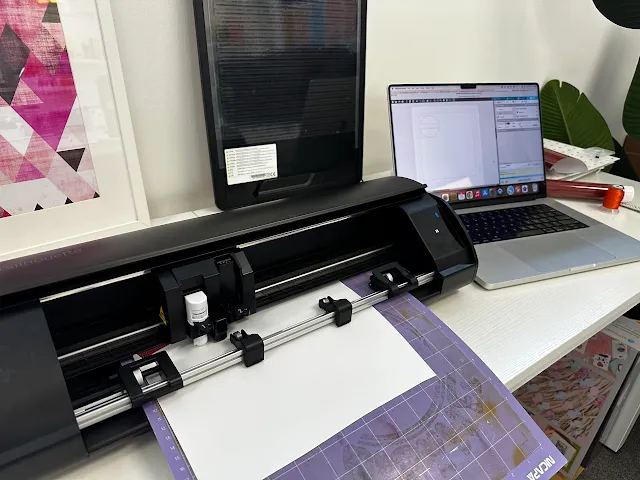
Place a piece of HTV on the Silhouette cutting mat. I'm using basketball pattern HTV.
Load the cutting mat into the Silhouette CAMEO, I'm using the CAMEO 5 here and send to cut.
Weed away the excess HTV and leave the cut HTV on the clear transfer sheet.
How to Machine Applique Embroider with HTV
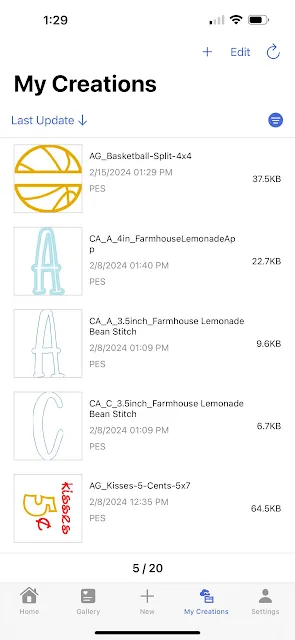
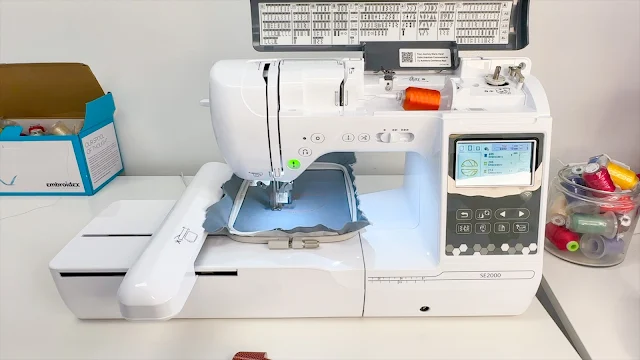
Now it's time to move to the embroidery machine. My Brother SE2000 is a computerized embroidery machine that can use the Artspira Brother App.From my computer, I airdropped the same exact same 4x4" split basketball embroidery PES file to my phone.
I can easily import the file into the Artrspira app to transfer to the embroidery machine with the click of a button. This tutorial will show you step by step how to transfer embroidery files from the Artspira app to a Brother embroidery machine.
Once the file is transferred it will show up on the touch screen of the embroidery machine. Click the thumbnail of the image and then click Set to get ready to embroidery.
Prep the fabric by pressing a piece of stabilizer on the back. For your first applique with HTV I would suggest hooping a scrap piece of fabric so you don't also have to worry about centering or positioning your design too.
Hoop your fabric and thread the machine then get ready to stitch.
How to do Applique with HTV
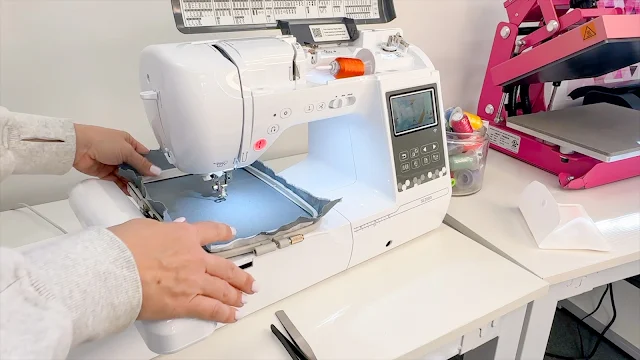
The screen of the Brother SE2000 will tell you exactly which part of the design is going to stitch next and it will pause between stitches allowing you to remove the hoop if needed.
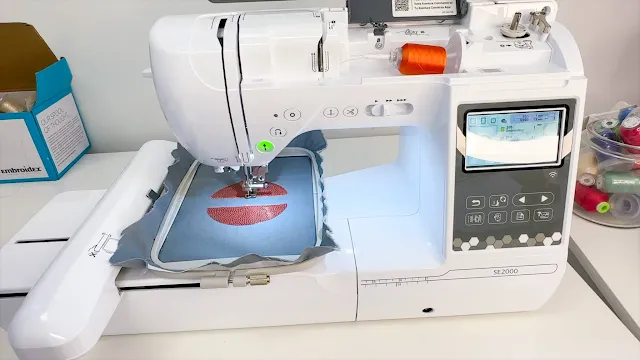
Stitch out the placement stitch first by pressing the green button on the front of the machine.
Once they are stitched, raise the presser foot and remove the hoop from the machine, but do not remove the fabric.
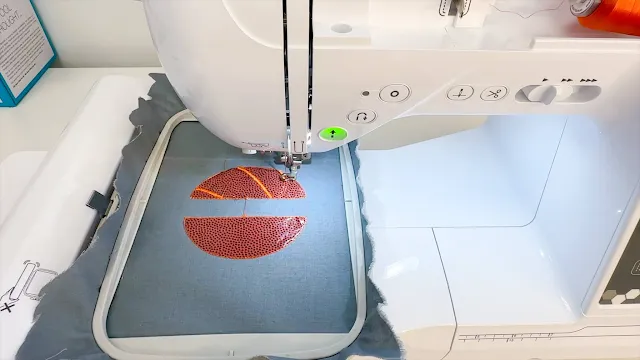
You'll now know exactly where to place your HTV. You don't have to fully apply the HTV to the fabric, you can just lay it on top, but I find it tends to curl a little so I like to use a Cricut Easypress to apply the HTV to the fabric and remove the transfer sheet.
Now return the hoop to the machine and this time proceed by stitching out the tack down stitch.
Finally stitch out the satin stitch. This stitch should catch the edge of the HTV.
Congrats! You just completed your first machine applique embroidery project with HTV and the Brother SE2000!
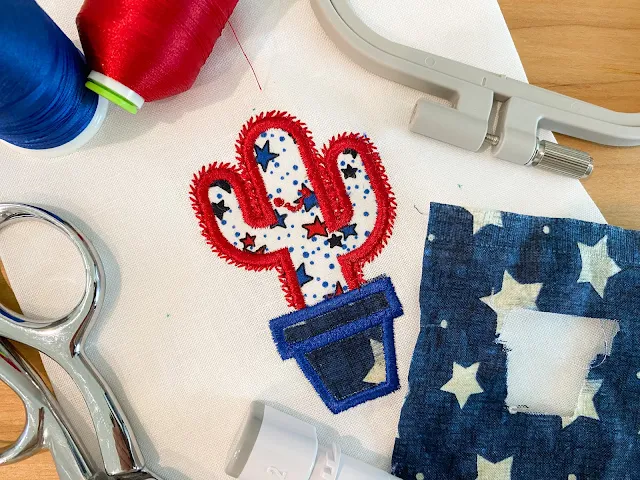
You can do fabric applique the same way with your embroidery machine, even having your Silhouette CAMEO cut the fabric. This tutorial will show you how to cut fabric with the CAMEO rotary blade.
Note: This post may contain affiliate links. By clicking on them and purchasing products through my links, I receive a small commission. That's what helps fund Silhouette School so I can keep buying new Silhouette-related products to show you how to get the most out of your machine!
Note: This post may contain affiliate links. By clicking on them and purchasing products through my links, I receive a small commission. That's what helps fund Silhouette School so I can keep buying new Silhouette-related products to show you how to get the most out of your machine!
Note: This post may contain affiliate links. By clicking on them and purchasing products through my links, I receive a small commission. That's what helps fund Silhouette School so I can keep buying new Silhouette-related products to show you how to get the most out of your machine!
Get Silhouette School lessons delivered to your email inbox! Select Once Daily or Weekly.










.png)


No comments
Thanks for leaving a comment! We get several hundred comments a day. While we appreciate every single one of them it's nearly impossible to respond back to all of them, all the time. So... if you could help me by treating these comments like a forum where readers help readers.
In addition, don't forget to look for specific answers by using the Search Box on the blog. If you're still not having any luck, feel free to email me with your question.