It can be a struggle to get bold colors when you're doing sublimation on glass but I have a trick for you today that will make your transfers darker!
Because clear glass is transparent and sublimation ink is not opaque the image is often difficult to see your sublimation on glass cans. But with the best kept secret in sublimation you'll get darker transfers for your glasses so read on!
Most people think adjusting the settings is what you want to do to get a darker, more saturated print for sublimation. But...look at the side by side of these prints here. They were actually printed on my Sawgrass SG1000 sublimation printer with the exact same settings.
It's clear one sublimation wrap printed darker and that means it should also transfer darker on the glass. This is particularly important if your image has light or pastel colors. Black will sublimate fine without this trick usually - it's the light colors that we're really trying to improve.
The trick is to send the print through twice when printing on clear glass.
Here's how I do this.
First make sure you have a piece of sublimation transfer paper in your printer. I'm using the Swing ProSub transfer paper.
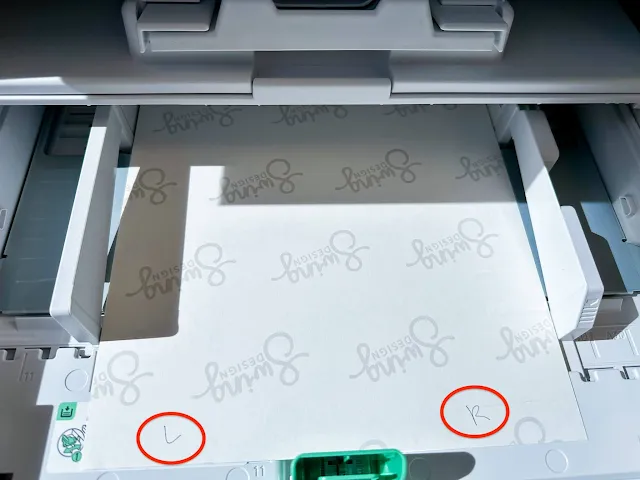
Open the print tray and on the back side of the paper, mark the right and left side. I just put a little L and R on the back side edge that's closest to me.
Now it's time to print. This Easter glass can wrap is from So Fontsy. I just downloaded and unzipped and because it's already sized so I didn't even open the file in any type of design software.
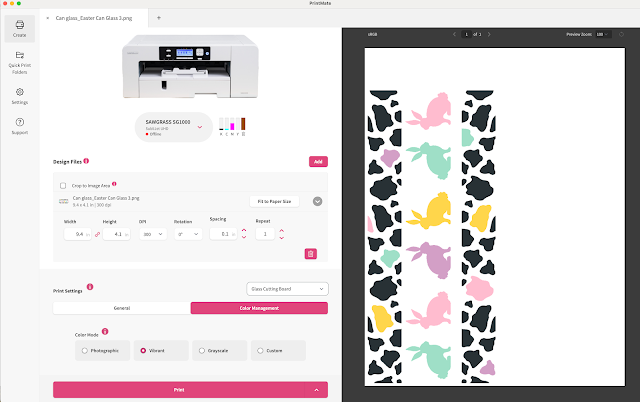
Open Sawgrass Print Mate and select the Create tab.
Then drag and drop or upload the sublimation image. Make all of your print setting adjustments in the print manager.
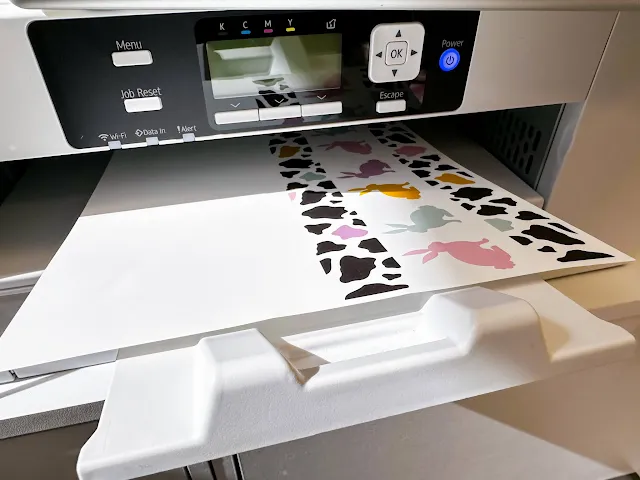
Then click Print and the image will print.
Take the printed sheet and put it back into the sublimation printer tray. Make sure the left and right marks are in the exact same position.
Now send the image to print again from Sawgrass Print Mate or whatever sublimation print manager you're using.
You've now doubled the amount of ink on the print.
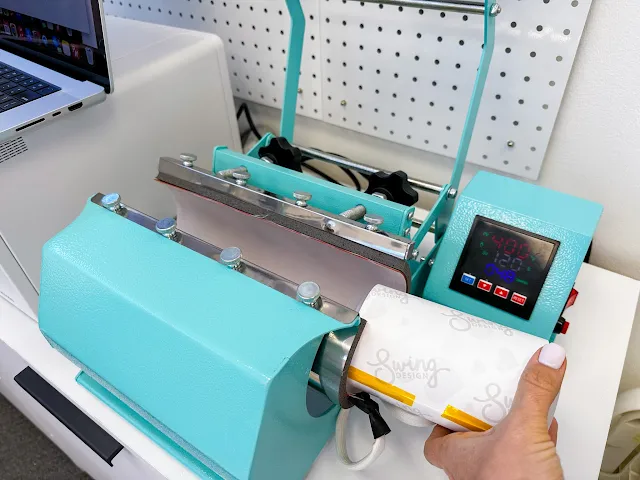
I use a tumbler press to do sublimation on glass cans at 400 degrees for 120 seconds, rotate 108 degrees and then press for another 120 seconds.
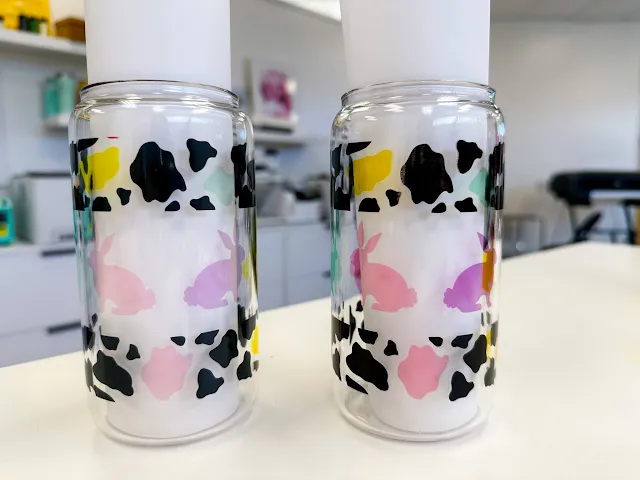
Look at the difference in glass cans sublimated with the double print on the right and the transfer that was printed with just a single pass on the left.
As I mentioned, it's always challenging to see sublimation on glass cans, but when the glass is filled it becomes much more obvious and because of the double print, it's really obvious how much the double print helps!
If you're a fan of the frosted sublimation glass cans, those don't require the double print because they're not nearly as transparent as the clear glass. You can find a full tutorial on how to make a full sublimation wrap on glass cans here.


.png)






.png)


No comments
Thanks for leaving a comment! We get several hundred comments a day. While we appreciate every single one of them it's nearly impossible to respond back to all of them, all the time. So... if you could help me by treating these comments like a forum where readers help readers.
In addition, don't forget to look for specific answers by using the Search Box on the blog. If you're still not having any luck, feel free to email me with your question.