Sublimation drinkware never seems to be off trend so in this tutorial I'm going to show you how to make a sublimation tumbler wrap for glass cans.
Follow along for the step by step tutorial on sublimating glass cans including tips on getting the most vibrant colors!
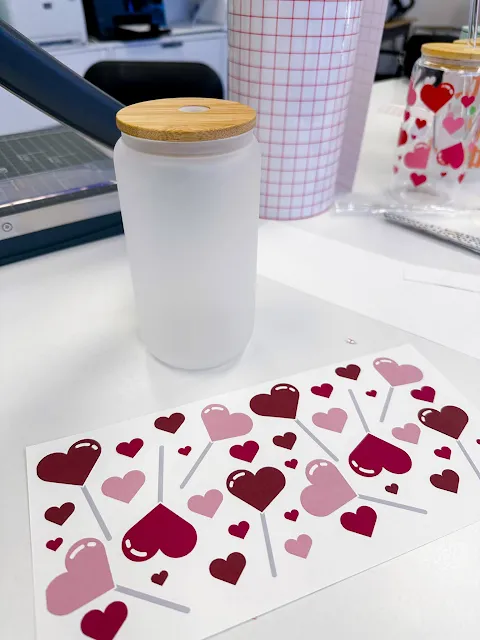
You can start by designing or downloading a sublimation tumbler wrap. I'm using one of the free wrap template wraps currently available to So Fontsy Enterprise VIP members.
What you want to look for in a sublimation tumbler wrap, when sublimating on glass, is a design that has bold and bright colors. Pastels and light colors like yellow will not show up well on glass. They will, however, show up better on frosted glass than clear.
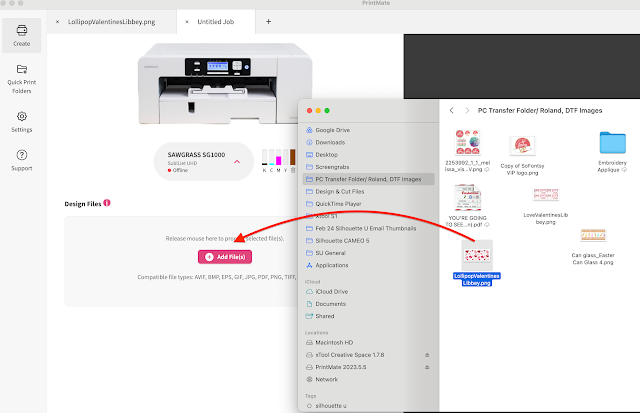
Because the wrap I'm using is already designed and sized perfectly, I don't even need to open it in any type of software. I can just unzip the file and open it directly in Sawgrass Print Mate.
Launch Sawgrass Print Mate and click the Create Tab. Then drag and drop the PNG file into the files area.
A preview of the file will appear in Print Mate and you can then select your settings.
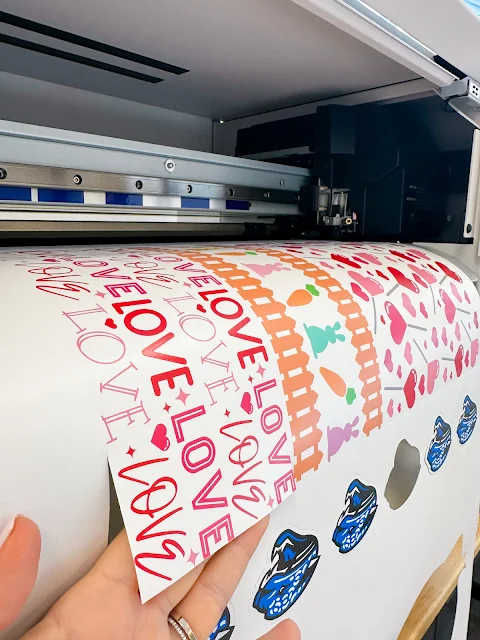
When you're ready, send the file to print. I printed on the Swing Design's ProSub sublimation paper which I always find has the most vibrant colors and ranked best in a test of half a dozen sublimation transfer papers.
Set Up Your Tumbler Press
Using a tumbler press will allow you to press the entire length of the glass can in a single press. I'm using my 7 in 1 tumbler press with the 30 oz tumbler attachment. If you only have a mug press, you can use that as well. This tutorial will show you how to press a tumbler or glass can with a mug press.
Before you wrap the template around the glass can or turn the tumbler press on, make sure your mug or tumbler press has the right pressure. You want to make sure it closes relatively easily, but still a snug fit. Using medium pressure like this will avoid the sublimation transfer paper wrinkling while also providing good pressure.
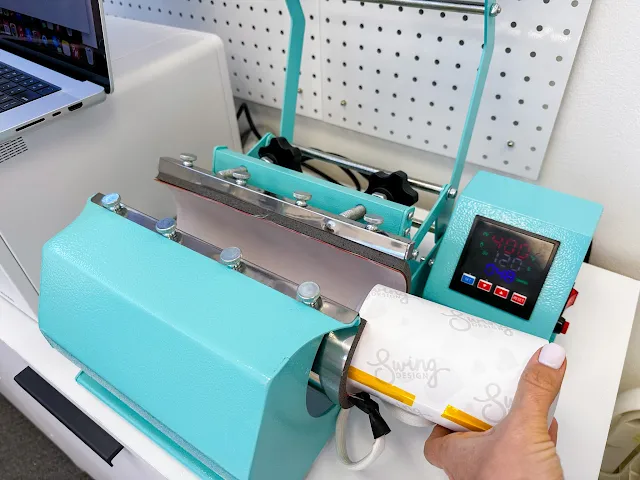
Set to 400 degrees for 120 seconds while you work to wrap the transfer on the glass can.
How to Wrap a Glass Can for Sublimation
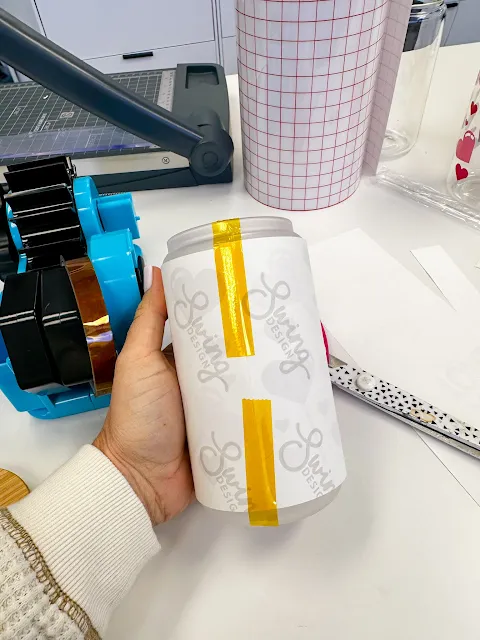
When you're ready to wrap the template around the glass can, cut away the excess paper and grab some high temperature tape. Ideally it should be cut so that no paper hanging off the edge or wrapping around the curve at the bottom.
Wrap the sublimation wrap template around the glass can so it meets in the middle. I try to only tape down the middle seam and I try to make sure the tape isn't covering any parts of the design if I can help it.
Place the glass can into tumbler press so the middle seam and tape is either facing directly toward you or directly away - but not at the top or bottom.
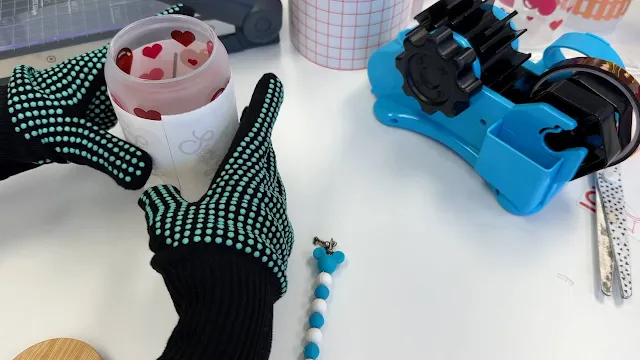
Close the press and wait the 120 seconds. When the timer goes off, used a gloved hand to rotate the can 180 degrees and then press again for another 120 seconds.
When the time is up carefully remove the tape and wrap.
Be careful the glass will be really hot.
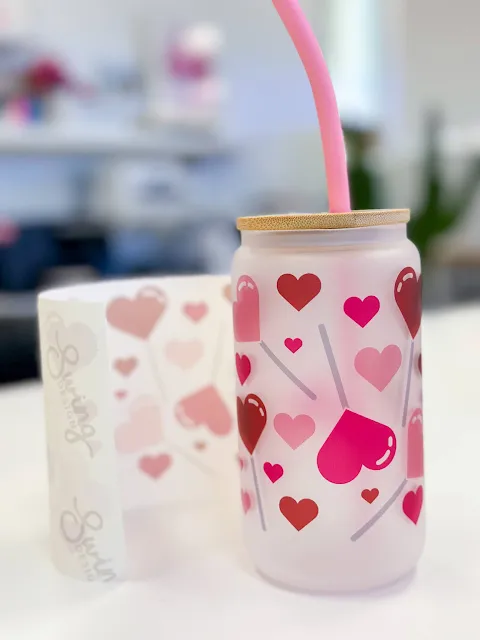
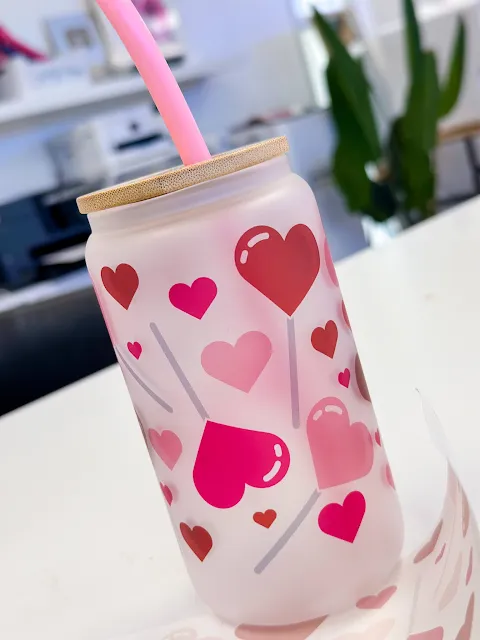
I love how this turned out with a sublimation wrap!
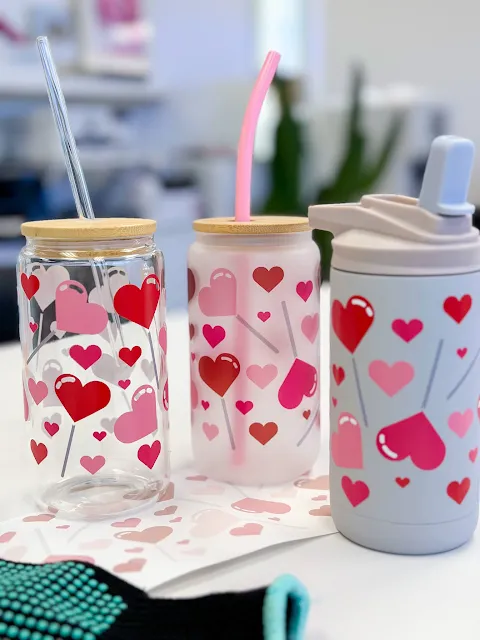
The vinyl wrap came out equally as cute on a clear glass can and stainless steel water bottle.






.png)


No comments
Thanks for leaving a comment! We get several hundred comments a day. While we appreciate every single one of them it's nearly impossible to respond back to all of them, all the time. So... if you could help me by treating these comments like a forum where readers help readers.
In addition, don't forget to look for specific answers by using the Search Box on the blog. If you're still not having any luck, feel free to email me with your question.