If you're a crafter that likes to dabble in a lot of different material and mediums...the hybrid xTool M1 is a great option. Read on to learn how to cut vinyl with the M1.
Along with a laser that can cut and engrave wood, leather, stainless steel and more, the xTool M1 also includes a cutting blade for paper, vinyl, stickers, and HTV.
It's housed to the right of the laser on the same module. If you haven't already installed the cutting blade, be sure to do so.
The xTool M1 can cut sheets of vinyl, HTV and paper and includes cutting mats to do so. You can use the pink or blue cutting mat. The adhesive level varies on each with the blue being light grip and the pink being regular.
The cutting mats are double sided and each side has a cover sheet.
The blank side is the bottom of the mat. Depending on how your M1 is set up, the bottom of the cutting mat either sticks to the inner base tray or the honeycomb tray. This keeps the mat in place while cutting.
The gridded side is the top and it's the side where the material goes. It keeps the material in place while cutting.
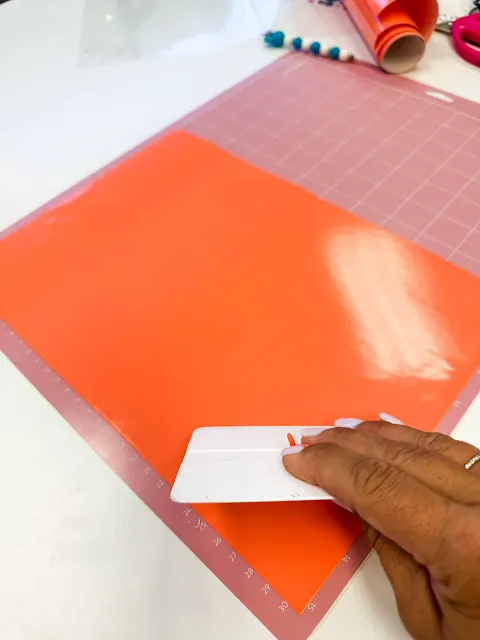
When you lay the vinyl down onto the mat, make sure the vinyl doesn't have any bumps or wrinkles in it.
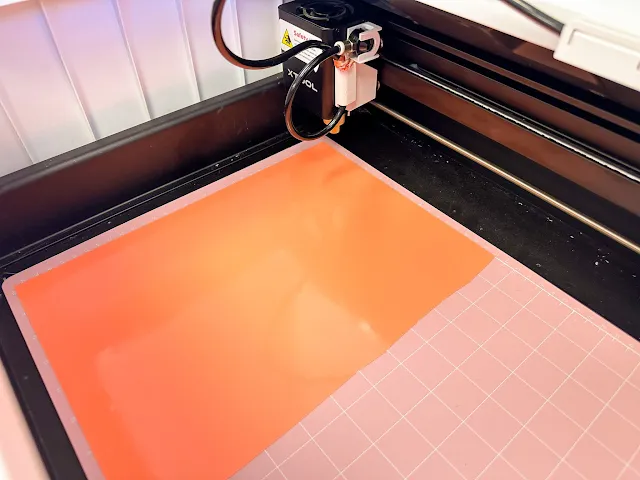
With the M1 powered on, place the mat with the material into the laser bed and close the lid.
Launch xTool Creative Space and make sure the M1 is connected. Click Refresh if needed to get the updated camera view.
Go to File > Import Image and open the design. You can open a PNG or SVG. I get all my designs and fonts from So Fontsy.
I like to do all of my designing for the laser in Silhouette Studio still so the only things I need to do after I import into in XCS is scale and position the design.
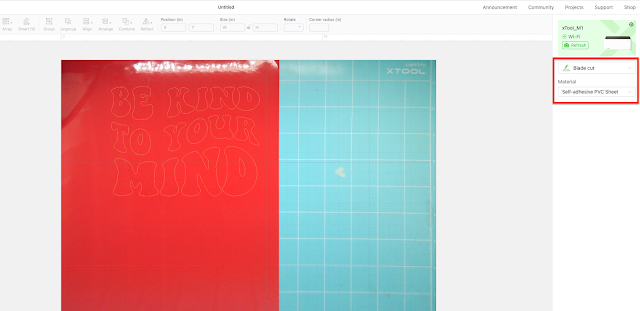
With the design de-selected, change the type of processing to "Blade Cut" and then select the type of material from the dropdown list.
When you're ready, click Start and then hit the start button on the front of the machine. The blade will begin cutting the vinyl.
When you're done you can weed away the excess and then use transfer tape to pick up the vinyl decal to apply.
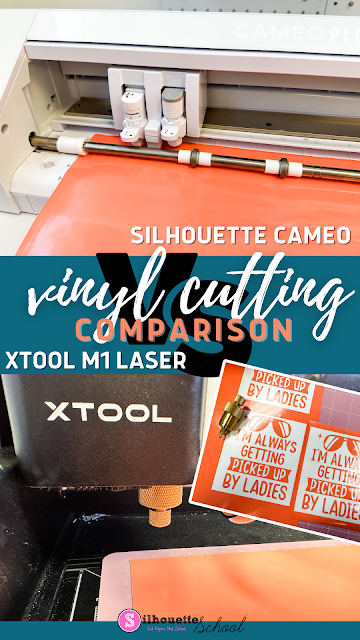
The xTool M1 does a good job cutting vinyl, but if you're mainly a vinyl cutter, I would recommend a designated vinyl cutter. You can see how the M1 laser compares to a Silhouette CAMEO when it comes to cutting vinyl here.


.png)


No comments
Thanks for leaving a comment! We get several hundred comments a day. While we appreciate every single one of them it's nearly impossible to respond back to all of them, all the time. So... if you could help me by treating these comments like a forum where readers help readers.
In addition, don't forget to look for specific answers by using the Search Box on the blog. If you're still not having any luck, feel free to email me with your question.