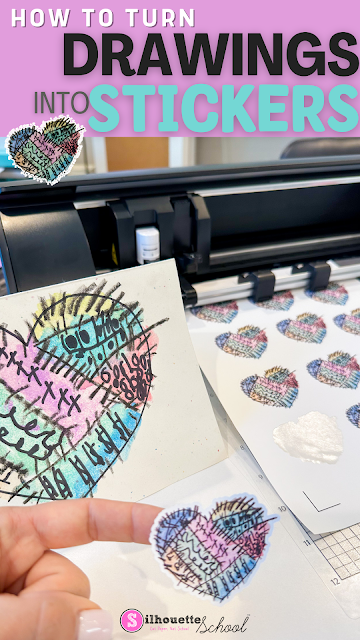
You can turn your drawing into stickers pretty easily using Silhouette Studio.
You can even do it with the free version of the Silhouette software program...whether you have a Silhouette cutting machine or not.
How to Import Images or Photos into Silhouette Studio
Start by taking a straight on or top down photo of your drawing. Try not to get any shadows on the image. This will just make it easier later.
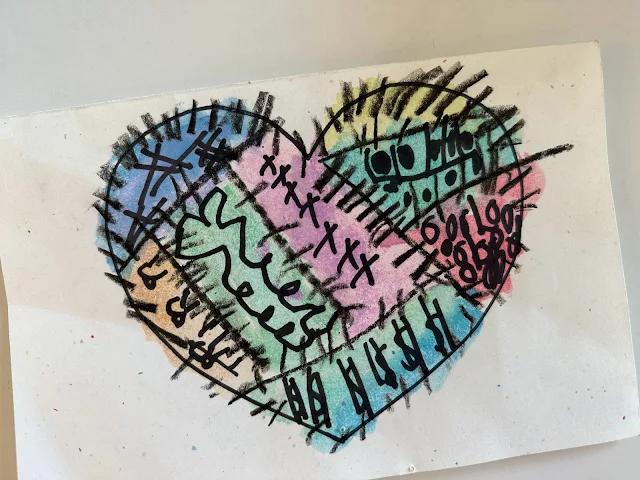
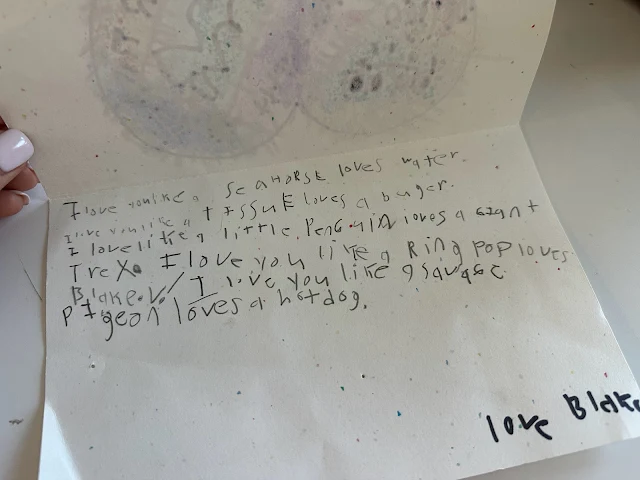
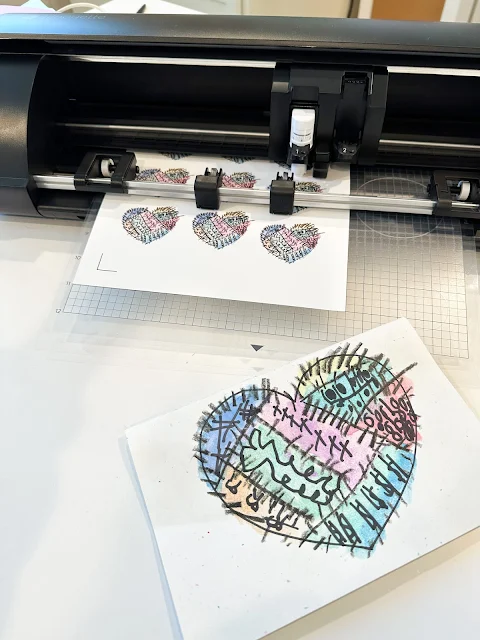
I'm using this card my son made me several years ago. It's quite a gem and one of my favorites for obvious reasons.
Take this line: "I love you like a savage pigeon loves a hotdog." Like...what?
Send the photo from your camera or phone to your computer and launch Silhouette Studio.
Once Silhouette Studio is open drag and drop the file into the design area.
How to Add Cut Lines to a Drawing in Silhouette Studio
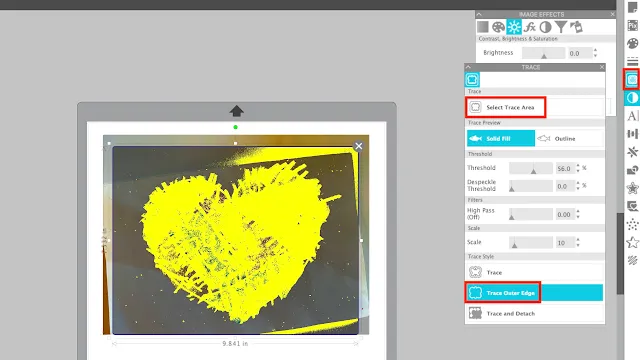
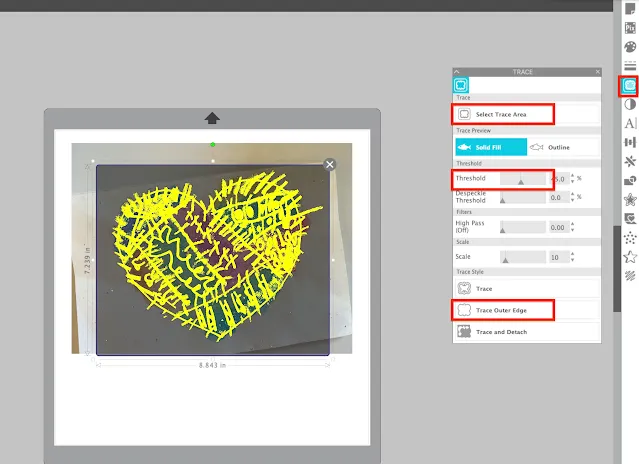
Open the Trace tool from the right sidebar. If you're new to tracing, I would practice turning a drawing done in black marker on white paper into a sticker first.
Click "Select Trace Area" and use your mouse to draw a tracing selection box over the drawing.
Adjust the threshold until the entire edge is yellow then click "Trace and Detach". This will remove the background from around the image.
If you get a bunch of extra cut lines after tracing, follow this tutorial for how to remove wanted cut lines.
OPTION 2: If the image is not completely traced (as you can see mine is not, click "Trace Outer Edge.")
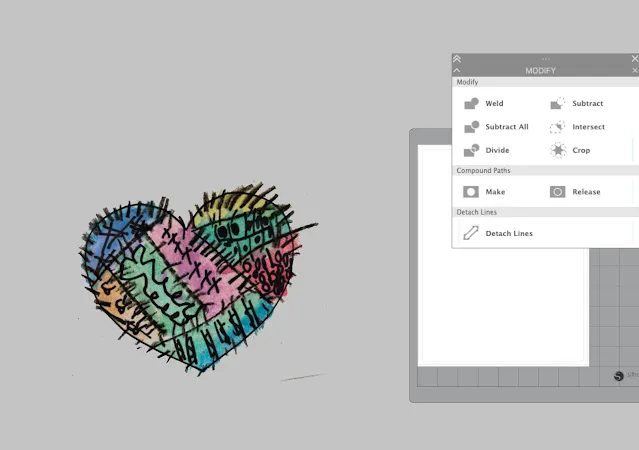
Then take the cut line that's created and select it along with the original design. Open the Modify panel and click "Crop" to remove the background area.
How to Add a White Edge to Sticker in Silhouette Studio
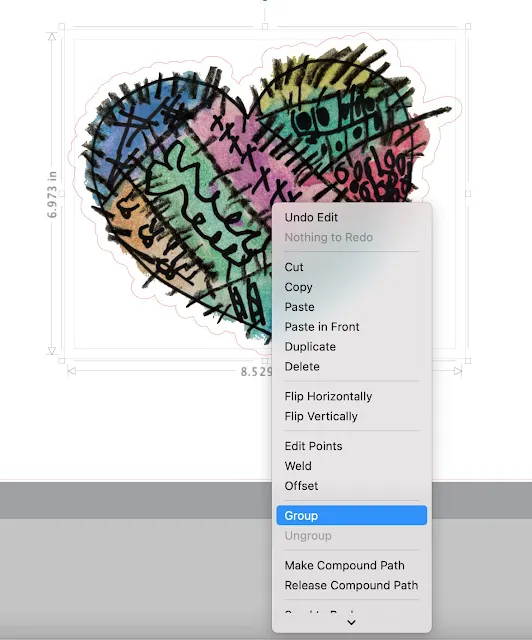
Once the background is removed select the drawing and click the Offset tool from the right sidebar. From the Offset tool panel click "Offset".
This will put an intentional white edge around the drawing you're turning into a sticker. This step is optional, but I think it's makes the hand drawn stickers look the best.
It's also helpful to have an offset when cutting the stickers especially if the edge of the drawing is kind of rough creating a lot of edit points. The offset will end up smoothing out some of those edges making it easier and faster to cut. Click Apply to set the offset.
Select both the offset and the drawing at the same time by swiping your mouse across both. Right click > Group. This will keep them both together.
You could export this now as a PDF or Silhouette Studio file for free. If you want to export it as a PNG, JPEG or SVG you will need Silhouette Studio Business Edition - the one time paid upgrade.
The other option is to move forwarding with printing and cutting stickers with your Silhouette CAMEO or Portrait.
How to Turn Drawings into Stickers in Silhouette Studio
Size the sticker. I'm going to make stickers that are about 2.5".
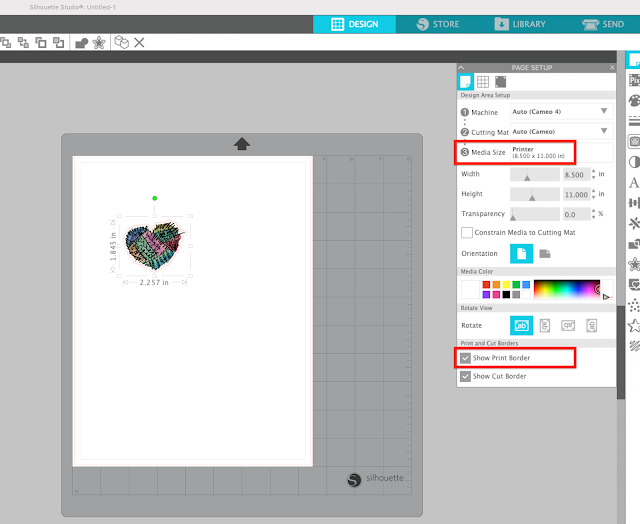
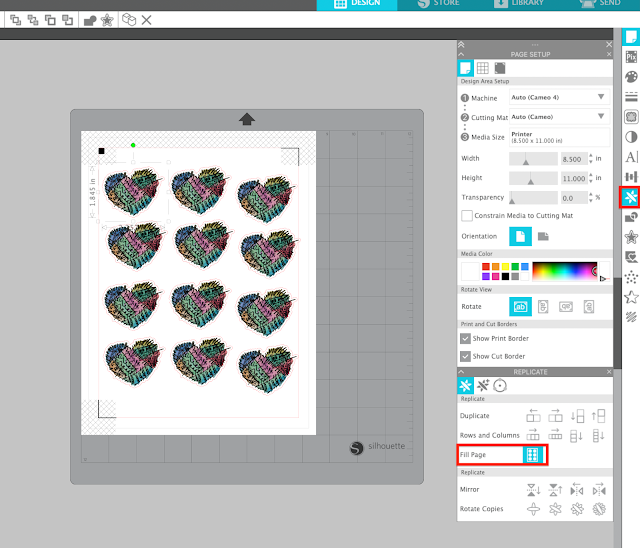
To set up the sticker page in Silhouette Studio, open the Page Setup panel and change the media size to "Printer."
Click M on your keyboard to turn on the registration marks and check the box in page Setup to Show Print Border.
Open the Replicate panel from the right sidebar and with the sticker image selected click "Fill Page."
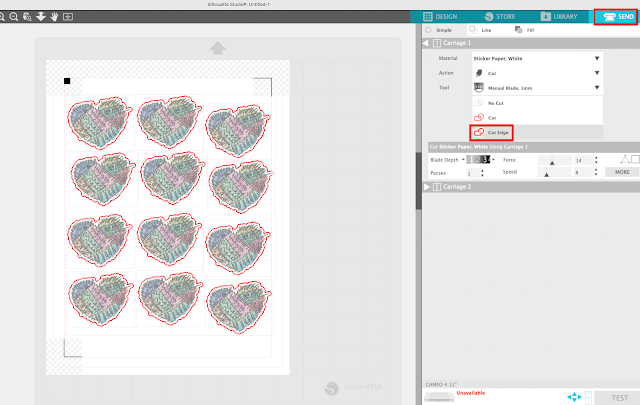
Move to the Send panel. Select all of the sticker designs on the preview and then change the Action to "Cut Edge."
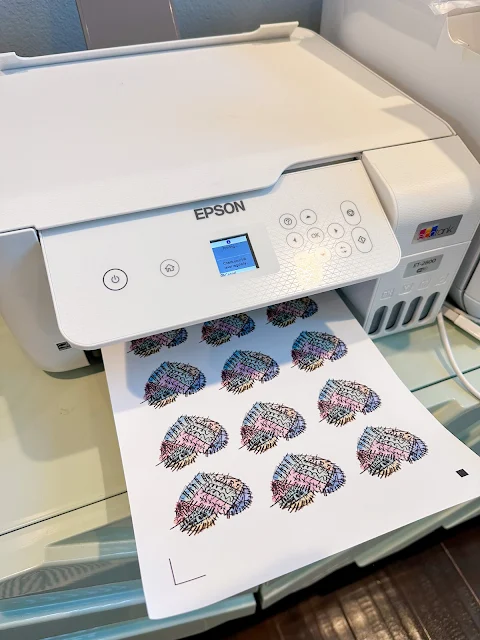
Place piece of sticker paper into your printer.
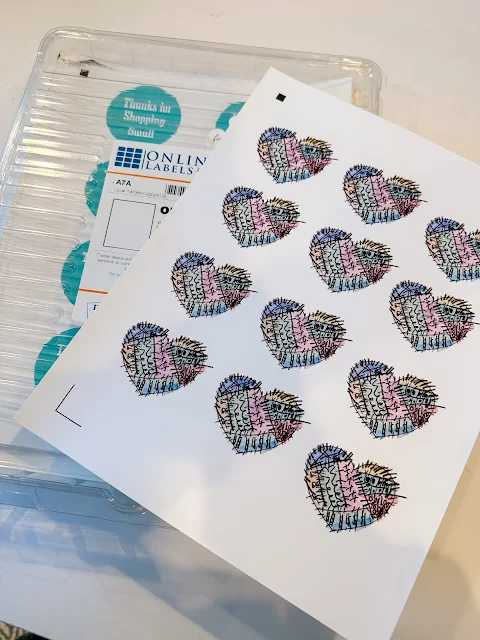
I'm using my go to sticker paper from Online Labels. This sticker paper never fails me and there are lots of different options including different colors like kraft paper sticker sheets, clear, waterproof, glossy, matte and many more!
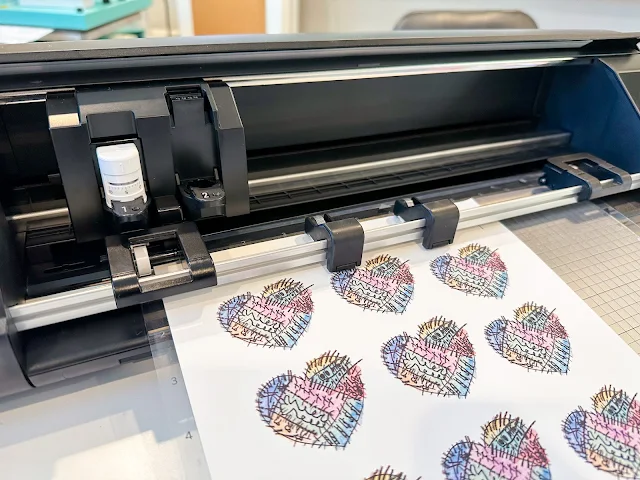
After the sticker sheet is printed, place it on your cutting mat and load into your Silhouette machine.
From the Send panel click "Send" and the cutting will begin.
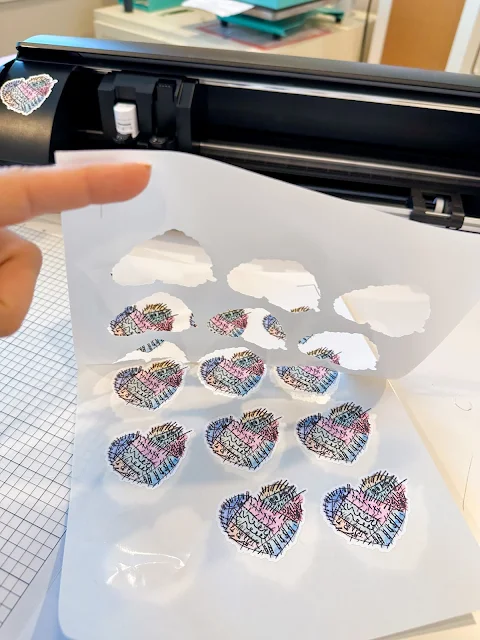
How cute are these and there are so many options for how to use drawings and handwriting now that you know how to trace it in Silhouette Studio.







.png)


No comments
Thanks for leaving a comment! We get several hundred comments a day. While we appreciate every single one of them it's nearly impossible to respond back to all of them, all the time. So... if you could help me by treating these comments like a forum where readers help readers.
In addition, don't forget to look for specific answers by using the Search Box on the blog. If you're still not having any luck, feel free to email me with your question.