The Silhouette CAMEO 5 rollers are different than previous versions of the cutting machine.
Here I'll show you how to adjust the CAMEO 5 rollers to position them to hold your mat and materials from about 5" wide to 12".
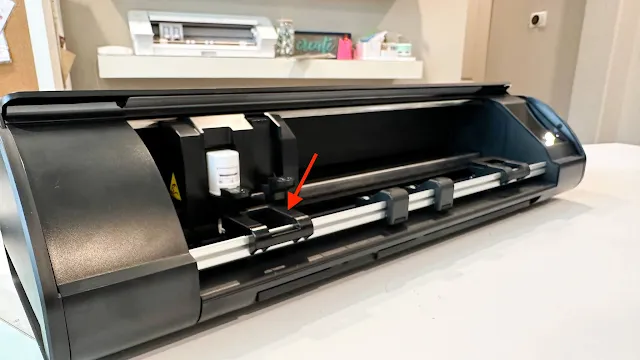
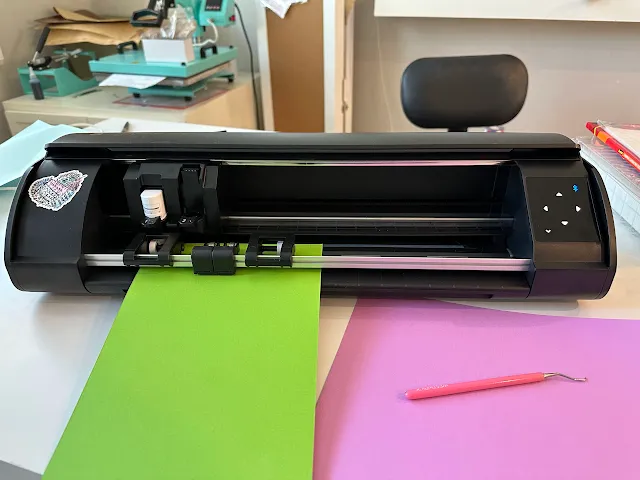
When you first unbox your Silhouette CAMEO 5, you'll find that it comes with pinch rollers that are initially positioned towards the left side of the machine. The far left roller, near the tool carriage, is stationary and can't be moved. It's what will hold the left margin your cutting mat or material in place.
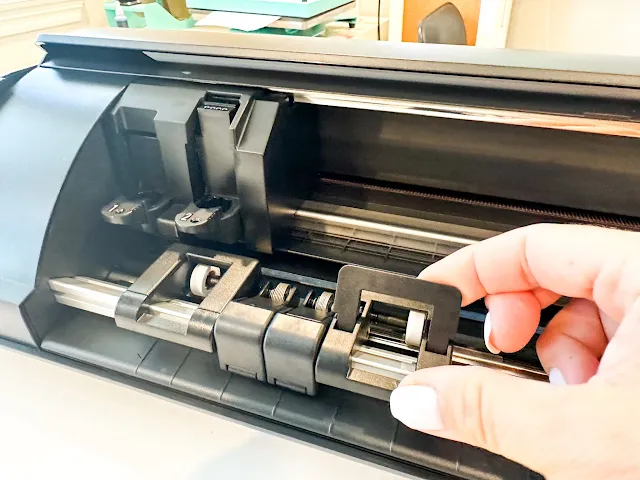
Unlike the Silhouette CAMEO 4 and older models that used a lever to lift the roller bar before moving the rollers, the CAMEO 5 uses a lever on the roller itself.
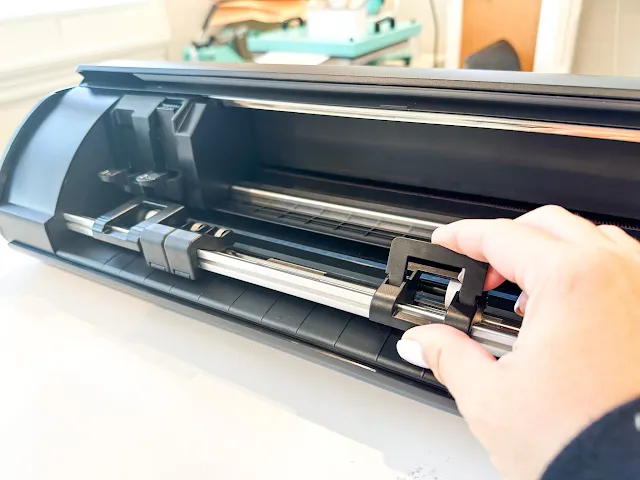
When the lever on the right roller is lifted, the roller will slide left and right.
Along the roller bar, there are several gritted or grippy areas where the right pinch roller can also be positioned. These areas are designed to ensure a secure grip on your material - all the way down to 5".
To accommodate a 12-inch cutting mat or 12" materials, you'll need to move the right pinch roller pretty much all the way to the right.
Ensure that the pinch roller is securely in place in one of the grippy areas and then release the tab.
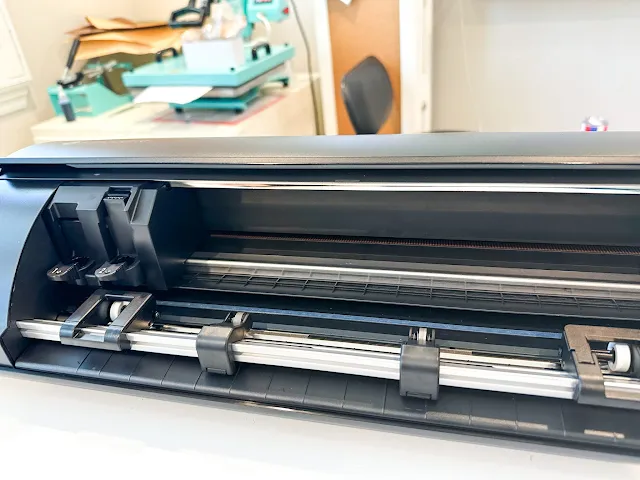
The two smaller rollers can be positioned as needed and are flexible in their placement. You can move these rollers by simply sliding them along the roller bar.
The right roller should always grip the right side of the mat or material near the margin. If the paper or mat is sliding around while cutting, move the right roller in towards the middle a bit.
If you're cutting a smaller piece of material, you can move all three rollers to the left. This allows you to cut materials as small as about 5" wide while still holding it securely under the roller.
That's all there is to moving the CAMEO 5 rollers!
Note: This post may contain affiliate links. By clicking on them and purchasing products through my links, I receive a small commission. That's what helps fund Silhouette School so I can keep buying new Silhouette-related products to show you how to get the most out of your machine!







.png)


No comments
Thanks for leaving a comment! We get several hundred comments a day. While we appreciate every single one of them it's nearly impossible to respond back to all of them, all the time. So... if you could help me by treating these comments like a forum where readers help readers.
In addition, don't forget to look for specific answers by using the Search Box on the blog. If you're still not having any luck, feel free to email me with your question.