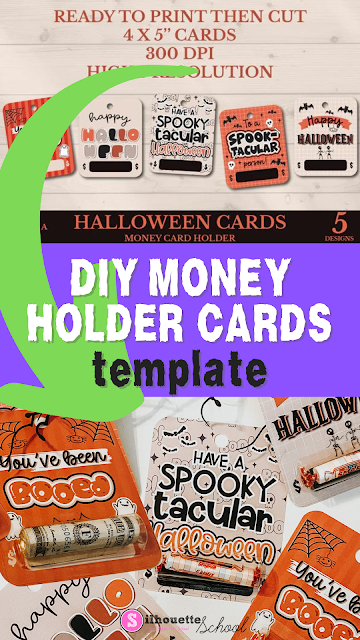
DIY money holder cards are a fun and popular way to give little gifts - and they're actually easy enough with Silhouette print and cut you can make them for Halloween handouts or class treats!
In this step by step I'll share how to create your own money or candy holder cards at home using your Silhouette CAMEO or Portrait.
I always think for something like this it's easiest to leave the designing to a professional...so I'm cheating and using the set of Halloween ready to print cards from So Fontsy's Halloween SVG and Font Bundle.
How to Setup Print and Cut in Silhouette Studio
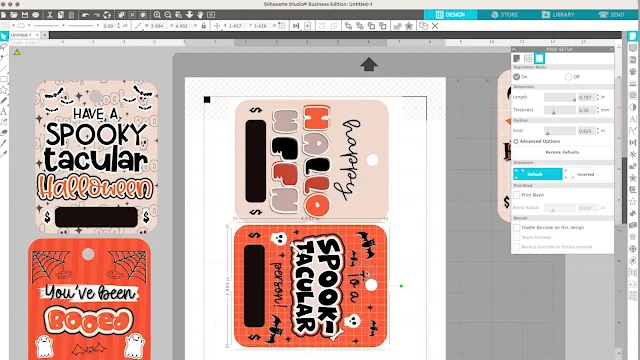
After they're downloaded and unzipped open Silhouette Studio and go to File > Open and import the cards into a work area.
I would not suggest you size them as they are sized perfectly for a rolled up dollar to fit inside a money holder dome.
Open the Page SetUp Panel and change the Page Size the "Printer" and click "M" to turn on the registration marks for print and cut. You should be able to fit two of the money holder card templates on a single sheet after rotating them 90 degrees.
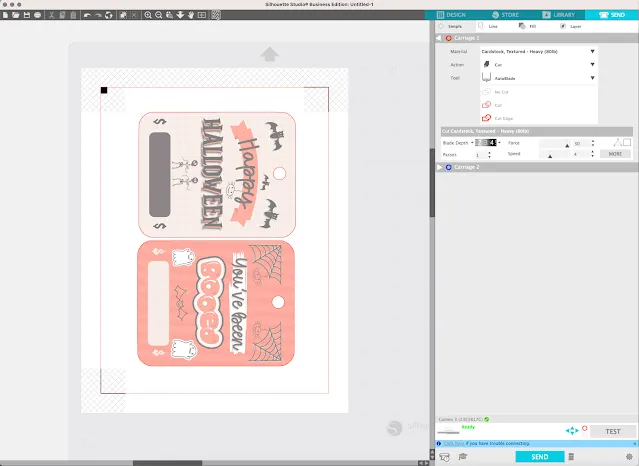
Move to the Send panel and change the material to Cardstock Textured. Confirm the cut line is going around the outside of the card design and the small hole at the top of the card only.
How to Print from Silhouette Studio
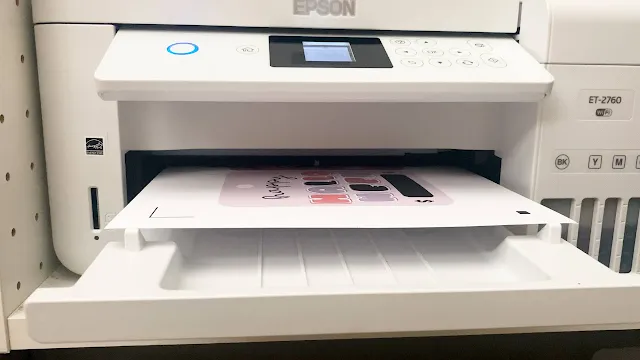
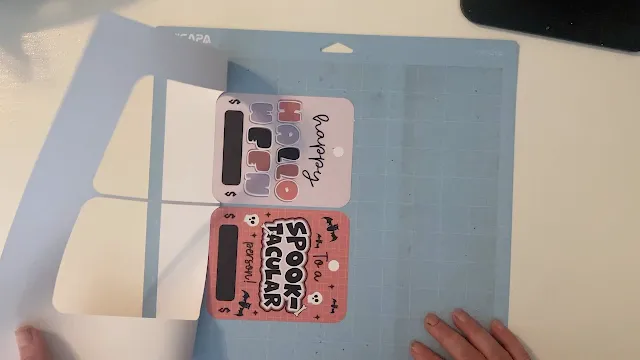
Place a piece of 80 lb cardstock in your printer and either click the Print icon on the top toolbar or go to File > Print to have your design printed on your printer.







.png)


Would these cards/plastic money holder also hold lip gloss?
ReplyDelete