Vinyl is a good option for making stencils that will only be used once because it's quick to cut, easy to weed, and inexpensive to make. But nothing ruins a project faster than paint bleed. In this tutorial I'll share some tips on how to paint wood rounds with vinyl to avoid the dreaded paint bleed!
Start by preparing the wood round making sure it's clean and free of any dust or debris. If necessary, lightly sand the surface to create a smooth painting surface. Grooves and channels in the wood are one way that paint bleeds under the stencil.
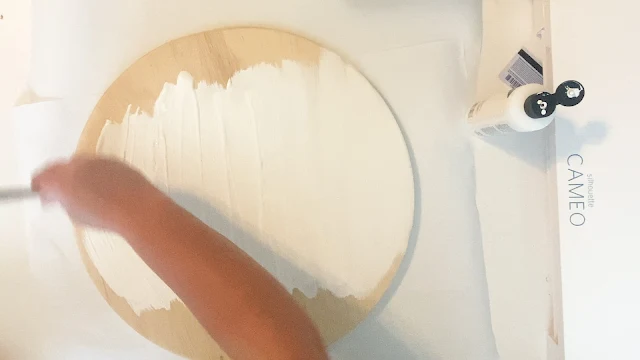
Paint the wood round with a base layer of paint and let it dry really well. While you're waiting for the paint to dry you can prepare the vinyl stencil.
How to Make Vinyl Stencils for Round Wood Signs
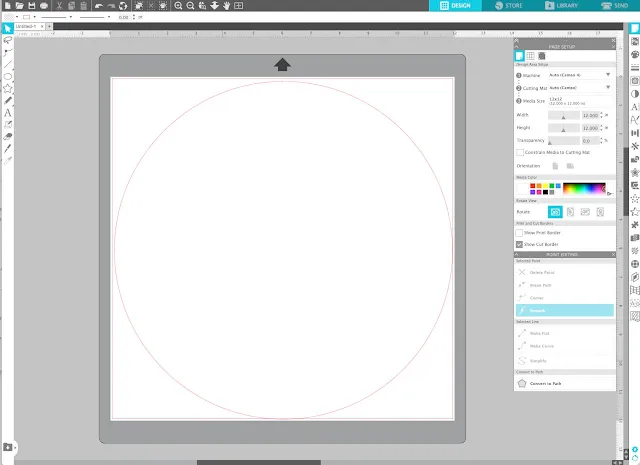
Measure the round and then create a circle the same size in Silhouette Studio so you know how large to make the stencil.
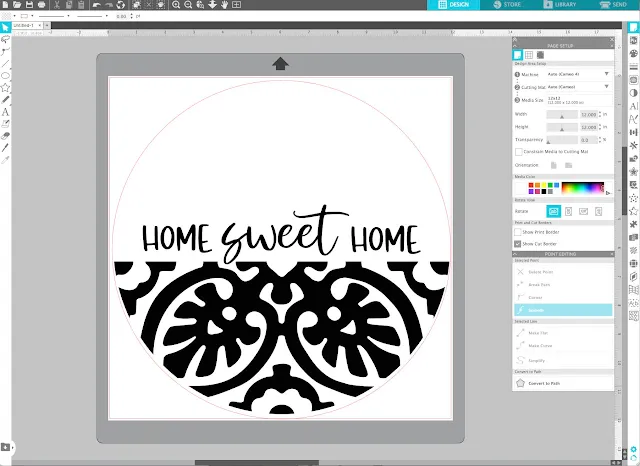
Open the stencil design in the same design area and size it over the circle.
Before you cut the stencil design, be sure to delete the circle you used as a size guide.
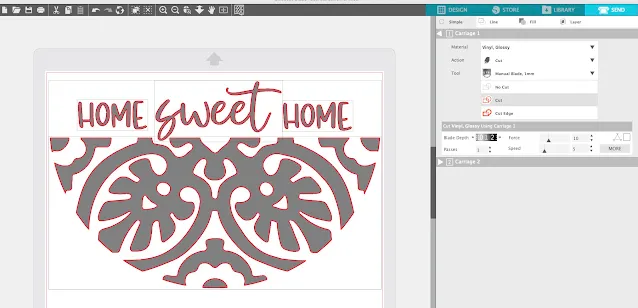
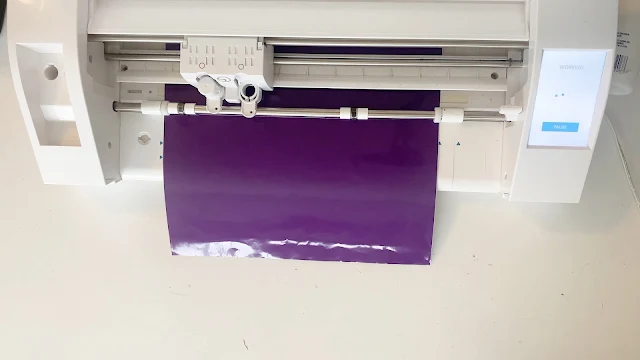
Cut the stencil on either adhesive vinyl or stencil material. I used Oracal 651 permanent vinyl for this project.
After cutting, weed the stencil.
Remember you want to weed away the inside - the area that you want to paint.
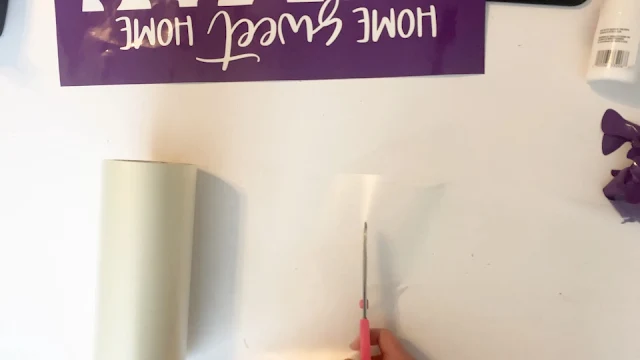
If the stencil is not all one piece, use transfer tape to pick up the stencil and then carefully position the vinyl stencil on the wood round, ensuring it is centered.
How to Apply a Vinyl Stencil to Wood So It Sticks
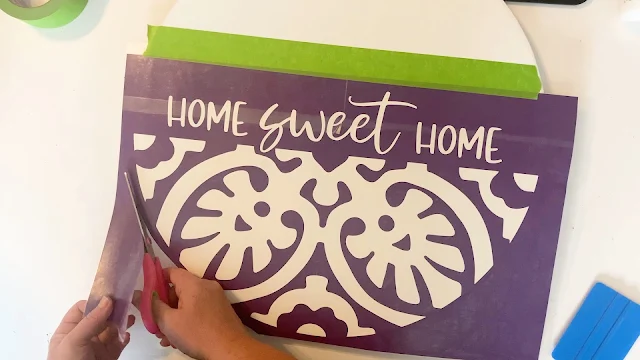
I like to use the hinge method to place vinyl!
Press down on the stencil firmly, paying special attention to the edges and corners, to make sure it's stuck well on the piece of wood.
How to Stencil a Wood Sign with Paint (And Get Crisp Lines)
Use chalk paint - which is thick and doesn't "run" - with a makeup sponge to blot or dab on the paint in an up and down motion rather than pulling the paint across the stencil.
While the paint is still wet, carefully peel off the vinyl stencil from the wood round. Slowly lift the stencil from one corner, pulling it back gradually.
If there are any areas that need a little touch up, you can use a small paintbrush to clean them up.
You can seal the painted wood round if you want with a spray with a clear coat, but that's an optional step.
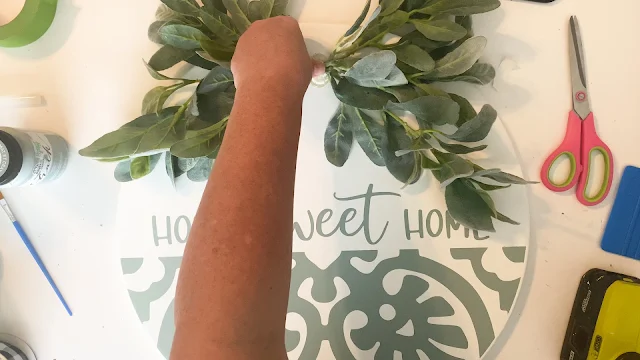
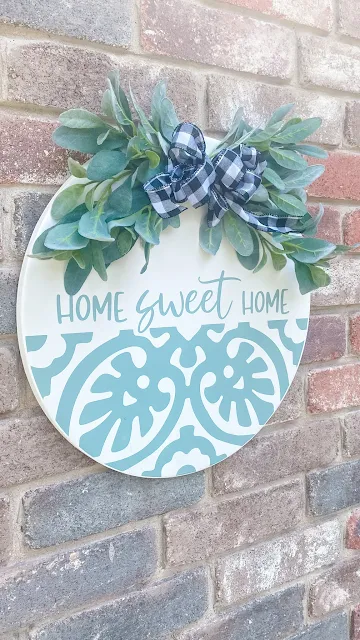
Allow the painted wood round to dry completely and then add some stems, a bow and hanger if you want!!
That's it! You've created a beautiful custom round wood sign!








.png)


No comments
Thanks for leaving a comment! We get several hundred comments a day. While we appreciate every single one of them it's nearly impossible to respond back to all of them, all the time. So... if you could help me by treating these comments like a forum where readers help readers.
In addition, don't forget to look for specific answers by using the Search Box on the blog. If you're still not having any luck, feel free to email me with your question.