Knowing how to sublimate a stainless steel tumbler can require a lot of trial and error which can get expensive and time consuming.
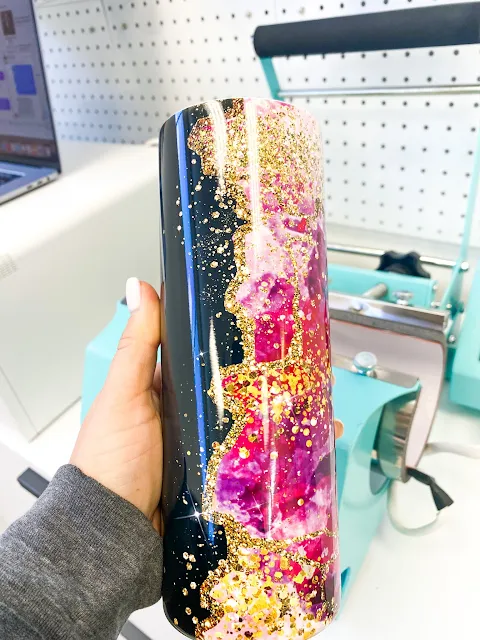
But today I'm sharing a few tricks so you can perfectly sublimate tumblers with a tumbler press meaning no ghosting and colors that pop - including deep black!
I put together a supply list of everything I used to sublimate this stainless steel tumbler so you can try to replicate the results. The image below is clickable so you can shop directly from it.
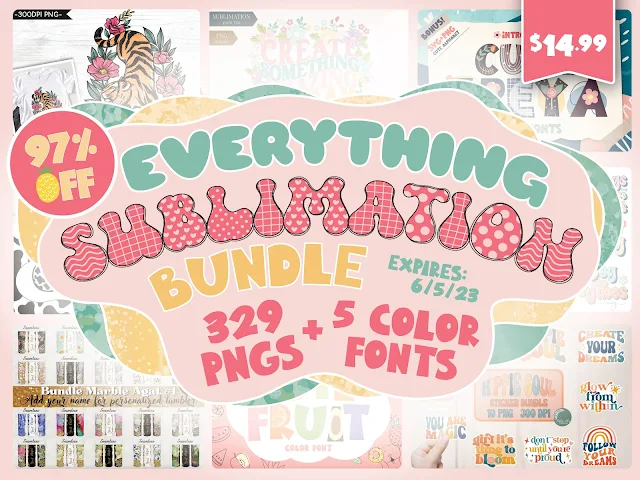
The tumbler wrap I am using is a little short to fit all the way around my tumbler so I stretched it just a little in Silhouette Studio. The tumbler template is from the Everything Sublimation bundle on So Fontsy.
Directly from Silhouette Studio I opened the file in Sawgrass Print Manager. On a PC go to File > Print > and select Print Manager as the printer. On a MAC you want to go File > Print and then pick Sawgrass Print Manager from the PDF drop down.
In the Sawgrass Print Manager change the Substrate to "Stainless Steel Tumbler" from the dropdown menu and make sure the Print Quality if on "High Quality."
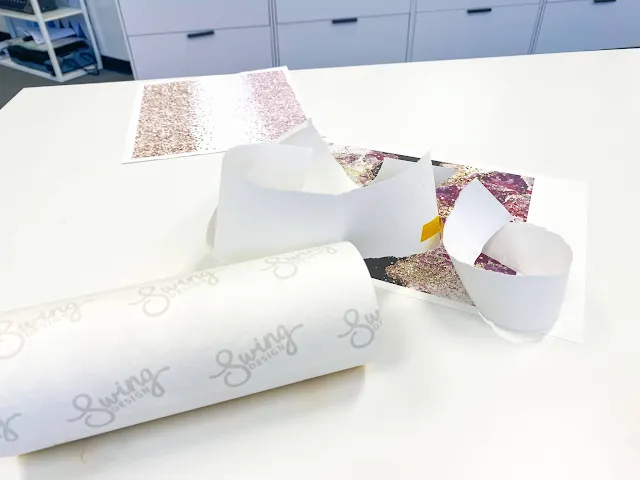
I print on ProSub sublimation paper from Swing Design, but since that's not in Print Manager I usually select "Type A" as the material.
Make sure you have a sheet of sublimation transfer paper in the printer tray. Then when you're ready, send the tumbler wrap to print. I'm printing on my Sawgrass SG1000 sublimation printer.
The printed sheet will have white on all four sides around the template. Keep the white on one of the long sides (bottom if your design needs to be oriented a certain way), but trim the rest of the white margins off.
Place the 20 oz stainless steel tumbler upside down on a table and wrap the template around it. The side with the white margin should be at the top (which is where the bottom of the tumbler is). The wrap should wrap over itself slightly in the middle.
Take two pieces of high temperature tape and with the sublimation paper held tightly, place one piece of tape near the top and one near the bottom. The sublimation paper should be hanging off the bottom edge of the tumbler. Leave it that way - do not fold it over.
Then take one long piece of tape and cover the entire seam. Do not wrap the tape around the bottom of the tumbler or this will create a wrinkled/puckered area where air can get in and cause ghosting.
Use your finger nail to press the tape on the seam really really well.
Now take a blank piece of printer paper (not sublimation paper) and wrap it around the entire tumbler as well.
Make sure the seam for that paper is NOT aligned with the other seam. You should have a little bit of paper hanging off both the top and bottom.
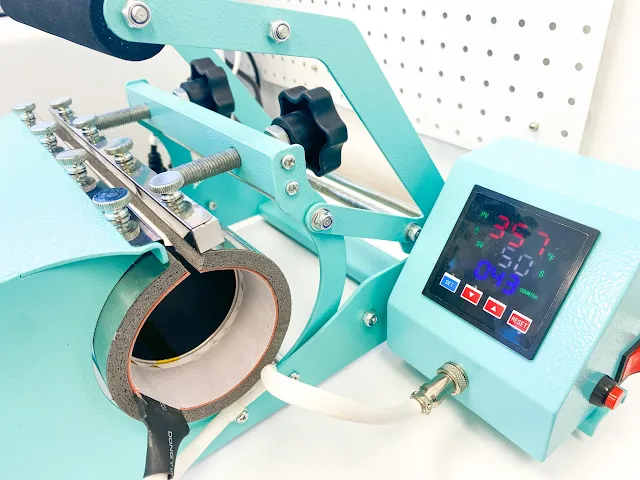
Warm up your tumbler press to 355 degrees for 50 seconds.
When it comes to temperature, place the tumbler in and with medium pressure - again so you don't create wrinkles or bubbles - close the press.
When the timer goes off, give the tumbler a half rotation and press for another 50 seconds.
After the time is up remove the stainless steel tumbler from the tumbler press. Carefully remove the first layer of paper.
Then remove the sublimation transfer paper.
Note: This post may contain affiliate links. By clicking on them and purchasing products through my links, I receive a small commission. That's what helps fund Silhouette School so I can keep buying new Silhouette-related products to show you how to get the most out of your machine!
Get Silhouette School lessons delivered to your email inbox! Select Once Daily or Weekly.


.gif)


.png)


No comments
Thanks for leaving a comment! We get several hundred comments a day. While we appreciate every single one of them it's nearly impossible to respond back to all of them, all the time. So... if you could help me by treating these comments like a forum where readers help readers.
In addition, don't forget to look for specific answers by using the Search Box on the blog. If you're still not having any luck, feel free to email me with your question.