Looking for a creative new way to spruce up your kitchen? Look no further – today, I'm going to show you how to make a unique sign with the foil quill and balsa wood.
With this simple technique, you'll be able to craft an eye-catching home décor piece that will have your guests impressed. So come join me as we explore the beauty of foil quill on balsa wood!
First you will want to set up your design. I chose the font Chick-a-Sketch font and a nesting shape that are both from the Single Line font + Design Bundle including 709 designs and 3 single line fonts!
Next you will click 'send' in Silhouette Studio and allocate the specific settings you would like for each part of the design. For this project will will be using both tool slots. You can see tool one is shown in red (cut) and tool number two is shown in black (foil quill).
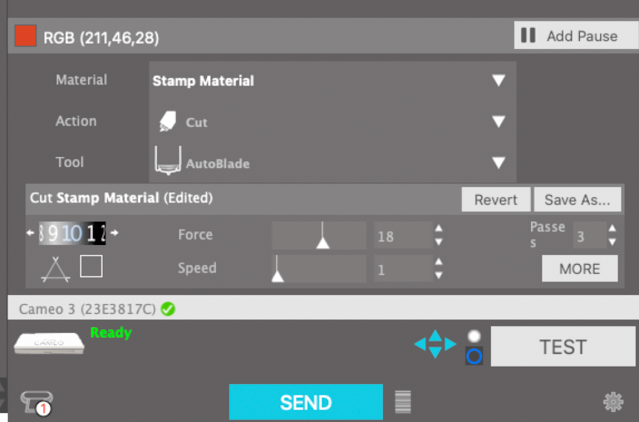
Once you have the parts of the designs allocated to the proper tool it is time to set up the material, action, tool, force, speed and passes. I set it up with the following settings. *Please note* This will only work for straight and very simple lines.
Tool 1 (red):
Material: Stamp Material
Action: Cut
Tool: AutoBlade
Force: 18
Speed: 1
Passes: 3
Tool 2 (Black):
Material: Coverstock, Heavy (105lb-122lb)
Action: Sketch
Tool: Pen
Force: 20
Speed: 2
Passes: 1
Plug in your foil quill pen and let it heat up for about 5 minutes. During this time you can prep your balsa wood and foil. You will do this by placing it on the mat and taping the foil on top (color side up.) Making sure it is pulled taut.
Load in the mat- clicking the checkmark only on the foil quill tool on (black) and 'send' to your machine
After the foil transfer step is done remove the film.
Once the film has been removed, switch the check marks. Making the tool 1 checked and the tool 2 unchecked and press 'send'.
Once that is done remove the balsa wood and gently break the edges off and then use 400 grit sandpaper to slightly sand the edges of the balsa wood.
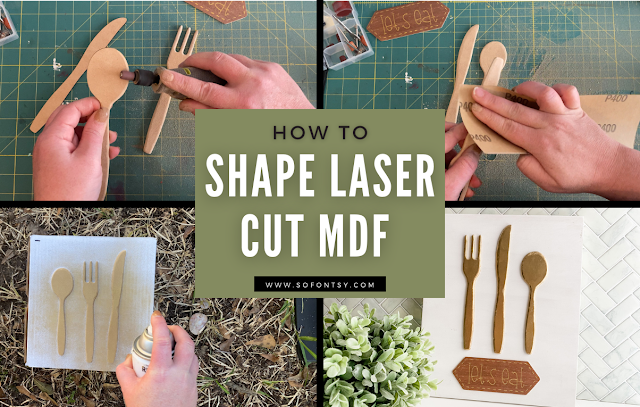
So now that you have the basics of making a unique kitchen sign with foil quill and balsa wood, it's time for the finish. See how I completed this stylish piece of art and learn how to shape MDF with a rotary tool on the So Fontsy Blog here!
With a few simple steps, the Big Single Line Font and Design Bundle and some creative flair, you can make your own one-of-a-kind kitchen sign – so go ahead, give it a try!


.png)


No comments
Thanks for leaving a comment! We get several hundred comments a day. While we appreciate every single one of them it's nearly impossible to respond back to all of them, all the time. So... if you could help me by treating these comments like a forum where readers help readers.
In addition, don't forget to look for specific answers by using the Search Box on the blog. If you're still not having any luck, feel free to email me with your question.