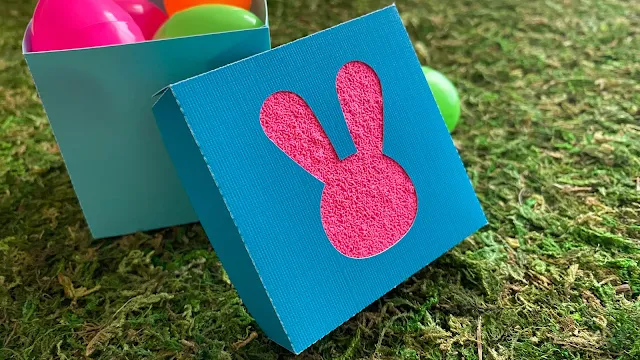
We'll guide you through the steps of cutting puffy HTV and using it on paper projects - from cards to scrapbooks and more. Let's get started!
First you will want to cut your Puff HTV. I am cutting a square out to layer underneath the bunny cut out from this ADORABLE design in the 3D SVG Bundle over on So Fontsy! You can cut this just like you would any HTV, reversed and color side/transfer paper side down. I used the settings for Heat Transfer, Fabric (Blade-2, Force-10, Speed-3, Passes-1).
Weed out the parts of the design you do not want to transfer to your paper.
Heat up your press to 320 degrees and lightly press your puff vinyl on to your paper for 15-18 seconds with your materials in the following layers from bottom to top teflon sheet > paper > puffy vinyl with mask > teflon sheet.
A few things that I have learned is that with a pressing pillow underneath it give more of a brainy texture, which is what I liked for my project. In order to see what way the vinyl will look on your project, test different times, pressures, and with/without a pressing pillow!
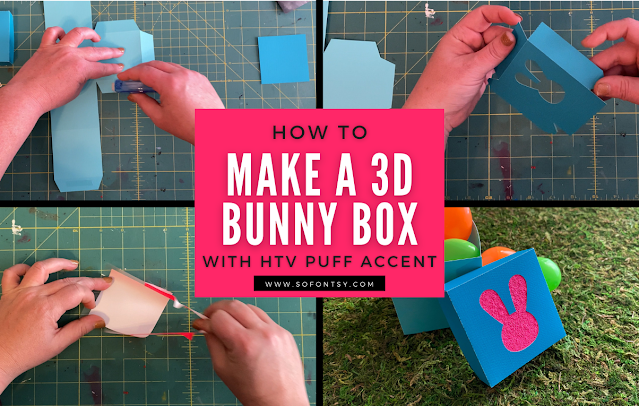
You now have the knowledge to add texture, dimension, and color to your paper crafting projects with puffy HTV! Check out the 3D Easter Box tutorial that we used the bunny as an accent for over on So Fontsy today!
Don't forget! You can grab the SVG for this Easter bunny box and 65 other designs in the 3D SVG Bundle over on So Fontsy!


.png)


What do you mean by a 'mask'?
ReplyDelete