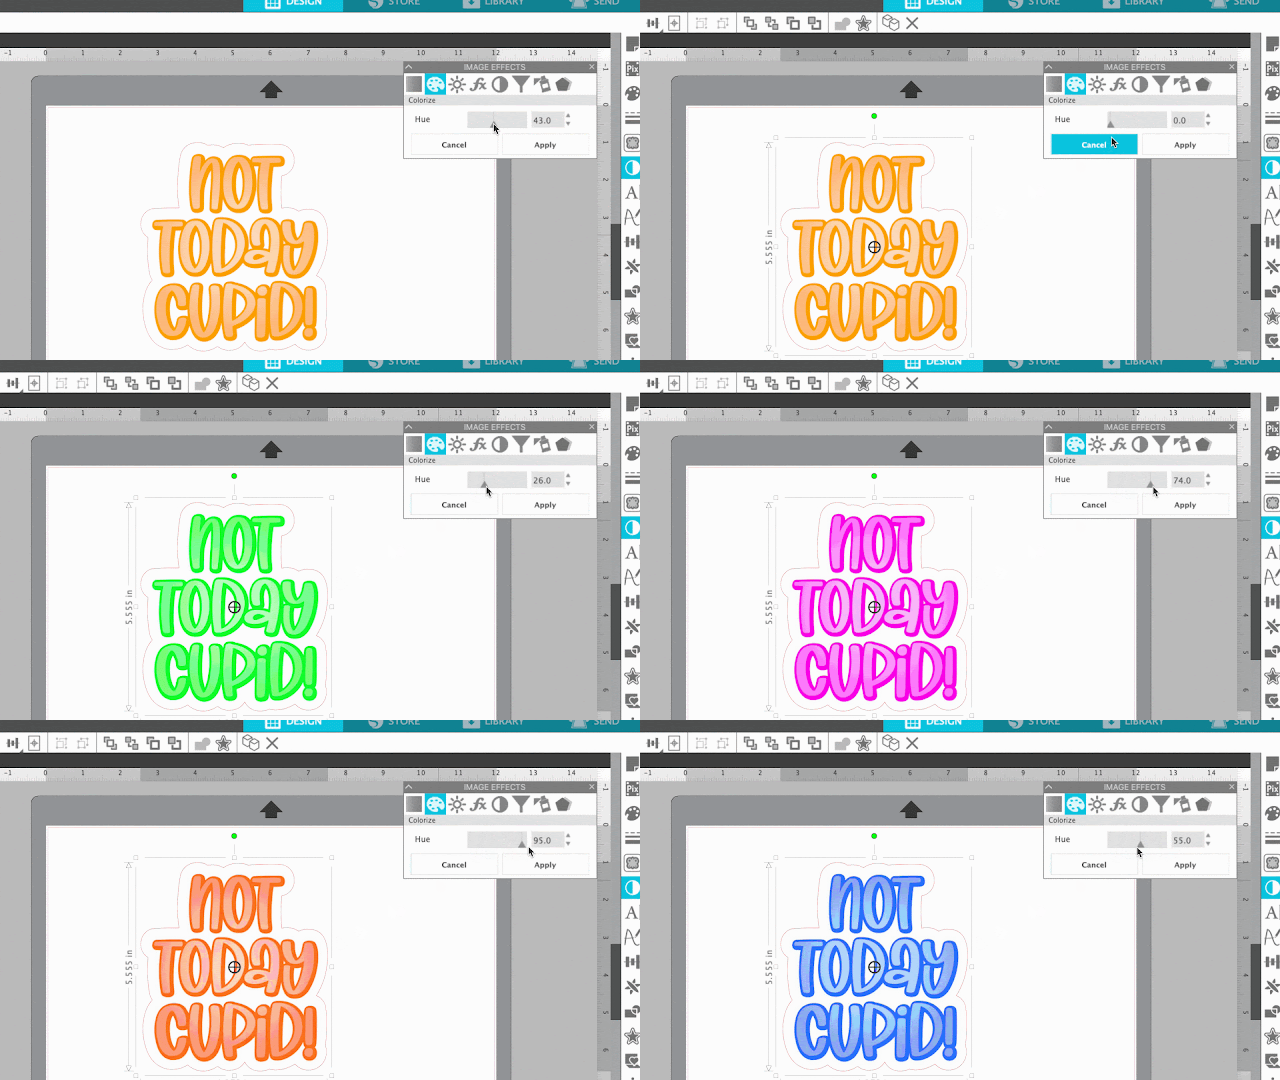
There are actually two ways to do it. One is a single click and other requires a bit of manual work. Read on for how to change the colors of a PNG in Silhouette Studio.
Changing PNG Colors with Image Effects Tool
The easiest and fastest way to change the color of a PNG image in Silhouette Studio is to use the Image Effects tool.
Simply select the design and open the Image Effects tool.
Click the second tab along the top to open the "Colorize" options. Now slide the bar to adjust the color of the design.
Sometimes however you need more control over the color of individual elements in your design. In this case you'll want to trace the design to change the colors.
Changing PNG Colors by Tracing and Fill
Open the trace panel and click Select Trace Area.
Draw a tracing box across the entire design. Adjust the threshold in a way that you create cut lines around as much of the design as possible. (Depending on the complexity of your design or how many colors are present, you may need to trace multiple times.)
Click "Trace" to finish creating the cut lines.
Move the newly created cut lines away from the original design.
TIP: Fill the entire design with white first by selecting all > Fill Panel > White. This will allow you to click anywhere on each piece to select it. If the design remains transparent you can only select each piece by clicking directly on the line.
Select each individual piece (or hold down Shift to select multiple) and fill with the color you want. Depending on your design, this can be a time consuming process.
When you're done, select everything and group it together.
What if you only want to change the color of part of a PNG design? That process is slightly different so hop over to this Silhouette School tutorial on how to change colors of part of an PNG design in Silhouette Studio.
Note: This post may contain affiliate links. By clicking on them and purchasing products through my links, I receive a small commission. That's what helps fund Silhouette School so I can keep buying new Silhouette-related products to show you how to get the most out of your machine!
Get Silhouette School lessons delivered to your email inbox! Select Once Daily or Weekly.


.png)


No comments
Thanks for leaving a comment! We get several hundred comments a day. While we appreciate every single one of them it's nearly impossible to respond back to all of them, all the time. So... if you could help me by treating these comments like a forum where readers help readers.
In addition, don't forget to look for specific answers by using the Search Box on the blog. If you're still not having any luck, feel free to email me with your question.