Heat transfer vinyl on wood is a game changer for so many reasons!!
In this tutorial I'll show you how to put heat transfer vinyl on wood...and why this thicker inkjet printable HTV is my go to for signs!
Can You Do Heat Transfer Vinyl on Wood?
The answer is ... YES!
Not all printable heat transfer vinyl is created the same. Some is really thin and some is thicker. Some can be used in inkjet printers only and some can be used in both inkjet and laser printers.
I have found that thicker printable HTV - like Speciality Materials ThermoFlex ColorUp - is what I prefer for wood and canvas sign projects. Because it's thicker, it's easier to transfer to these types of non-wearable surfaces without any type of mask.
Even really thin areas are stable enough to be hand-moved.
And...it's always a bonus when the same product can be used in both your inkjet and your laser printer!
How to Put Printable Heat Transfer Vinyl on Wood
Start in Silhouette Studio by opening a new Design area.
If you're using the ThermoFlex Color Up Printable HTV like I am, you will actually have a slightly larger print area because this paper is A4 size.
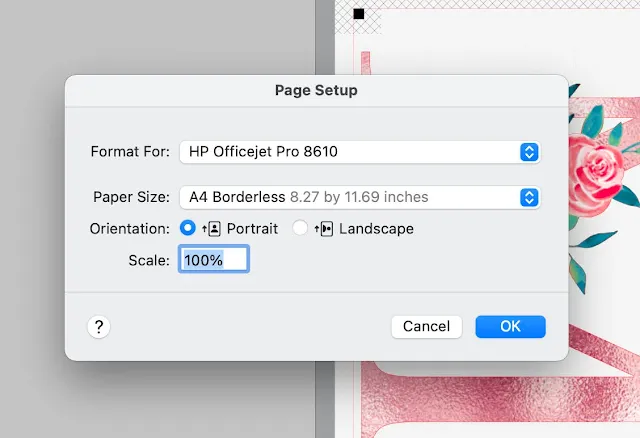
That also means you need to adjust the printer page to account for that so go into your Print Page Settings and pick your printer and then select A4 as the page size.
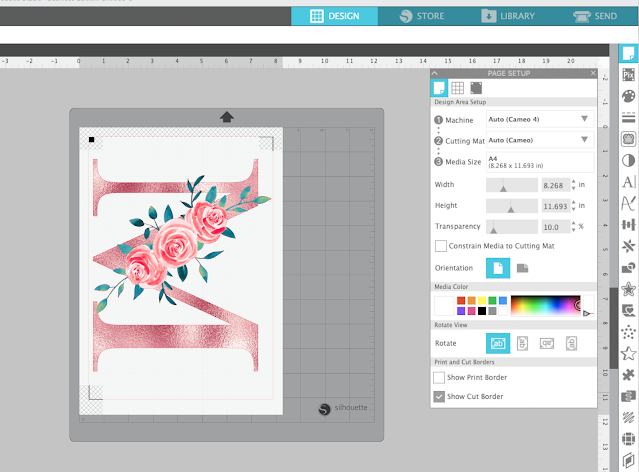
When you return to Silhouette Studio open the Page Setup tool from the right sidebar. Adjust the page size there to "Printer".
Check the boxes to turn on the print border and cut border.
Press "M" on your keyboard to turn on the registration marks.
Now you can merge in your design by going to File > Merge. I am using stunning foil-look monogram design from So Fontsy.
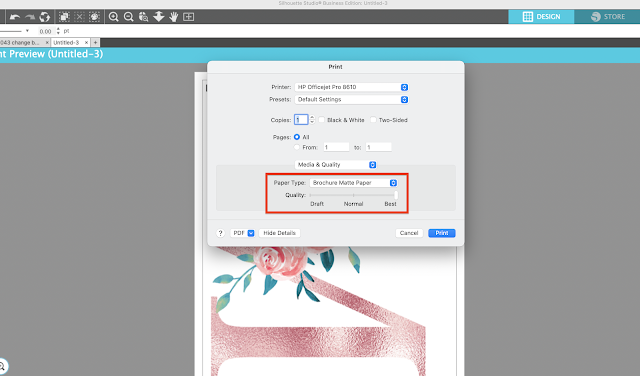
I have my printer settings set to "Best" and "Brochure" so that I get the best quality print.
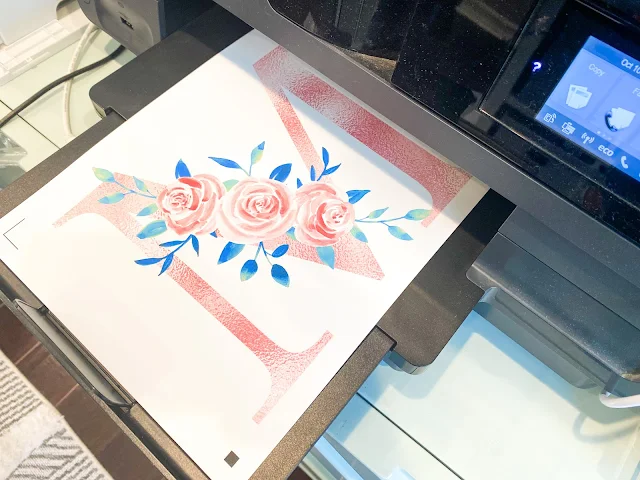
Extend your printer tray so that it can accommodate the A4 sheet - which is larger than the normal 8.5 x 11" sheet you usually print on.
Place the sheet of Thermoflex Color Up printable HTV in the printer so that it prints on the matte side.
When the printing is done, place the printed sheet on a Silhouette cutting mat and load it into the Silhouette CAMEO.
From the Send panel of Silhouette Studio make sure the cut lines are where you want them. I used the Glitter, HTV default cut settings and they worked perfectly for the ColorUp printable HTV.
Once the cutting is done, weed away the excess printable HTV.
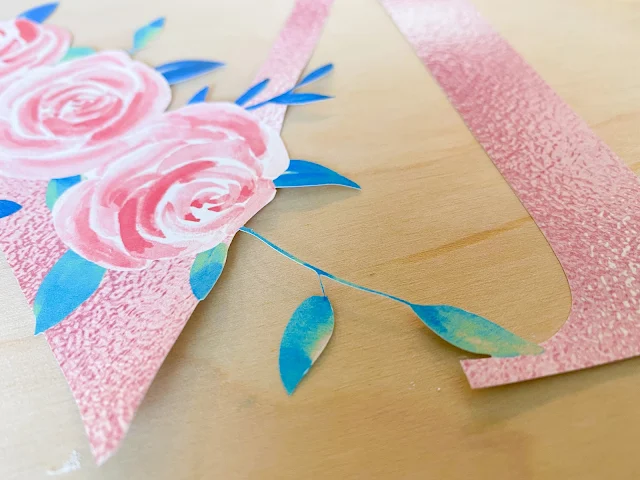
I can't stop staring at how beautifully this design printed on the ColorUp.
How to Put Printable HTV on Wood
If possible, I would recommend picking up the design off the carrier sheet by hand (instead of using mask) and placing it directly on the piece of wood. This works well with the ColorUp HTV printable because of it's thicker and is more stable.
I had a few leaves that I had to hand place and even at this small size, they were totally fine!
How to Put Heat Transfer Vinyl on Wood with a Heat Press
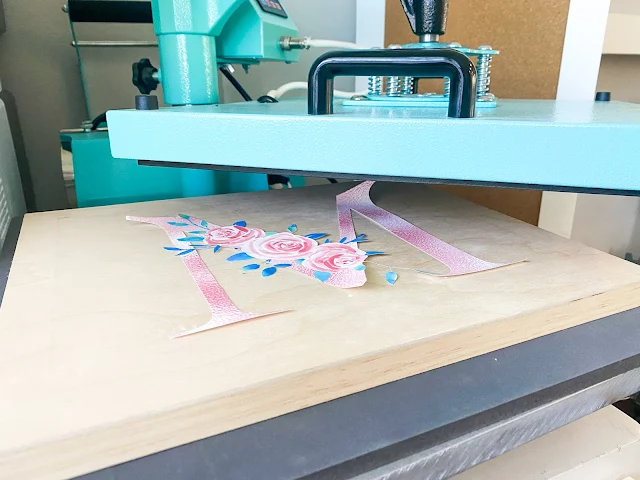
Using a swing away heat press is best for things like wood and canvas because the top platen comes down evenly.
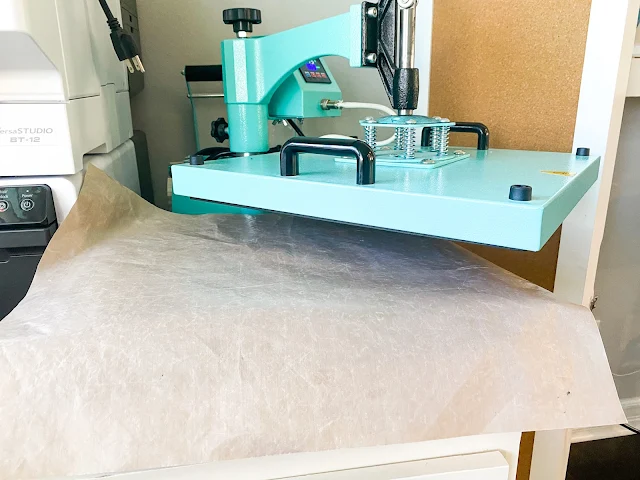
Cover with a teflon sheet and press for 15 seconds at 320 degrees.
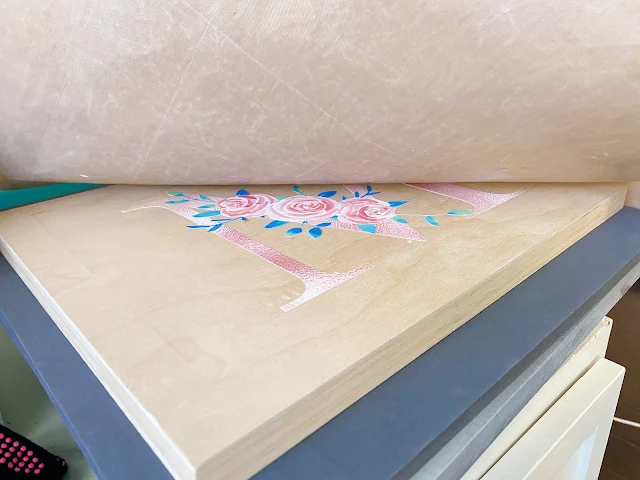
When the time is up remove the teflon sheet.
Look how beautiful this came out!
I just love having the ability to use printable heat transfer vinyl on wood when painting and sublimation aren't options.
If you want to give ThermoFlex Color Up a try you can grab some here!
Note: This post may contain affiliate links. By clicking on them and purchasing products through my links, I receive a small commission. That's what helps fund Silhouette School so I can keep buying new Silhouette-related products to show you how to get the most out of your machine!
Get Silhouette School lessons delivered to your email inbox! Select Once Daily or Weekly.






.png)


Can’t seem to make the link work for the monogram. A 404 page comes up.
ReplyDelete