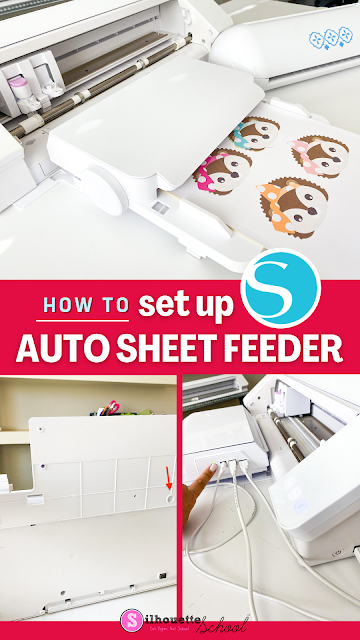
In this beginner tutorial I'll walk you through step by step how to cut multiple stickers sheets with the Silhouette Auto Sheet Feeder and CAMEO 4. I'm using Online Labels stickers sheets to show that you can use other brands of sticker sheets - including my favorite.
If you haven't already gone through the initial Silhouette Auto Sheet Feeder set up you will want to do that before you move on.
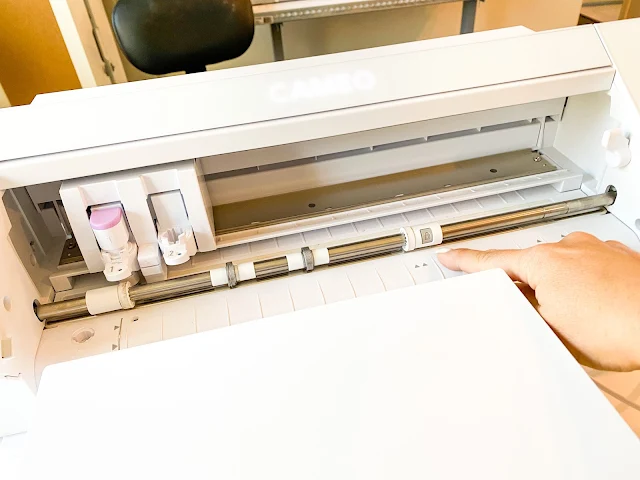
Once the Auto Sheet Feeder is connected to the CAMEO 4, you'll need to move the right CAMEO 4 roller in to the left-most groove. This will ensure that the 8.5" wide sheets stay under both rollers.
The rest of the setup is in Silhouette Studio so launch the software and open a new Design area.
How to Setup the Design Area to Print and Cut with the Silhouette Auto Sheet Feeder
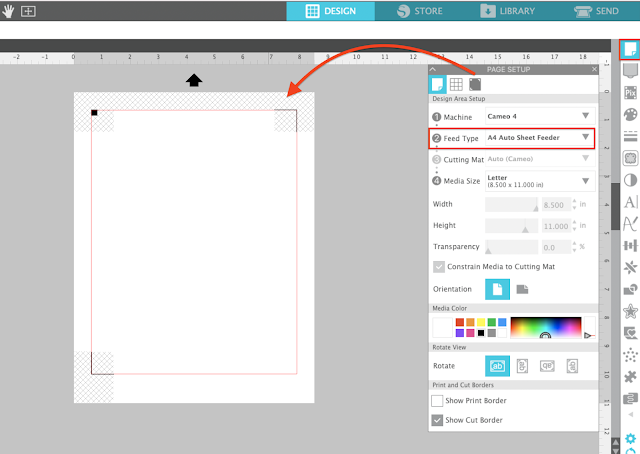
From the Page Setup panel change the machine to CAMEO 4, the Feed Type to Sheet Feeder, and the page size to the size sticker paper you're using.
Click "M" on your keyboard to turn on the Registration Marks or toggle them on from the Registration Marks tab in the Send Panel.
Merge in the sticker designs. I am using this set from So Fontsy's October SVG and Design Bundle. I quickly added an offset around each design so that the stickers would be contour cut with a white border around them.
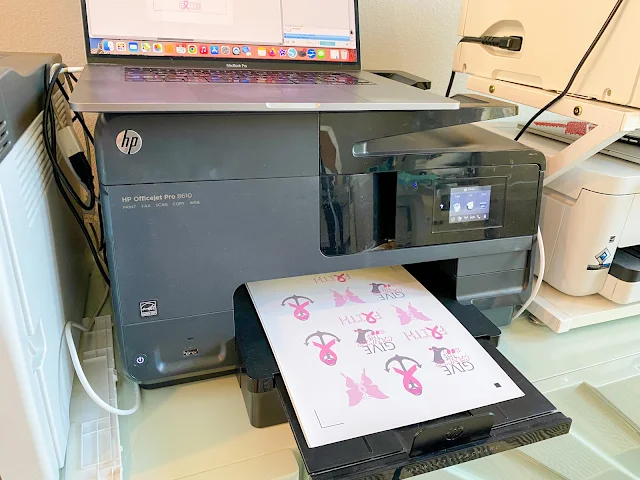
Place your sticker sheets in the printer and send them to print. Again, I am using the waterproof stickers sheets from Online Labels.
I am printing 5 copies.
While the stickers are printing do not move anything in the work area...and move to the Send panel.
Silhouette Studio Settings to Cut with Sheet Feeder
For this example I changed the Action to "Cut Edge" so that only the outer cut line would cut. I also selected a custom cut setting for Online Labels Weatherproof Sticker sheets.
The changes you need to make to use the Auto Sheet Feeder are in the Machine List and next to the Send Button.
From the Machine List select the CAMEO 4 - ASF. Note that this is a USB only connection meaning your computer will need to remain connected to the Sheet Feeder by USB for the entire time the sheets are being cut. (Not a fan of this...)
Next to the Send button, adjust the number of copies to match the number you printed.
How to Cut Multiple Sticker Sheets with CAMEO 4
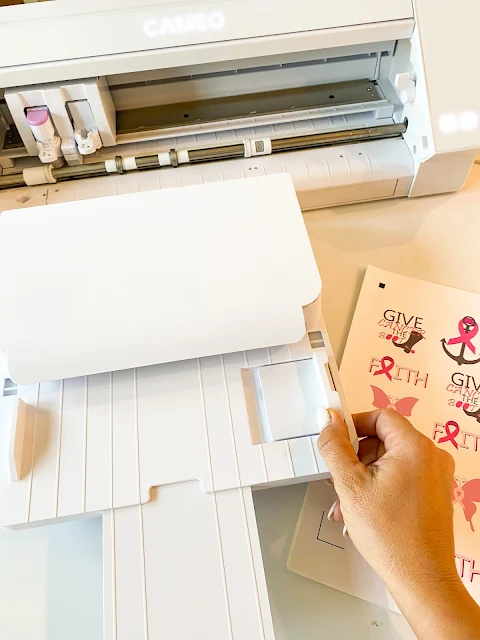
Pull out the extension on the front of the Auto Sheet Feeder and move the sheet feeder adjuster to the right.
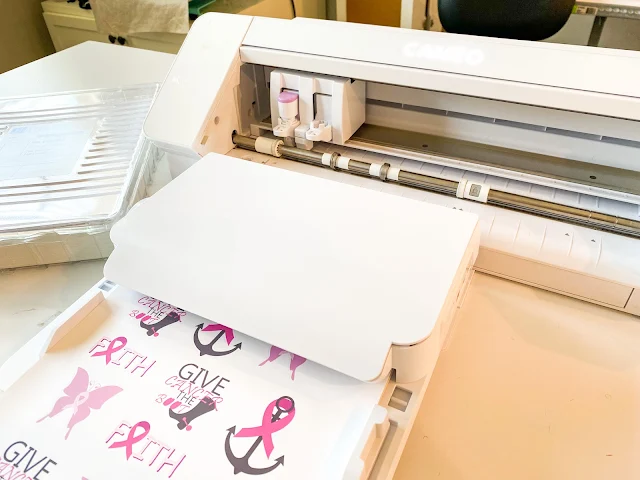
Stack the printed sheets together and place them into the sheet feeder with the square registration mark to the top left.
Kind of fan the corner of the sheets to ensure they are not all stuck together.
Only push the stack as far as they will go until you meet resistance. Push the sheet feeder adjuster to the left so that it's snug against the stack of sheets.
Make sure the USB coming from the Sheet Feeder is plugged into the computer and then from Silhouette Studio click "Send."
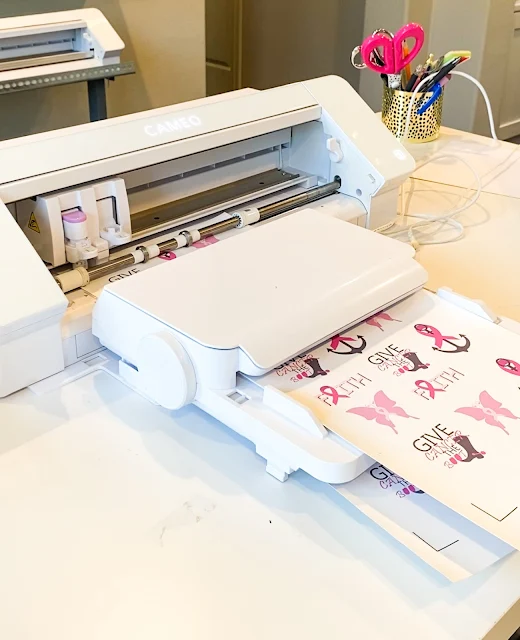
The sheet feeder will send the first sheet through so the CAMEO 4 can find its registration marks. Then the cutting will begin.
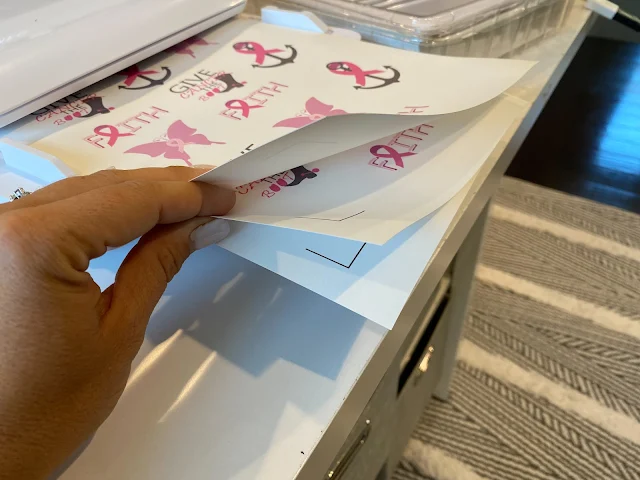
Once that sheet is finished cutting, the cut sheet will be deposited under the sheet feeder and the next sheet will be pulled in.
Silhouette Auto Sheet Feeder Review
I found the accuracy of the Silhouette print and cut to be spot on on every sticker sheet when using the Silhouette Auto Feeder.
The only thing I really did not like is that the convenience of the wireless cutting with the Bluetooth connection is void when using the sheet feeder (since it has to connect via USB) so your computer is tethered to the machine and sheet feeder the entire time it's cutting...which if you're cutting a lot of sheets could be a long time.
Note: This post may contain affiliate links. By clicking on them and purchasing products through my links, I receive a small commission. That's what helps fund Silhouette School so I can keep buying new Silhouette-related products to show you how to get the most out of your machine!
Get Silhouette School lessons delivered to your email inbox! Select Once Daily or Weekly.








.png)


Im having a heck of a time with this thing lol. Please help! My paper is getting pushed through to my cameo TOO FAR and bunching up under the rollers!
ReplyDelete