That's where making custom stained glass window clings with the Roland BN-20A and clear window cling material comes in. There's no layering involved, cutting is limited, and the colors are amazing. Check out this tutorial on how to make custom stained window clings with Silhouette Studio and BN-20A.
How to Design Contour Cut Stained Glass Window Clings
Open Silhouette Studio and open the stained glass window design. I'd recommend using SVG files if at all possible - if not PNG files.
I have a few different designs I'm going to print..yes print. Some of them were specifically designed as stained glass window decals and others are 3D layered SVGs that I thought would look cool on window cling. Any designs will work through.
Size all of your designs to what you want their final size to be.
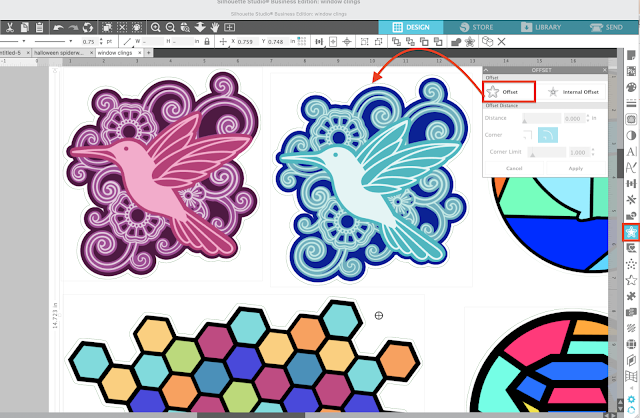
Open the Offset panel and with all of the designs selected add an Offset. The offset will be the contour cut line. Change the offset line color to any other color than red (I went with green) and group them all together.
If you are not familiar with how to use the offset tool to create contour cut lines in Silhouette Studio I would highly suggest you go through my Five Part Silhouette Studio Contour Cut Line Series.
Select the designs and offsets and go to File > Save Selection and then save as SVG.
How to Set a Roland Versaworks Contour Cut Line
In order for the Roland BN-20A to contour cut around the designs we need to set the Roland cut line. Unfortunately Silhouette can't do that one step - but Affinity Designer and Adobe Illustrator can. I recommend using Affinity Designer for various reasons including price and ease of use.
Launch Affinity Designer and go to File > Open and navigate to the SVG file.
Make sure "Layers" and "Swatches" are checked under the View > Studio menu.
In the Layers panel select the offset group on the individual offset layers. They should light up in blue when selected. You may need to expand the layers to see them all.
Move to the Swatches panel and choose the Roland VW color swatch profile (which you should have previously added). You'll see the stroke color is currently green - the color I set it in Silhouette Studio.
Be sure you are on the stroke icon (open circle - mine is green to match the line color) and not the fill icon and then click the magenta color swatch from the Roland Cut Contour palette.
Now export this file as a PDF by going to File > Export > Save as PDF.
How to Print Stained Glass Window Clings on Roland BN-20A
Launch Roland Versaworks on your PC (I use Google Drive to move my files from my Mac to PC at this point).
Go to File > Open in Queue > Select the Queue > Navigate to the PDF file.
When the file name appears in the queue list right click > Settings.
From Quality Settings tab choose the material as PET Clear Film. Under Color Management I recommend Sign/Display.
Click Ok and then right click the file name one more time. This time select Rip.
Make sure you have Roland Clear Window Cling loaded into your Roland BN-20A (yes you can print on clear without white ink that's what gives it the stained glass look).
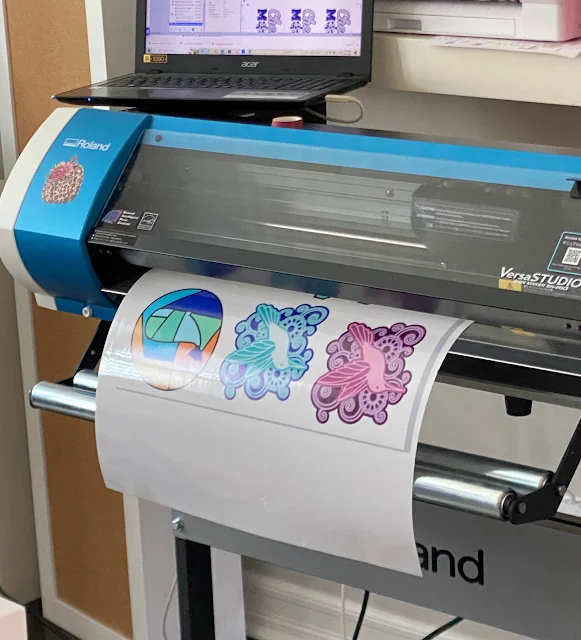
From Versaworks drag the file into the Print panel and the printing will begin.
After the printing is done the Roland BN-20A will contour cut the window clings as well.
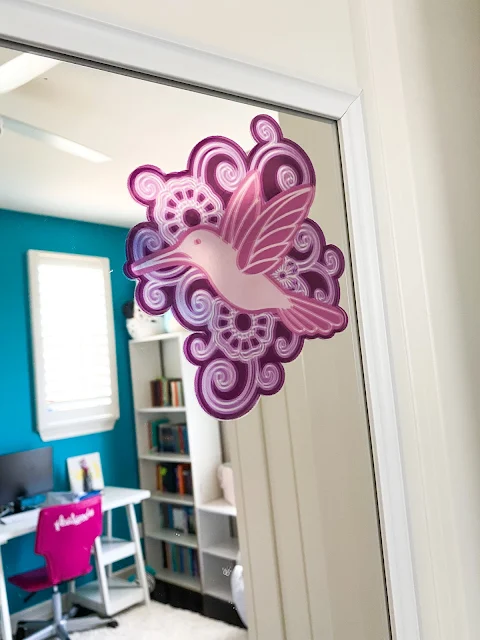
These stained glass window clings are beautiful on mirrors, windows, and glass!
If you would prefer not to have the stained glass look, but would rather have window clings with more vibrant and saturated colors, there is also white window cling for Roland BN-20A that is not transparent for a more decal-looking effect.
I created white window clings with custom QR codes this way.
Note: This post may contain affiliate links. By clicking on them and purchasing products through my links, I receive a small commission. That's what helps fund Silhouette School so I can keep buying new Silhouette-related products to show you how to get the most out of your machine!
Get Silhouette School lessons delivered to your email inbox! Select Once Daily or Weekly.


.png)


No comments
Thanks for leaving a comment! We get several hundred comments a day. While we appreciate every single one of them it's nearly impossible to respond back to all of them, all the time. So... if you could help me by treating these comments like a forum where readers help readers.
In addition, don't forget to look for specific answers by using the Search Box on the blog. If you're still not having any luck, feel free to email me with your question.