Setting up the Prestige A3+ DTF Printer will take you about an hour or so and honestly the hardest part is getting it out of the crate! Follow along for step by step help on how to setup the Prestige A3+ Printer and included Cadlink software (needed to print!)
Unboxing the Prestige DTF Printer
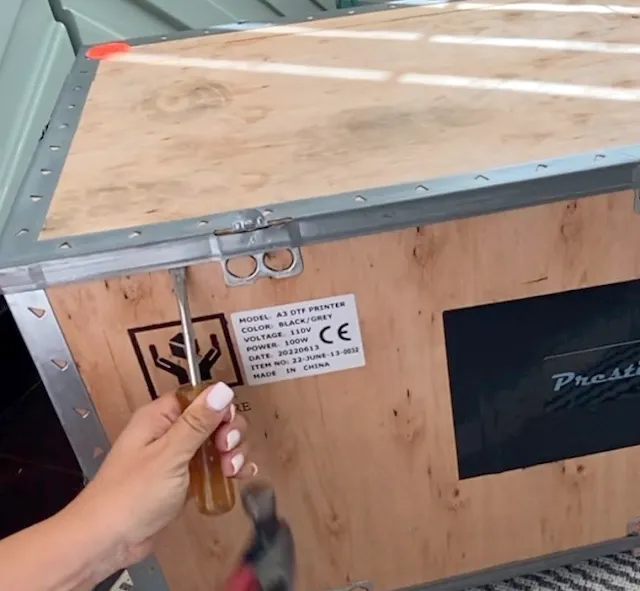
You want to start by uncrating the DTF printer. Make this as easy as possible by grabbing some pliers, a flathead screwdriver and a hammer.
Use the pliers to bend the metal brackets holding the crate's lid on 180 degrees up.
Once all 8 brackets are in the up position, put the flat head screwdriver under the lip of the lid and hit the screwdriver in the upwards position with the hammer. Do this all the way around the top while kind of prying the lid open with the screwdriver.
If I can do this by myself and without breaking a nail...you got this!
What's Included with the Prestige A3+ DTF Printer?
Inside the crate you will find the tray, a bag of supplies including the power cord, three syringes, and a few other items, and of course the Prestige A3+ printer.
What Do I Need to Start DTF Printing?
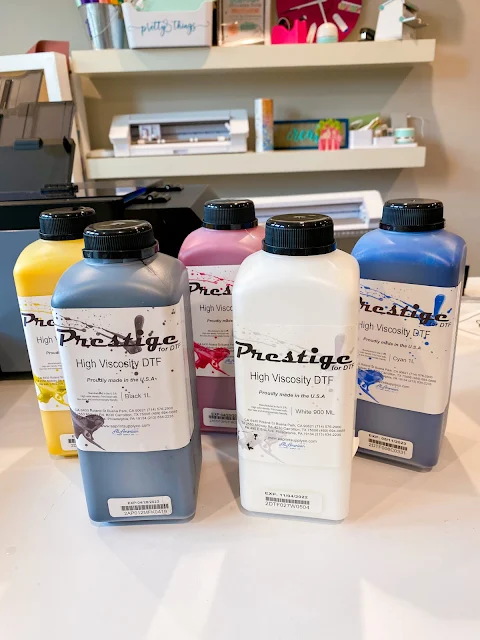
It's important to note the ink, powder, and film are not included with the printer so you'll definitely want to add them on if you didn't get the Prestige A3+ DTF Printer Starter Bundle.
There is also a get the DTF starter ink bundle which also includes the splash sponge, a cleaning solution and a few other items.
While I would highly suggest getting the curing oven and air filter as well, it is possible to get started by using a heat press to cure your direct to film transfers.
Setting Up the Prestige A3+ DTF Printer
I have a step by step video on how to set up the Prestige A3+ DTF that you can watch along with this step by step guide.
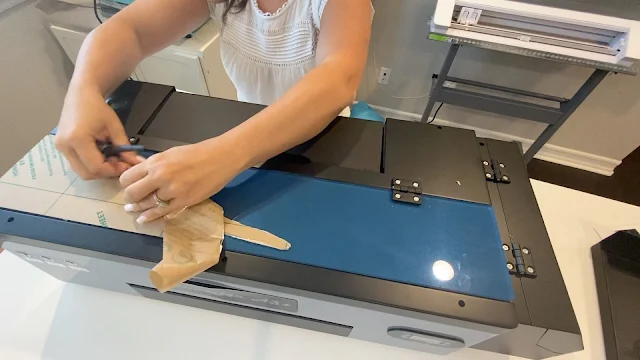
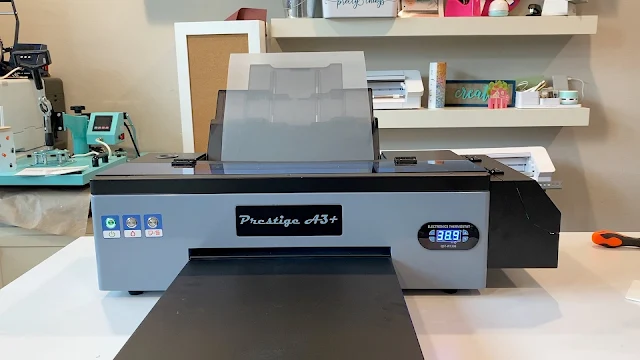
You'll start by removing the plastic bag on the printer and setting it on a large flat surface. Remove the protective film on the top cover.
Open the ink storage compartment and remove the packing material near the back along with the waste tank and waste tank holder.
The waste tank holder is attached to the printer by two screws on the back to the left of the power input.
Attach the holder then put the waste container into the holder and then insert the tube directly into the top of the waste tank lid.
Connect the power cord and press the large red power button to turn on the printer.
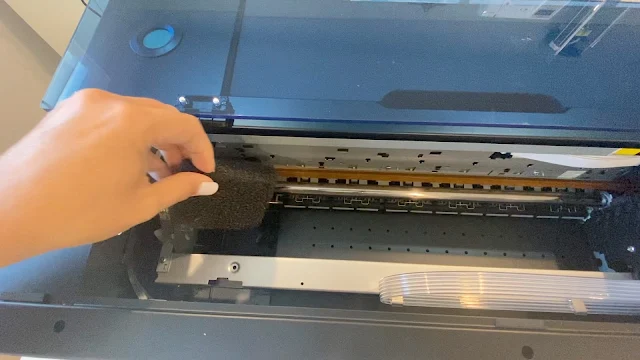
Insert the splash sponge - which is only included if you purchased the Prestige A3+ DTF Printer and ink starter bundle.
Expand the sheet feeder supports along the top and place the black metal support tray in the front.
Place a sheet of film into the printer and adjust the sizing guides so it keeps the sheet in place.
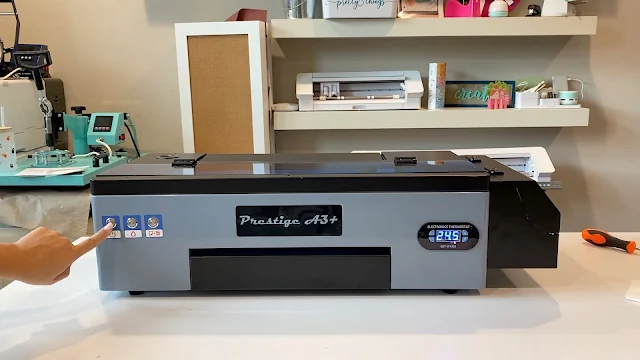
Press the third button on the front of the printer to run a test film through the printer. If it goes throughout without an issue you're all set.
How to Install Ink in the Prestige A3+ DTF Printer
Flip open the cover on the right side of the printer to access the ink tanks. Remove the sticker.
Twist open the container on the left and pour in the blue ink then replace the cover. Use the sticker guide along the top of the ink tanks to fill all of the tanks. Be sure you are filling with the correct color. Be aware, there are two white stickers, but only one white ink tank. The ink order from left to right should be blue, red, white, black, yellow.
Once you have filled all of the tanks with ink, it's time to charge the inks or pull the inks through the lines.
Grab one of the small syringes and attach the orange top.
Flip open the main lid of the printer and towards the right side you'll see six small cartridges. Pop one of them out. Insert the syringe into the small hole and pull the syringe so the ink starts to feed into the cartridge. Once ink starts entering the syringe you can stop pulling the ink through.
Empty the syringe into the waste container and then repeat with all six of the ink cartridges.
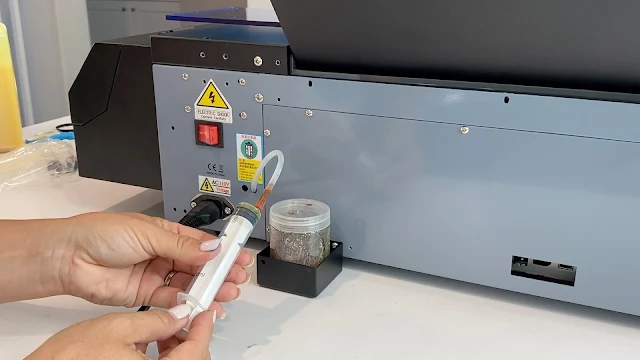
After you have charged all of the inks, put the syringe into the tube at the back of the printer.
Again pull out the back of the syringe to finish pulling the ink through the lines and remove any and all air bubbles. Empty the syringe into the waste container one final time and then put the tube back into the top of the waste container.
At this point the printer is set up and you need to now install the Cadlink rip software.
How to Install the Cadlink RIP Software for Prestige A3+ DTF Printer
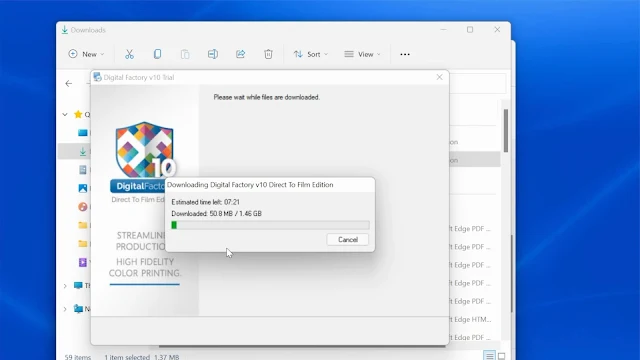
A link for the software will be emailed to you along with an access code. Click the link in the email and follow the on screen prompts to download the software.
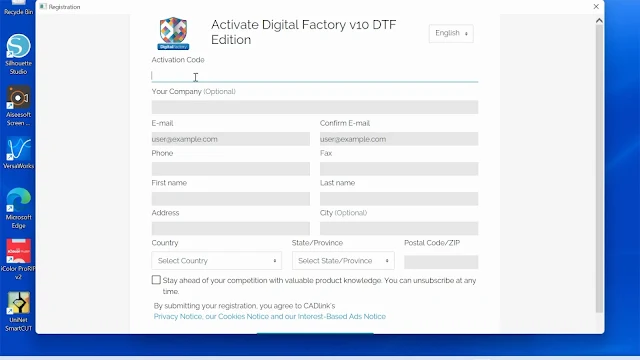
Once the software is installed it will prompt you to register your printer and there you will enter your access code.
After you register your printer, you'll be instructed to connect the printer to the computer using the included USB cord.
Again follow the on screen prompts. On the screen with the "Install Printer" button make sure you pick the Prestige A3 DTF printer before clicking "ok".
Finish up the printer installation and you'll be ready for your first print with the Prestige A3+ DTF Printer.
Get Silhouette School lessons delivered to your email inbox! Select Once Daily or Weekly.












.png)


No comments
Thanks for leaving a comment! We get several hundred comments a day. While we appreciate every single one of them it's nearly impossible to respond back to all of them, all the time. So... if you could help me by treating these comments like a forum where readers help readers.
In addition, don't forget to look for specific answers by using the Search Box on the blog. If you're still not having any luck, feel free to email me with your question.