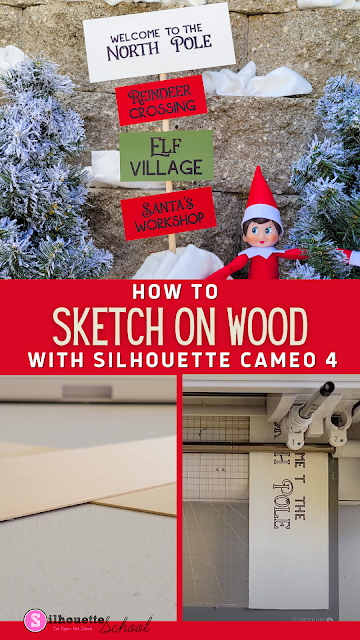
Ever want to sketch on wood with Silhouette CAMEO?
It's possible to use your Silhouette CAMEO 4 to draw or sketch on thin wood to make signs! If you've ever sketched on paper or cardstock, this process is almost exactly the same - there's just a few things you want to do a little differently to get the best results when sketching on wood.
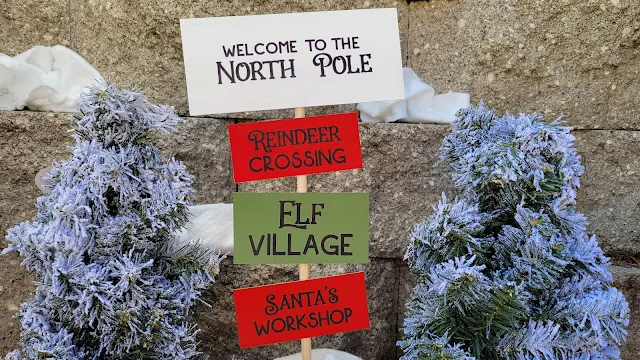
First, choose a suitable design. Even though you'll be using a fine tipped pen to do your sketching, you still will yield the best results if the design you choose isn't too complicated, tiny, or intricate. These North Pole signs are the perfect example of the kind of designs you can look for.
You can grab these North Pole signs in the Fall and Winter Sign SVG Bundle at So Fontsy.
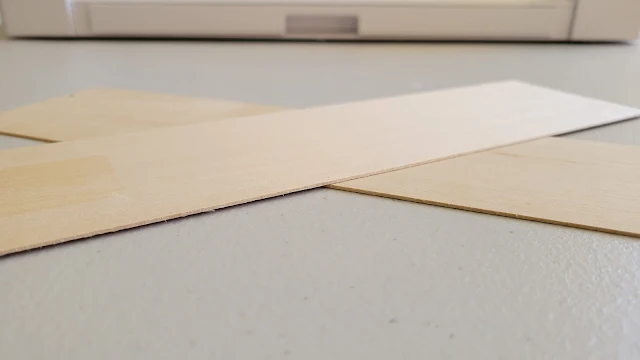
You want to use thin basswood for these mini signs since they will fit through the CAMEO 4 which has 3mm clearance. I used 1/32-inch thick basswood.
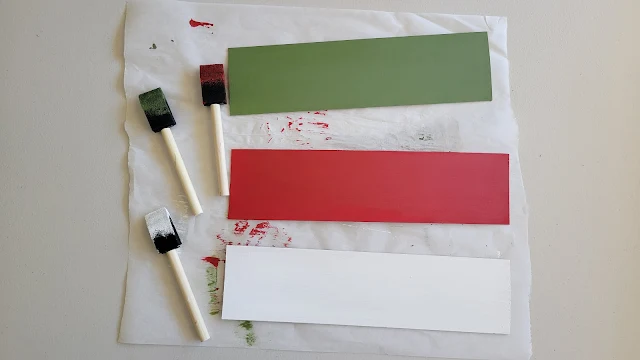
You can leave the wood unfinished or paint the basswood before sketching on it. If you paint just be sure it's completely dry before trying to sketch with the CAMEO 4.
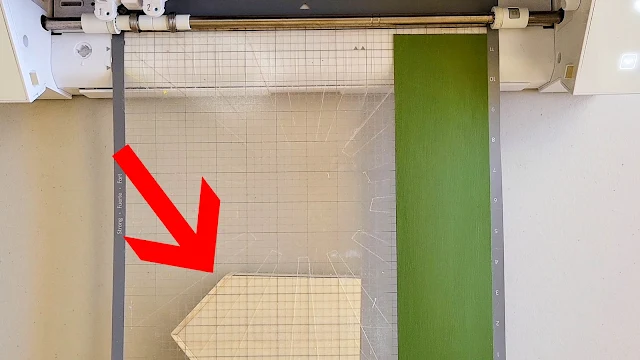
Place the piece of wood on a strong grip Silhouette cutting mat. It's best to place the wood strip along the right edge of the mat, closer to the bottom of the mat, then the top.
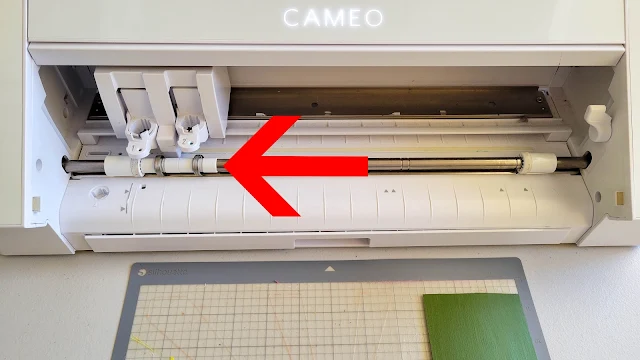
Move the rollers all the way to the left.
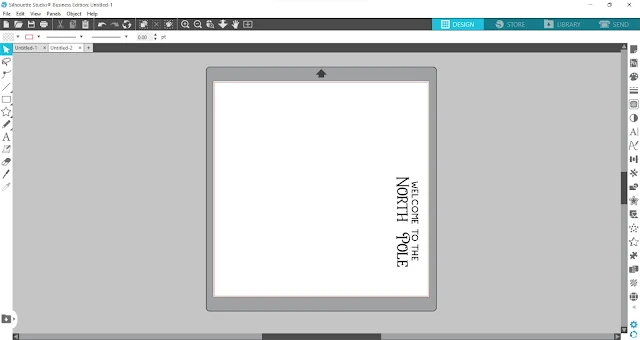
In Silhouette Studio, rotate your design 90 degrees and place the design so it'll will sketch out on the basswood you placed on your cutting mat.
Load a fine tipped Sharpie pen into the Silhouette Cameo pen holder. Use the white, medium adapter for that.
Then, put the pen holder into the machine, but don't push it all the way into the carriage. Leave a tiny gap before locking it in place. If the Cameo isn't detecting the pen holder, try pushing it down just a tiny fit farther.
In Silhouette Studio in the Send panel, reduce the force to 1 and slow the speed to a 1 or a 2.
Load the strong grip mat into the machine. If the cutting mat bends down and lifts up the edge of the basswood, place something under the mat, like a book or anything flat, to keep it level.
I suggest doing several tests before sketching onto your final sign. That way if you get pen drag marks, you can make adjustments like leaving a slightly bigger gap with the pen holder in carriage one. You can also try placing the pen just a smidge higher in the actual pen holder itself.
Then, sketch on your final project!
The sketch will only be an outline of the design/text. So, just go back in with the Sharpie pen and color it all in.
Basswood is super thin and really easy to cut with a sharp craft blade. You could trim the pieces before painting and sketching or you could do it after. If you trim it after then you don't really have to worry too much about lining it up or centering the design on the basswood during for sketching.
We created this mini North Pole sign by hot gluing the mini signs to a wooden dowel. Since this sign will be placed outdoors, it needs to be sealed. If you want to learn how to seal wood signs, take a look at this blog post over at the So Fontsy blog.
And remember you can grab the designs we used in this project in the Fall and Winter Sign SVG Bundle at So Fontsy.
Get Silhouette School lessons delivered to your email inbox! Select Once Daily or Weekly.







.png)


So cute!
ReplyDeleteGood day. Can you also use the curio for this?
ReplyDelete