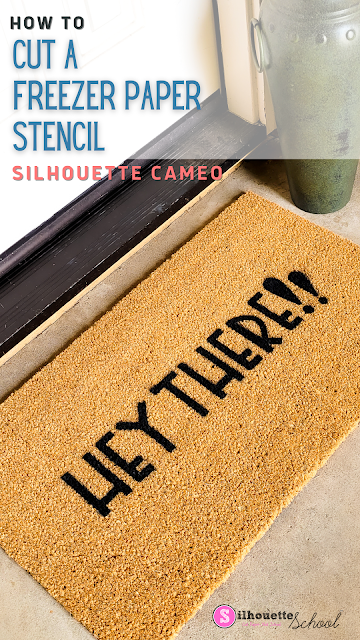
Believe it or not freezer paper (yes, the same freezer paper you can get at the grocery store!) makes a great stencil material for stenciling designs on all sorts of projects like signs, shirts, doormats, and so much more.
In this tutorial I'll share how to cut a freezer paper stencil with your Silhouette Cameo to make a custom doormat.
How to Turn an SVG into a Stencil in Silhouette Studio
Open your stencil design in Silhouette Studio. I highly suggest choosing a design that does not have a lot of "islands," those are parts of the design that are not connected to anything - like the middles of letters.
It's okay to have islands in the design, but it's going to be much easier if it doesn't have a lot, especially not a lot of tiny ones. In this design, there is only one island - the middle of the letter R.
This design we're using for this freezer paper stencil will later be used as a doormat stencil. You can grab this design in the DIY Doormat Bundle at So Fontsy.
How to Turn a Design into a Stencil in Silhouette Studio
To turn this design into a stencil, use the Draw a Rectangle tool from the left sidebar to draw a rectangle around it the design, leaving a fair amount of space between the edge of the design and the rectangle.
Note: If you are cutting a very large stencil (like this one), you can actually skip drawing the rectangle around the design to cut out because instead you'll just use the edges of the actual freezer paper itself.
How to Cut Freezer Paper with Silhouette CAMEO
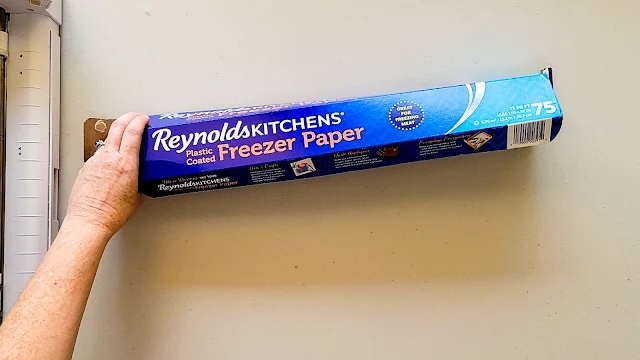
Once your design is set up in Studio - grab your freezer paper. This is just regular freezer paper that you can find at the grocery store.
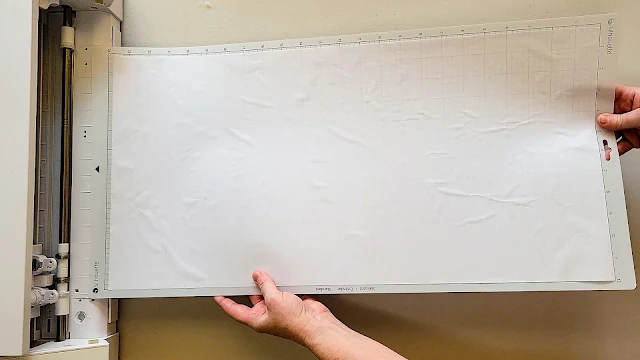
Freezer paper is rather wide, so if you are using a 12" Silhouette CAMEO 4 you'll probably need to trim it fit on your cutting mat.
The freezer paper has a glossy side to it. Place the glossy side down on the cutting mat.
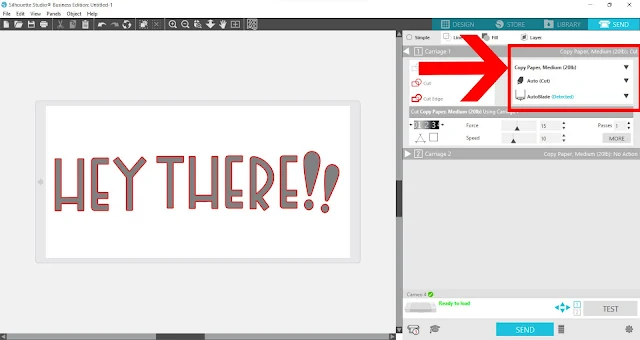
There isn't a default freezer paper material cut setting in Silhouette Studio, but the Copy Paper, Medium setting worked really well. Be sure to perform a test cut on a scrap piece of freezer paper. Then, if necessary, make any adjustments to the cut settings if you didn't get a good cut.
Send the design for cutting to the Silhouette.
After cutting, carefully weed out the design. Remember to weed the design itself, to make the space where you'll later be applying paint.
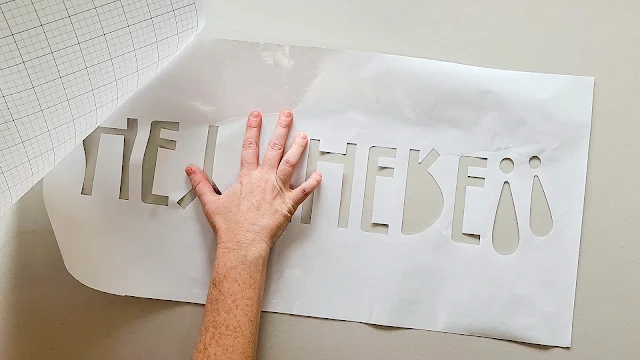
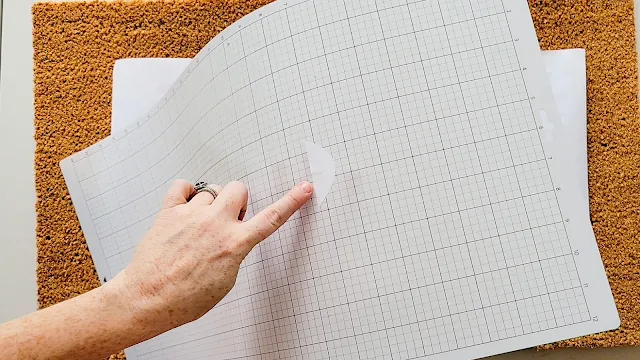
You'll need to carefully remove the freezer paper from the mat. Use care so you do not rip the stencil. It can often be easier to flip the cutting mat over and roll the mat away from the freezer paper.
Transfer the stencil to the substrate (in this case a coir doormat).
The islands will be left behind on the cutting mat..
You'll need to individually remove and transfer those. That's why using a design without a lot of small, tiny islands is easier to work with.
Once the freezer paper stencil is in place, use an iron or heat press to adhere the stencil to your welcome mat or other surface.
The glossy side of the freezer paper is waxy and will temporarily adhere the freezer paper to the surface. After painting the stencil, you'll be able to remove the stencil and it won't leave behind any residue. Freezer paper stencils give nice clean and crisp paint lines!
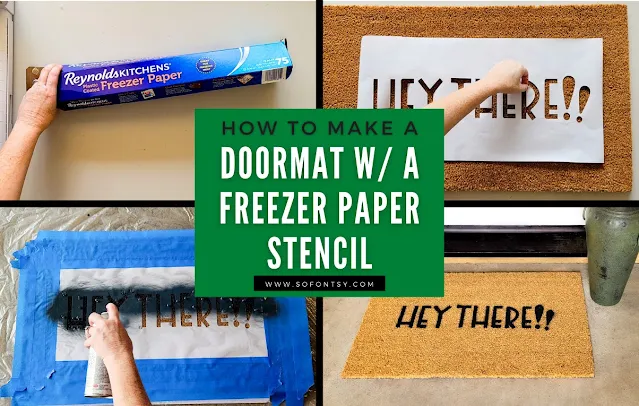
Check out the following blog post over on the So Fontsy blog for how to use freezer paper stencils to create your own DIY doormat!
And don't forget you can grab this doormat design (and plenty of others) in the DIY Doormat Bundle at So Fontsy as well.
Note: This post may contain affiliate links. By clicking on them and purchasing products through my links, I receive a small commission. That's what helps fund Silhouette School so I can keep buying new Silhouette-related products to show you how to get the most out of your machine!
Get Silhouette School lessons delivered to your email inbox! Select Once Daily or Weekly.










.png)


No comments
Thanks for leaving a comment! We get several hundred comments a day. While we appreciate every single one of them it's nearly impossible to respond back to all of them, all the time. So... if you could help me by treating these comments like a forum where readers help readers.
In addition, don't forget to look for specific answers by using the Search Box on the blog. If you're still not having any luck, feel free to email me with your question.