In this tutorial I'll share how to make Silhouette mats sticky again and clean your blades - but with that said just know cleaning is usually a temporary solution and you may still need to replace your mats and blades to get the best cuts.
How to Clean Cutting Mats to Make Them Sticky Again
There are three popular ways to clean your cutting mats: re-applying adhesive, cleaning the adhesive, and applying temporary adhesive.
I would always recommend starting by using a scraper or spatula to remove any debris from the cutting mat. Then use a baby wipe or damp paper towel with a little dish soap to clean the adhesive cutting mat.
This is particularly helpful in making the cutting mat sticky again if you have a lot of fabric stuck to the cutting mat.
If you have a lot of paper or vinyl bits on your cutting mat you may find it more helpful to use strips of thick painters tape or a lint roller to clean your cutting mat.
Press the strips across the dirty cutting mat, burnish well, and then peel back the tape removing the debris with the tape.
Once you clean the cutting mat you can decide if the mat is sticky enough still to use or if you need to make the cutting mat sticky again. If you need to re-stick the cutting mat, you can use a spray adhesive for cutting mats.
You want to be careful though and use painters tape to protect the edges to ensure the spray adhesive does not get into the margins of the mat. This can cause a real mess with your Silhouette rollers.
I honestly don't recommend re-sticking your cutting mats because it's almost always a temporary solution, but I know sometimes you can get into a pinch.
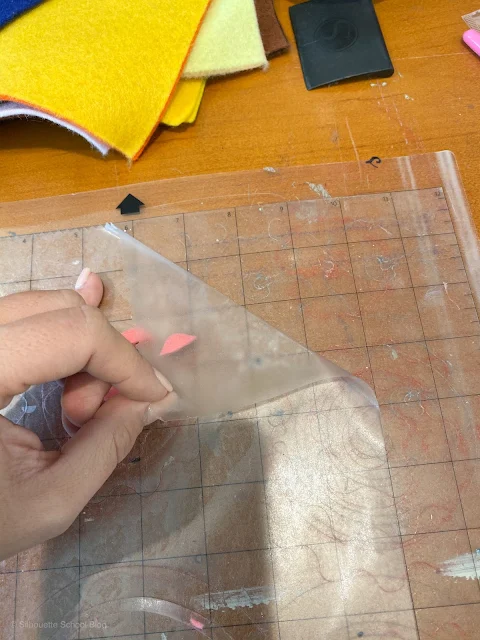
Instead I'd recommend trying to prevent your cutting mats from getting excessively dirty by using a sheet of transfer tape as a removable adhesive layer on your cutting mat.
This is a great hack that will allow you to basically always have a clean cutting mat. It's especially helpful for very fibrous materials like felt, leather, and construction paper.
How to Clean Silhouette Blades
Keeping your Silhouette blades clean is almost extremely important for getting not only good cuts - but any cuts. If there is debris or scraps stuck in your autoblade it can prevent it from being able to tap to adjust the blade depth. It's important to keep manual blades clean as well.
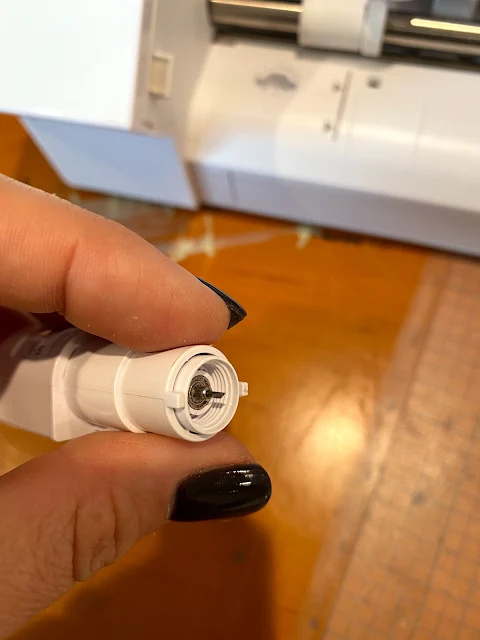
To clean a Silhouette blade use the blade cap remover tool to twist off the cap of the blade.
Clear out any debris in and around the blade area.
Be sure to look under the cap to make sure there is nothing stuck there as well.
Return the cap to the blade by twisting it on with your fingers. Do not over-tighten the blade as it could crack the casing around it and cause more cutting issues.
Note: This post may contain affiliate links. By clicking on them and purchasing products through my links, I receive a small commission. That's what helps fund Silhouette School so I can keep buying new Silhouette-related products to show you how to get the most out of your machine!
Get Silhouette School lessons delivered to your email inbox! Select Once Daily or Weekly.


.png)


No comments
Thanks for leaving a comment! We get several hundred comments a day. While we appreciate every single one of them it's nearly impossible to respond back to all of them, all the time. So... if you could help me by treating these comments like a forum where readers help readers.
In addition, don't forget to look for specific answers by using the Search Box on the blog. If you're still not having any luck, feel free to email me with your question.