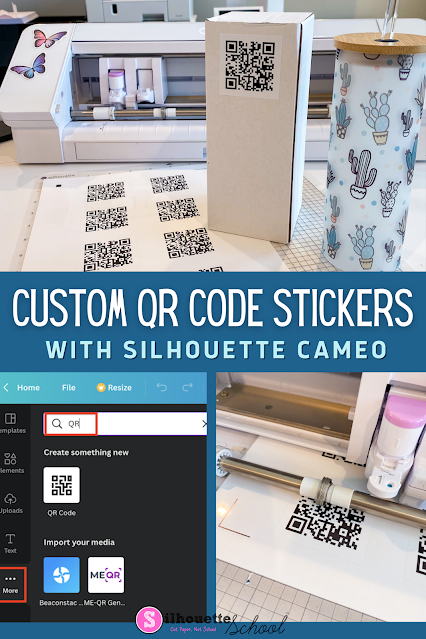
The best part about this is you can export designs from Canva, including QR codes so you can make custom stickers, QR code window clings or even vinyl stickers!
How to Generate Custom QR Codes for Free
If you aren't already a Canva user you'll need to start by signing up for a free Canva account.
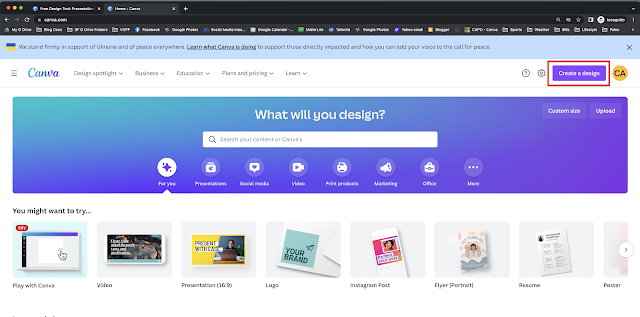
Once you get signed up and signed in click "Create a Design" from the top right corner.
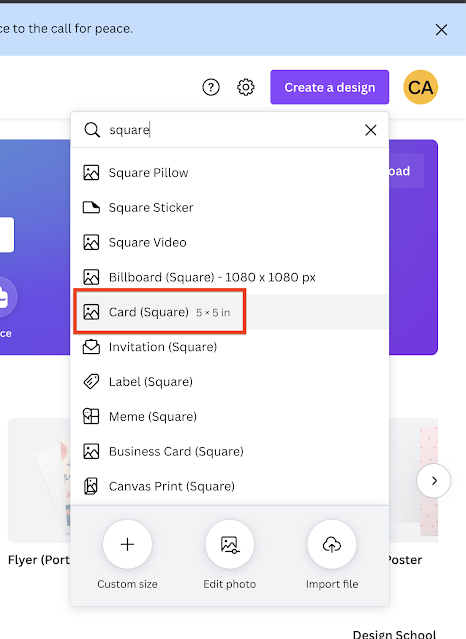
You can pick any of the options but if you type in Square and select Square Card 5x5" that's about the size you'll probably want.
A blank canvas will open with a menu on the left side. Click the "More" with three dots button.
In the search box that appears type "QR" to find the QR app and add it to your Canva. Now that you've done this the QR app should always appear on the left side when you sign in.
Enter any URL. This could be for your website or a client's website or even a link to care instructions or a special digital download you offer with a product you're selling.
Wherever you want to send people when they scan the code.
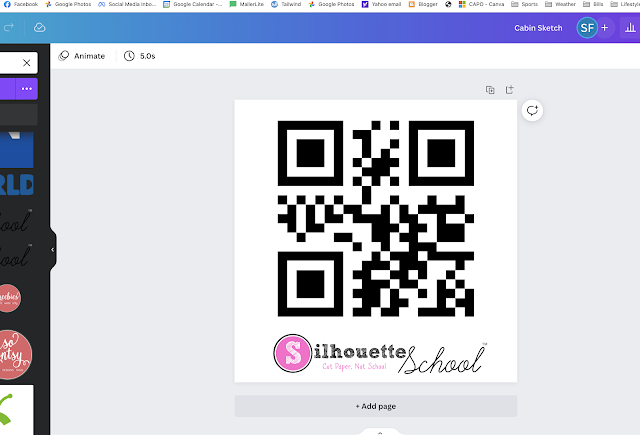
Click "Generate Code" and your custom QR code will appear in the canvas.
Now you can select it and enlarge to fill the full space. If you want to customize further by adding text or your logo you can do that as well.
How to Save QR Codes for Silhouette Studio
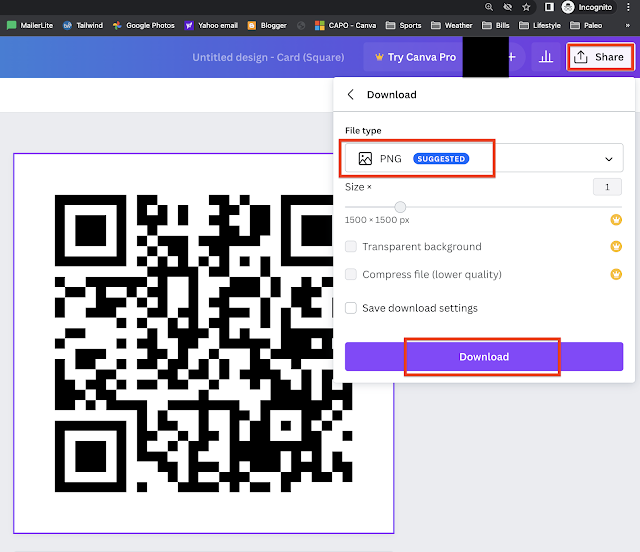
To export the QR code from Canva so you can open in another program go to Share > Download in the top right corner.
Select the file type you want to save. To make custom stickers with QR Codes with Silhouette I would suggest saving as a PNG (NOT with a white background).
If you want to open in Roland Veraworks directly to print QR Code window clings I would save as a PDF. You can watch the video on how to make QR Code Window Clings with Roland BN-20A here.
How to Make Custom QR Code Stickers with Silhouette CAMEO
Launch Silhouette Studio and go to File > Merge and select the PNG file of the QR code you just saved. It will open in the work area.
To make custom stickers with QR Codes you'll need to set up the work area to match the size of the sticker sheets and printer you are using. I'm going to use Online Labels 8.5 x 11" sticker paper so I have set up my Page Setup panel that way.
I've also added registration marks.
The QR code is currently 5" x 5" so resize as needed then duplicate or fill the page to make a set of QR code stickers.
Move to the Send panel and if the cut lines are not already turned on, select all of the designs and click "Cut" or "Cut Edge". Because it's NOT a transparent background the edge of the design is where the cut line is - which is what we want for QR code stickers.
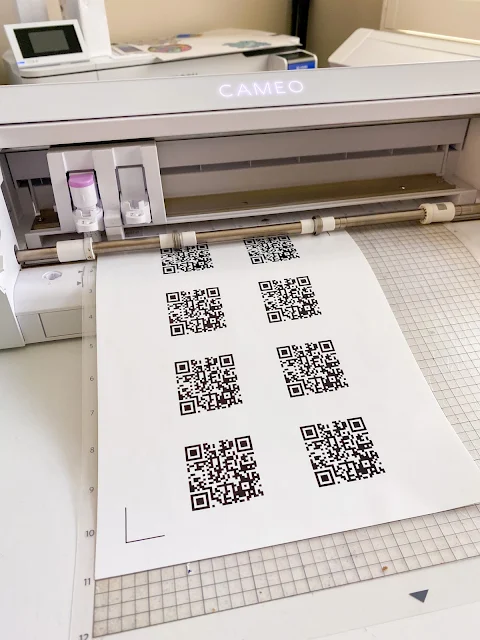
Put an Online Sticker sticker sheet into your printer and from Silhouette Studio send to print.
Once printed, place on a Silhouette cutting mat and from the Send panel send to cut with the Silhouette CAMEO.
You can use these custom QR code stickers on your product packaging or business cards or even directly on the items you sell!
Note: This post may contain affiliate links. By clicking on them and purchasing products through my links, I receive a small commission. That's what helps fund Silhouette School so I can keep buying new Silhouette-related products to show you how to get the most out of your machine!
Get Silhouette School lessons delivered to your email inbox! Select Once Daily or Weekly.








.png)


I absolutely love getting these tips. I look forward to learning something new every day.
ReplyDelete