This is especially helpful if the design opens in the work area not filled with color or has a lot pieces.
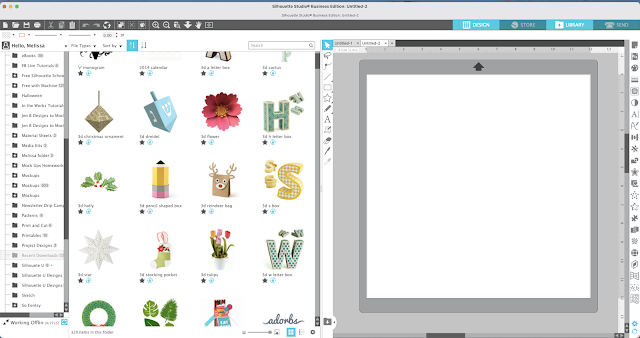
To preview the design in the library while also working in the Design area, start by opening a new design area in Silhouette Studio.
In the bottom left corner click the small tab with the arrow to open split screen mode.
This will put the library in the left panel and the design area in the right panel.
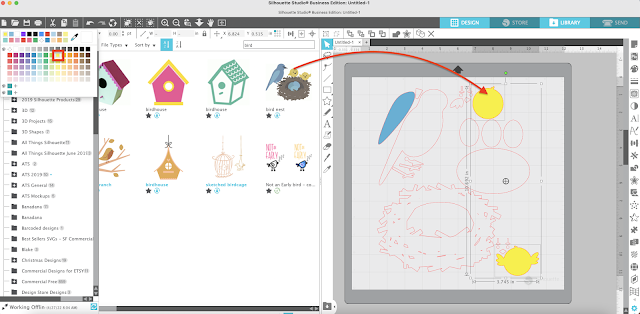
Find your design in the library and double click it to open in the work area.
In this example, the design has a lot of different pieces, but none of them are filled with color making it challenging to know which pieces need to be cut on the same color material or how to reassemble the full design.
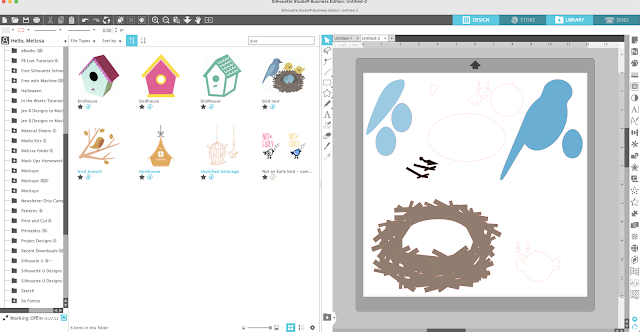
Using the thumbnail preview in the library as a guide allows you to more easily and quickly fill each piece with a color from the Quick Access color fill tool or the Fill Panel tool on the right sidebar.
Once all of the pieces are filled with color you can more easily arrange the pieces into groups on the cutting mat to cut together.
You can again use the thumbnail preview, after cutting, to assemble the entire design.
Note: This post may contain affiliate links. By clicking on them and purchasing products through my links, I receive a small commission. That's what helps fund Silhouette School so I can keep buying new Silhouette-related products to show you how to get the most out of your machine!
Get Silhouette School lessons delivered to your email inbox! Select Once Daily or Weekly.


.png)


Thank you for all the helpful hints that you give.
ReplyDelete