You can cut your own sticker sheets when you combine the Silhouette CAMEO's ability to do a full die cut and kiss cut on the same sticker sheet!
In this tutorial, we’ll show you how to make custom sticker sheets this way!
This tutorial will assume you know the basics of how to print and cut with Silhouette CAMEO. If you don't, check out this beginner Silhouette Print and Cut tutorial.
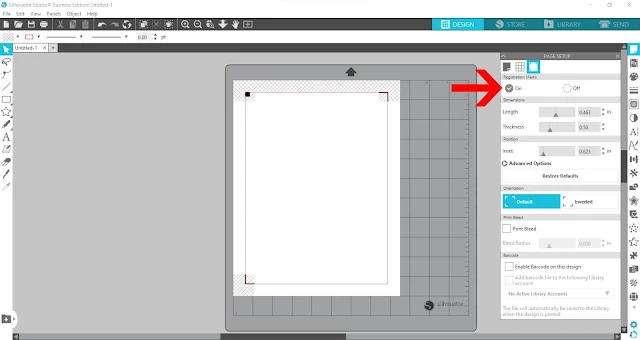
Open up a Silhouette Studio design area and set up the page for print and cut.
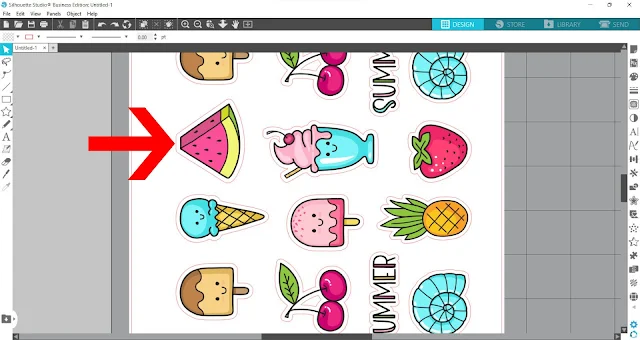
Merge the sticker files you want to cut into the open print and cut document. We are using this adorable summer set from the May 2022 SVG and Font Bundle at So Fontsy.
These sticker files are awesome because they include a formatted sticker sheet with all the sticker designs, plus each sticker design also has the signature white border around them that make your stickers look super professional!
This white border outline around the stickers will be your “kiss cut” – the cut that only goes through the first layer of the actual sticky part of the sticker paper, and not all the way through the sticker backing.
How to Make Sticker Sheet Sets with Silhouette CAMEO
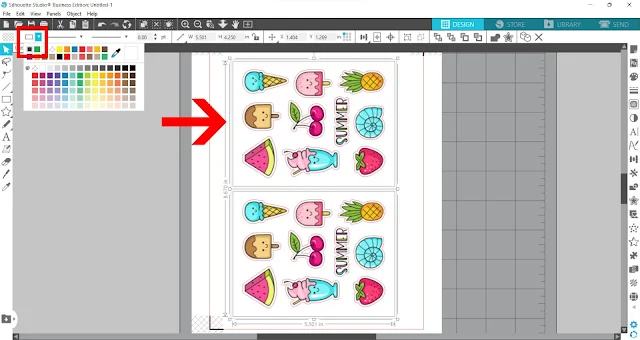
Use the Draw a Rectangle tool to draw a rectangle to the size that you want to cut your sticker sheets down to. This will be the full cut that your CAMEO 4 will cut all the way through the sticker paper.
Make sure to give the rectangle a different color line color than the stickers.
In this example, the rectangle's line color is changed to black from the Line Color tool on the Quick Access toolbar.
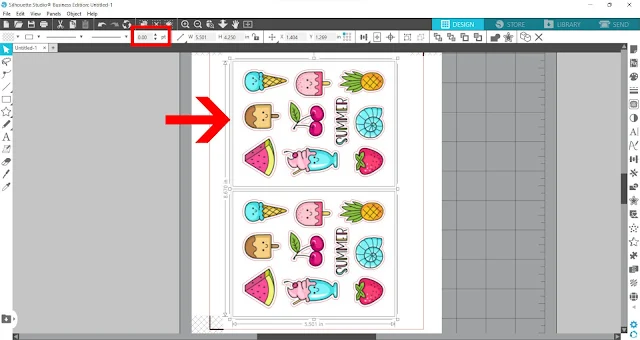
Also, make sure the rectangle does not have a line weight – 0.00 pt. You don't want this line to print either.
How to Print Stickers with Silhouette CAMEO 4
From the Printer tool icon along the top toolbar in Silhouette Studio, open the Printer settings to prepare to print your stickers.
I printed these stickers on white matte sticker paper from Online Labels. As always to get the best quality stickers adjust the quality to "Best" and select the paper type as Matte Brochure or the like.
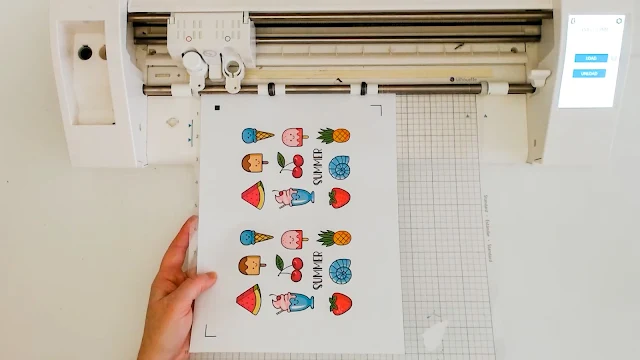
Once printed, load the printed sticker sheet onto the Silhouette cutting mat for a Print and Cut, then load the mat into your Silhouette CAMEO 4.
How to Kiss Cut and Die Cut Stickers on the Same Sheet with Silhouette CAMEO
Return to Silhouette Studio and go to the Send panel and click the line tab.
Set a kiss cut setting for the red lines, and a full cut setting for the black lines. There is table on the Online Labels website that lists kiss cut and full cut settings with the Silhouette Cameo 4 for their sticker papers. And if you want, you can save these custom material settings.
If you use an AutoBlade, the blade will automatically adjust between the cuts to account for the kiss cut vs full die cut.
Now you're ready to send to cut.
After cutting, remove the excess cut sticker paper from the mat and you've created your sticker sheets!
And here’s your finished sticker sheet, cut down to size with the individual stickers cut out with a kiss cut!







.png)


Hi, Will this work on the silhouette portrait 2 also? Thanks.
ReplyDeleteHey there! Definitely!
Delete