You can give wood a stained look without staining at all. The trick is sublimation. Yes! You can sublimate on wood.
Open Silhouette Studio and set up your size to match your printer. I'm printing on my wide format Epson F570 Sublimation printer since I have 12" wood rounds.
Merge the design into the work area by going to File > Merge. If you have the option for the SVG and you have Silhouette Studio Designer Edition use that.
I'm using the Rattan Welcome sign design from So Fontsy.
This design is intended as a vinyl or stencil..but can you imagine cutting and weeding and then applying that? SO much easier to sublimate wood with the faux-stain look for this one.
Size or scale the design so that it fits on the piece of wood. I actually use the Draw an Ellipse tool to draw out a 12" circle to perfectly match the size of the wood round I was using. Then I scaled the design exactly to fit in the circle.
You could just fill each piece of this design with a solid color, but since you want it to look like faux stain, my suggestion is to fill with a wood grain pattern. Silhouette Studio - even the free version - includes several free faux wood patterns in the Fill Patterns tab.
Ungroup the design if you need to, then select the piece to fill and select the digital wood grain pattern of your choice from the Fill Patterns tab.
I opted to go with a two-tone look so I filled the two parts of the rattan with one stain pattern and the "Welcome" with a different color wood grain.
How to Print Sublimation Prints from Silhouette Studio
The Epson F570 is a true sublimation printer and the print manager knows to print the image in reverse so there's no need to mirror the image manually. Because it's a 24" wide sublimation printer and my design is 12" wide, I duplicated the design so I could print two copies. You could, of course, add other sublimation images in this space instead to avoid waste or print on sublimation transfer paper sheets instead of off the roll.
Make your selection in the Print Manager and then send the design to print on the sublimation printer.
While it's printing you want to prep the piece of wood and get your heat press warmed up to 400 degrees.
How to Sublimate on Wood with Sublimation Spray
Spray a light coating of sublimation spray over the entire wood surface where you will be sublimating. I am using this sublimation spray.
Once the heat press is warmed up to 400 degree, place the piece of wood on the heat press with the coated side up. Cover with a piece of kraft paper and press for 30 seconds. This will set the spray.
Now you're ready to sublimate.
Take the printed sublimation image and place it print-side down onto the coated side of the piece of wood. Use a few pieces of high temperature heat tape to secure the print to the piece of wood so it doesn't move while pressing.
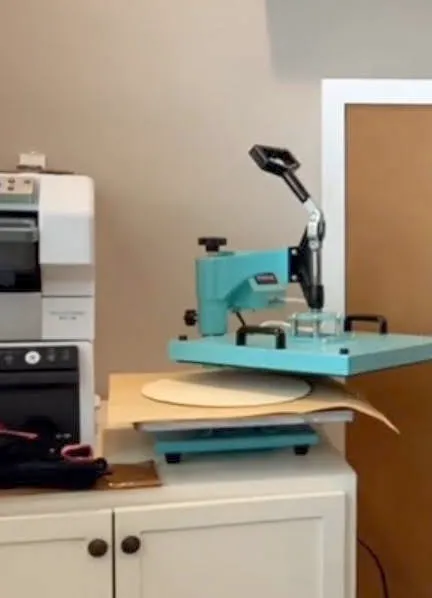
Place the piece of wood with the sublimation print on top into the heat press. I'm using an 8 in 1 Swing Away heat press which is great for thicker items since you can get even pressure due to the top platen coming directly down.
Cover with the kraft paper again. Press for 30 seconds at 400 degrees.
When the time is up remove the piece of wood from the heat press and peel away the sublimation transfer paper.
The sublimation ink has been transferred to the wood and because you gave it a wood grain fill, it looks like stain!
Get Silhouette School lessons delivered to your email inbox! Select Once Daily or Weekly.


.png)


No comments
Thanks for leaving a comment! We get several hundred comments a day. While we appreciate every single one of them it's nearly impossible to respond back to all of them, all the time. So... if you could help me by treating these comments like a forum where readers help readers.
In addition, don't forget to look for specific answers by using the Search Box on the blog. If you're still not having any luck, feel free to email me with your question.