3D layered SVG designs are really popular right now for all different types of 3D paper crafts. Not all 3D layered paper designs are ready to be used in a shadow box. That means if you want to use it that way you'll need to make a few minor design changes in Silhouette Studio.
This tutorial will explain how to modify 3D paper designs to use in any size shadow box.
Start by opening a work area in Silhouette Studio and opening the layered 3D design. I am using this 3D layered owl from So Fontsy's Multi Layer SVG and Font Bundle.
The design is grouped, start by ungrouping and separating the different layers of the owl.
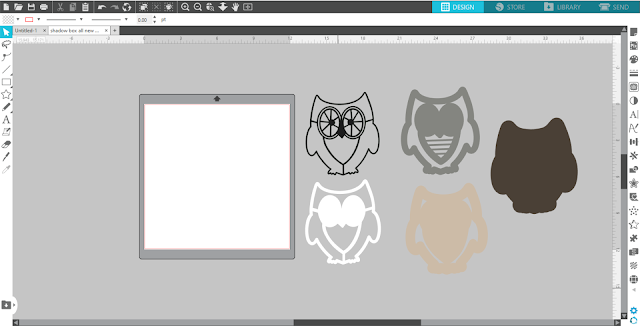
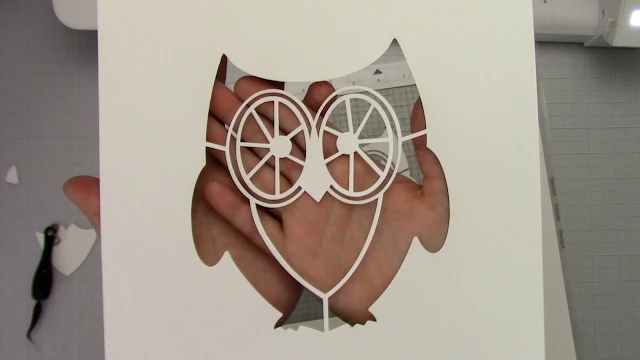
You can see that as it's set up now, the design will not fit in a shadow box because it's free floating. The design will cut out of paper, but what we need is really the inverse.
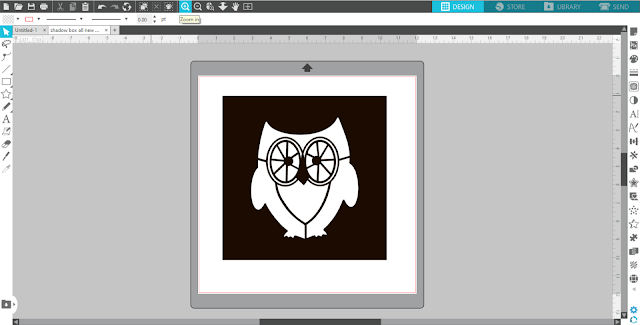
To do this we need to draw a box around each layer of the design with the box being the same size as the shadow box. In this case we need to draw a 9x9" box around each layer of the 3D owl design.
To center the first layer of the owl in the box, select both the owl and 9 x 9-inch square and click the Center icon in the top toolbar menu so that the owl we be centered
perfectly inside the square.
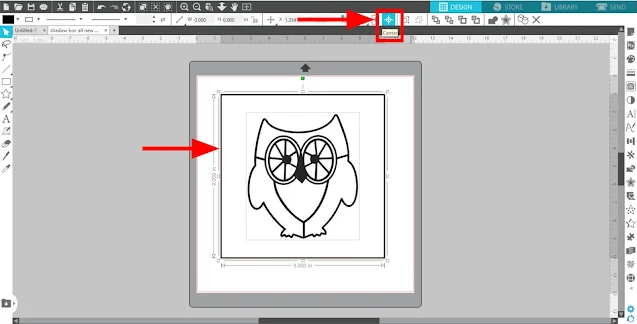
If you leave this as is you'll simply get an owl that's cut out of a square. We need the owl to become part of the square. To weld the two, we need to work with compound paths.
Before you do this, change the fill color of the owl to white and the line color to black.
Then, right-click on just the owl (now the box) and select “Release Compound
Path” so you’ll have access to each shape of the owl design.
Now you want to select only the outermost outline of the owl and delete it.
This time, select all the remaining shapes, including the large square, right-click and select Make Compound Path.
I suggest filling this layer with a solid color - ideally the color paper you will cut it on. Since you'll be making quite a few layer, filing each with a different color helps to keep them organized.
Repeat these steps with each piece of the layered owl SVG.
When you
get to the last (bottom) piece of the layered owl SVG, there is only one owl shape, so you do not need to
release a compound path. Simply draw a 9 x 9-inch square around it, center it, select both the shapes, and make them a compound path.
You should now have five 9 x 9-inch squares which become the layers of the owl for your shadow box!
To arrange the layers correctly in Silhouette Studio, use the Bring Forward/Send to Back icons in the top toolbar menu to reorder the different layers so you can see all of them.
To perfectly align all the different layers together, select all the layers then click the Center icon in the top menu.
You can now cut out these 5 layers with your Silhouette CAMEO.
Use foam dots to add space between each so you can place them in your shadow box.
Your shadow box is now ready to display. We added a strand of LED lights to this to really make it special.
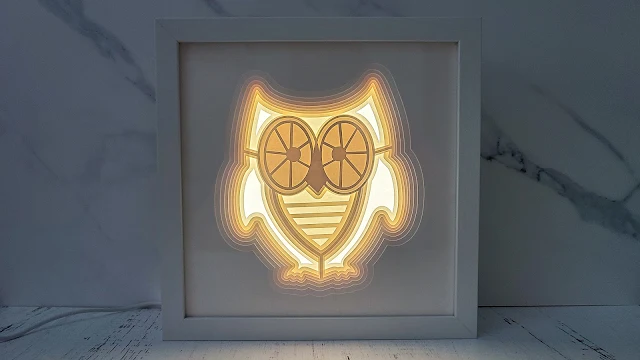
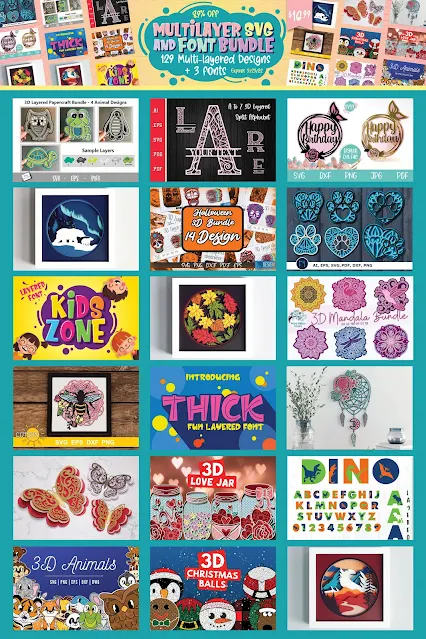
Now that you know how to turn any 3D design into a shadow box design you'll want to grab the Multi Layer SVG and Font Bundle. These make awesome holiday and seasonal decor and unique gifts!
Get Silhouette School lessons delivered to your email inbox! Select Once Daily or Weekly.










.png)


It's quite useful. I have to try it for my son right now.
ReplyDelete