Once you know how to curve text around a circle in Silhouette Studio you may be wondering how to curve text along the bottom of a circle.
Getting text to curve on the bottom of a circle seems to give Silhouette users more trouble with the text wanting to flip upside down or backwards. This tutorial will explain exactly how to do it!
If you're not familiar with the basics of text to path in Silhouette Studio aka curving text around a circle I would recommend reading this beginner tutorial first. Once you get the basics down, you can move on to how to curve text on the bottom of a circle.
You'll start the same with drawing out your circle and typing out a line of text.
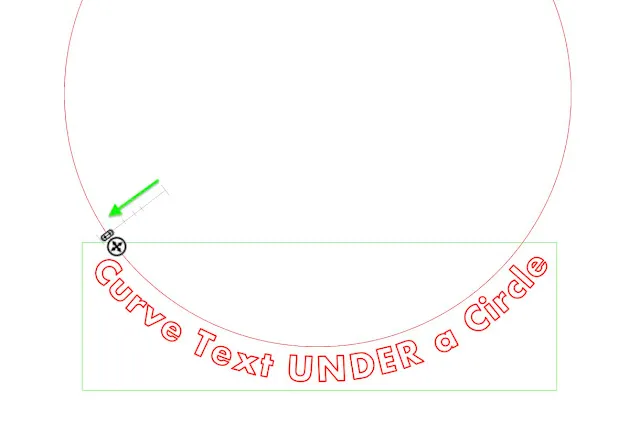
When you double click the text box to get the green selection square and the little crosshair control, you can grab the text box and drag it. You want to drag it to the inside bottom of the circle. This is important.
If you try to drag the text to the outside bottom of the text it will flip upside down.
Once the text has landed on the inside bottom of the circle, pull the lever bar down to bring the text so it curves around the bottom of the circle.
From the Text Style panel, adjust the character spacing to bring the letters closer together.
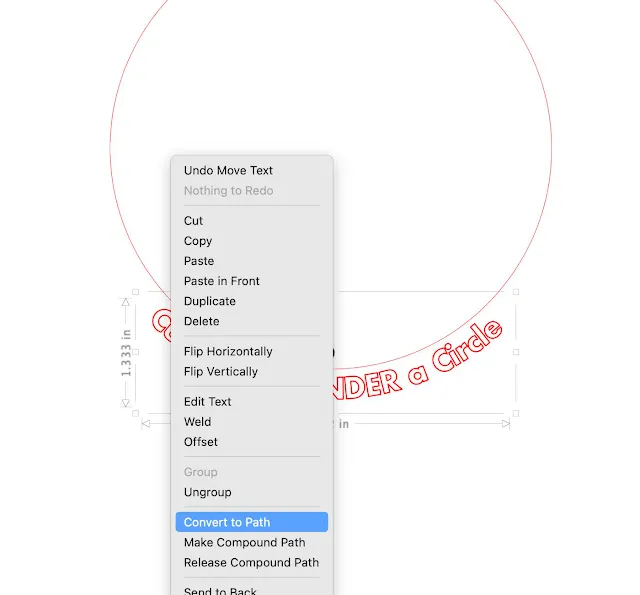
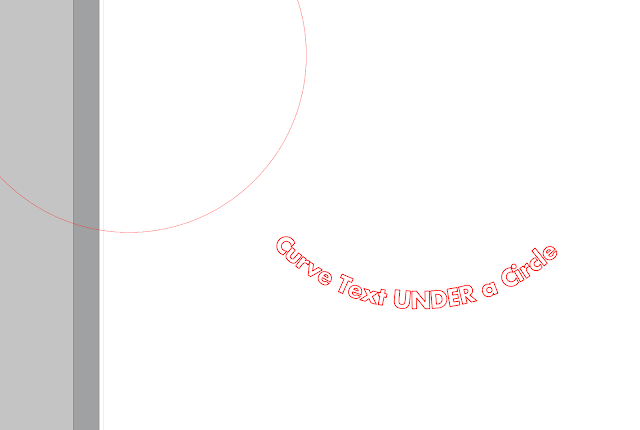
Once you convert to path, you can pull the text away from the circle and it will stay in that curved shape.
Get Silhouette School lessons delivered to your email inbox! Select Once Daily or Weekly.


.png)


That's really helpful thank you!
ReplyDeleteGee, clever! I've always made 2 circles, one for the top text and one for the bottom text (inside the larger circle). I like the right way better! Thanks for the tip.
ReplyDeleteMuchas gracias. Esto me costaba bastante hacerlo. Dios la bendiga.
ReplyDeleteThank You! So helpful!!
ReplyDelete