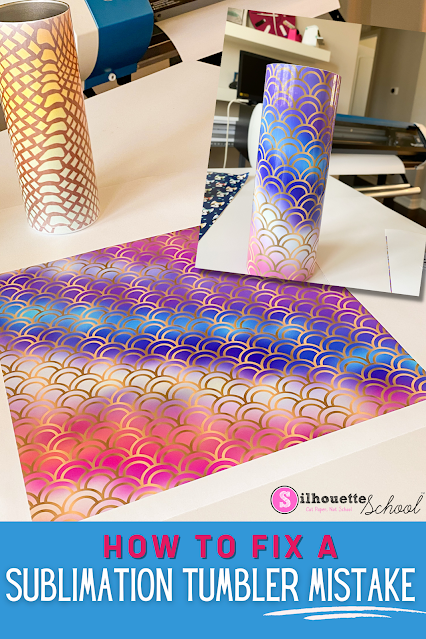
If you have ghosting, white spots, or some other kind of mess up on a 20 oz tumbler, you can still save it with the help of vinyl! Read on for one way to reuse a messed up sublimation tumbler.
With all the testing I do I've messed up my fair share of sublimation tumblers. Blank 20 oz sublimation tumblers aren't terribly expensive, but they're also not cheap and if you mess up too many you're really eating into your profits.
How to Fix a Messed Up Sublimation Tumbler
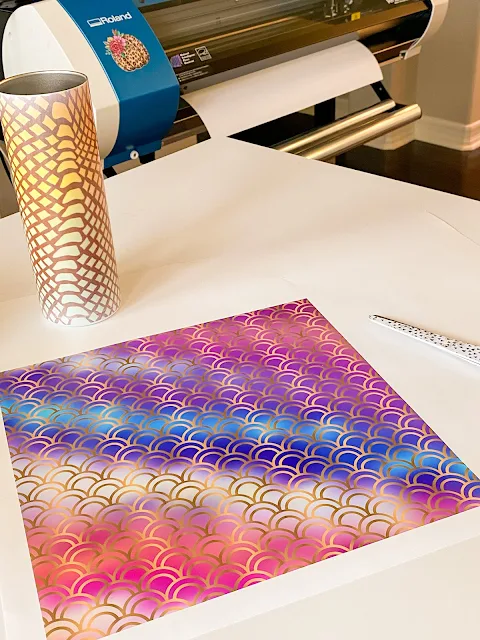
I figured out a quick way to reuse messed up tumblers by doing a full vinyl wrap on tumblers!
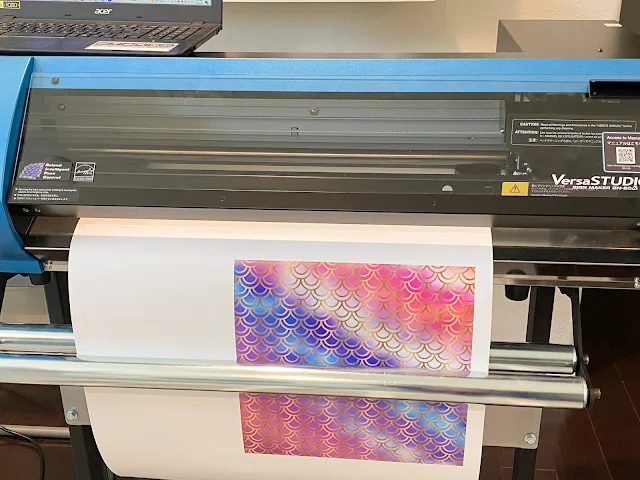
This can be done with pre-printed patterned vinyl or you can print your own vinyl wrap at home using either printable vinyl sheets or an eco solvent printer like the Roland BN-20A.
Start by trimming the vinyl down so it's exactly the same width as the 20 oz tumbler. The easiest way to do this is to flip the tumbler upside down on the table. Wrap the sheet of vinyl around it and mark where to trim.
Use a paper trimmer to trim the vinyl.
How to Wrap a Tumbler with a Full Vinyl Wrap
To wrap a full sheet of vinyl around a 20 oz tumbler I find the easiest way to do this is to fold down about an inch of the vinyl backing. This exposes just a small section of the adhesive side.
With the tumbler still upside down on the table, start wrapping the vinyl around using the table to keep the bottom of the vinyl straight around the top edge (touching the table) of the tumbler.
Seal down that small section where the adhesive is exposed.
Turn the tumbler now so it's laying flat on the table and use a squeegee and kind roll the vinyl off the backing as you wrap it slowly around the tumbler. Try to keep it as straight as possible.
Seal a Vinyl Wrapped Tumbler with Epoxy
You'll want to seal a vinyl wrapped 20 oz tumbler with epoxy to make sure the vinyl does peel up especially at the seam and the top and bottom.
Use a tumbler turner to rotate the tumbler while you apply one or two coats of epoxy. You should not be able to feel the seams through the epoxy. If you can, you'll want to add another coat.
Note: This post may contain affiliate links. By clicking on them and purchasing products through my links, I receive a small commission. That's what helps fund Silhouette School so I can keep buying new Silhouette-related products to show you how to get the most out of your machine!
Get Silhouette School lessons delivered to your email inbox! Select Once Daily or Weekly.


.png)


No comments
Thanks for leaving a comment! We get several hundred comments a day. While we appreciate every single one of them it's nearly impossible to respond back to all of them, all the time. So... if you could help me by treating these comments like a forum where readers help readers.
In addition, don't forget to look for specific answers by using the Search Box on the blog. If you're still not having any luck, feel free to email me with your question.