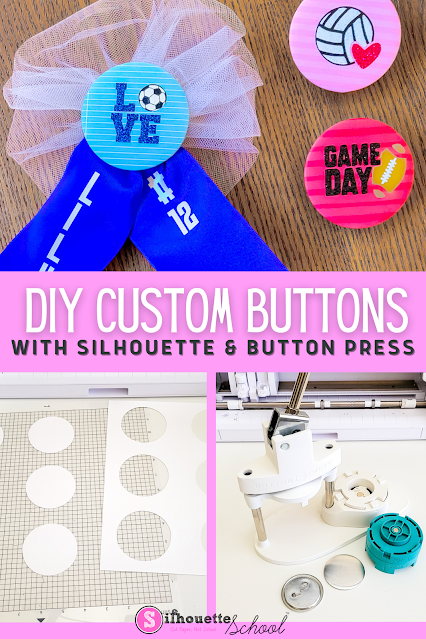
Read on for how pair your Silhouette CAMEO and WRMK Button press to make adorable, custom DIY buttons at home!
Cutting Instructions with Silhouette Cameo
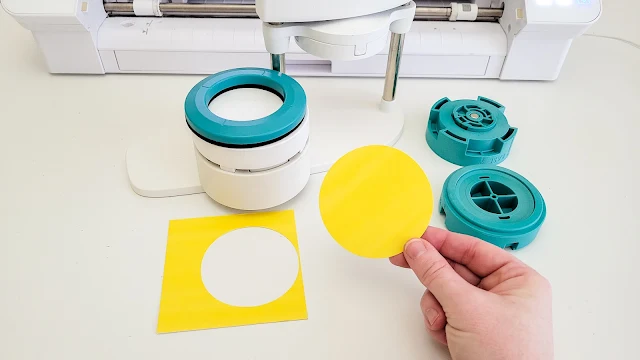
The WRMK Button Press includes a die to cut out your own paper circles to make into buttons – but you can only cut them out one at a time. Cue Silhouette CAMEO! I’ve already used the included circle die to cut out a large paper circle using the Button Press. The circle measures 70 mm (or 2.755 inches).
Why cut circles one at a time when, in the same amount of time or less, your Silhouette can cut out so many more for you?!
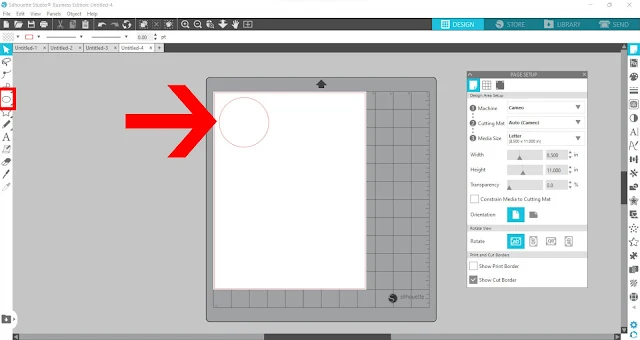
First, open Silhouette Studio, set the page up for cutting whatever size paper/cardstock you’re using. I’m used 8.5 by 11-inch piece of paper. Then, draw a circle to the same dimensions (2.755 inches).
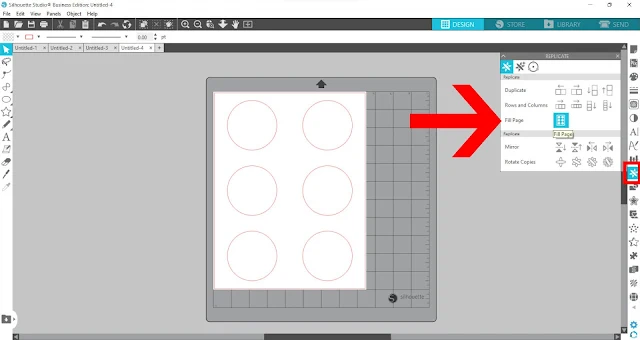
Duplicate it to as many circles as you need using the Fill Page tool in the Replicate panel.
Send to the Silhouette CAMEO for cutting on your choice of materials.
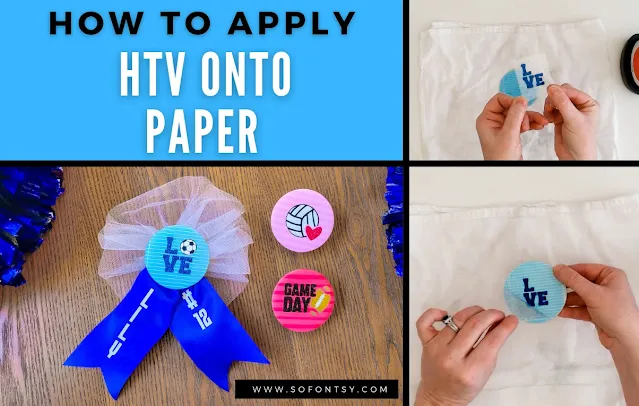
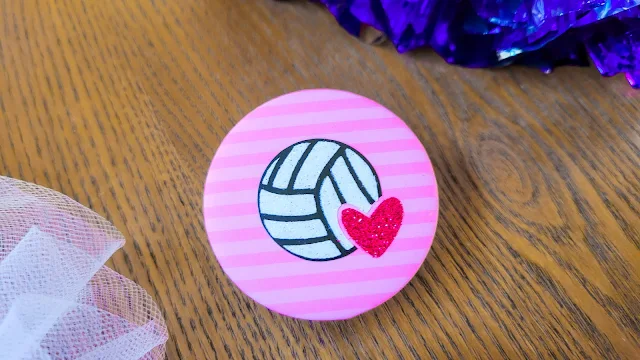
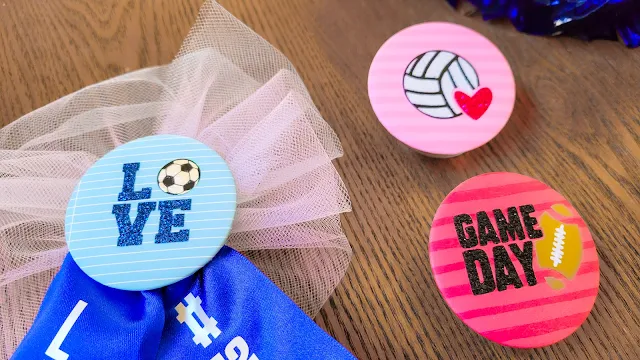
You can cut any paper/cardstock you like to make your buttons. I chose to cut out patterned paper then added add a sports design to them with glitter HTV (that the Cameo cut out as well!).
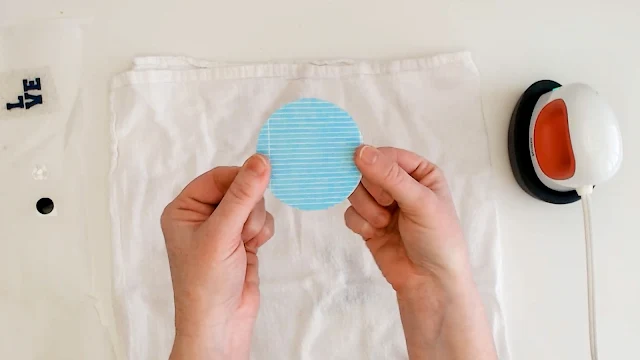
We customized these buttons with some glitter HTV designs to give them some extra sparkle! For tips on how to add HTV to paper to make these button, check out full tutorial on So Fontsy.
How to Use the WRMK Button Press to Make Buttons
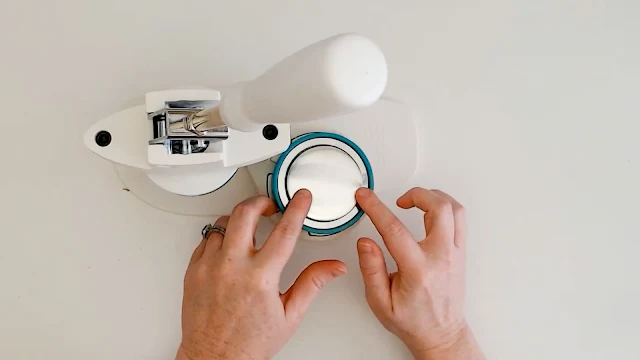
Place the insert labeled “TOP” into the top of the press, and then the “BASE” insert into the bottom. Rotate the top and base inserts to align with their “A” positions on the press.
Place the large button shell into the base.
Place the paper circle you cut (and in this case applied the HTV design on) over the top. Line up the circle with the pin lines on the base so that the text on the button will be straight.
If you want a glossy button, you’d add the included mylar circle over the top. But, since these buttons have glitter HTV on them, I left that off.
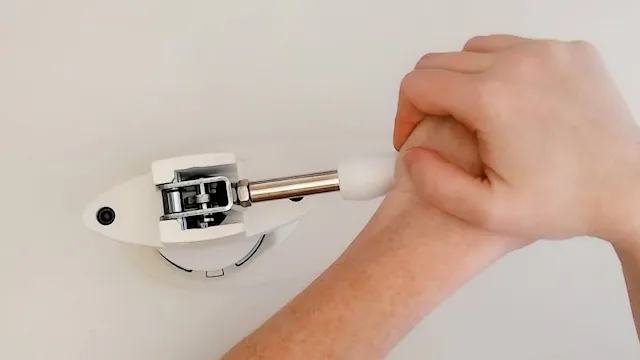
Swivel the bottom base under the top, then press down the handle.
Then, swivel the bottom base out and rotate both the top and base to their “B” positions.
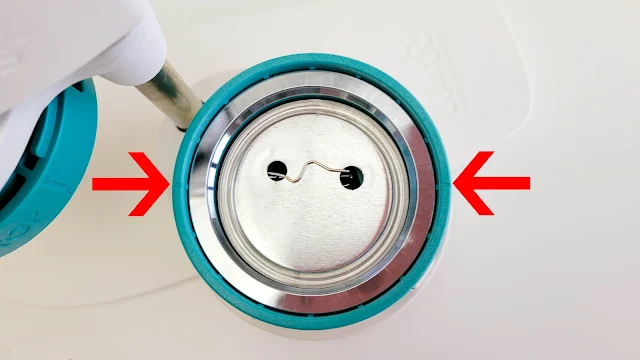
Now, place a pin back into the base with the pin parallel to the pin lines on the base insert.
Swivel the bottom base back under the top and press the handle again.
And you have a completed button!
For a quick video explaining how to use the WRMK Button Press to make buttons watch this!
Create buttons for all your favorite sports!
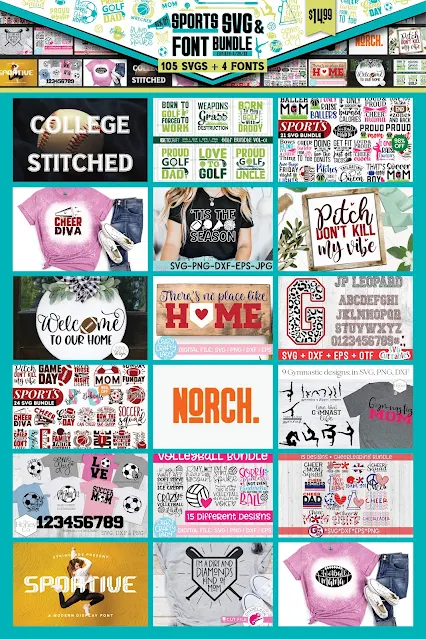
The sports designs I used for these adorable custom buttons are from So Fontsy's Sports SVG and Font Bundle.









.png)


No comments
Thanks for leaving a comment! We get several hundred comments a day. While we appreciate every single one of them it's nearly impossible to respond back to all of them, all the time. So... if you could help me by treating these comments like a forum where readers help readers.
In addition, don't forget to look for specific answers by using the Search Box on the blog. If you're still not having any luck, feel free to email me with your question.