You can print your own vinyl tumbler wraps at home with a regular inkjet printer!
This tutorial will explain how to print tumbler wraps at home.
How to Design a Full Vinyl Wrap in Silhouette Studio
Open a Silhouette Studio Design area and from the Page Setup panel change the Material Size to "Letter" (8.5" x 11). Check the box for Show Print Border.
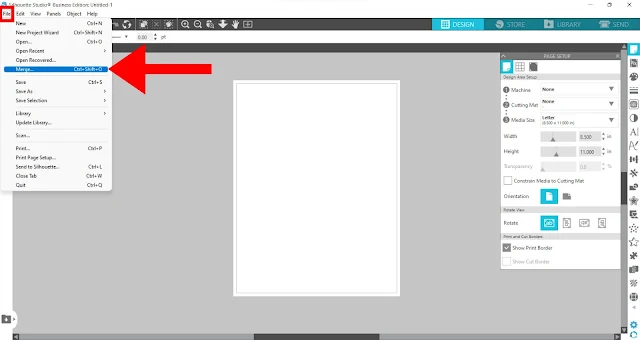
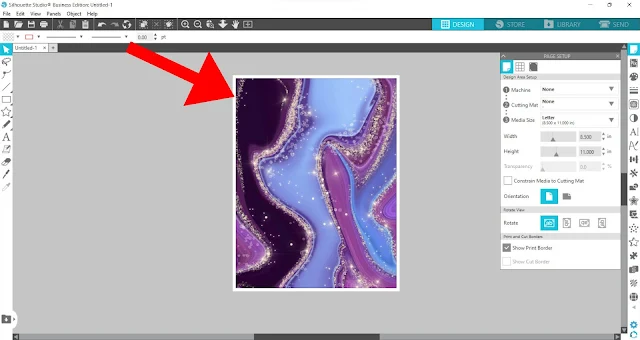
If you have a pre-designed template like a tumbler design, you can go File > Merge and bring it into the work area. For this beginner vinyl wrap tutorial that's what I'm going to suggest you do.
Once it's in Silhouette Studio, size the design so it fits within the Print Border.
How to Print a Vinyl Tumbler Wrap from Silhouette Studio
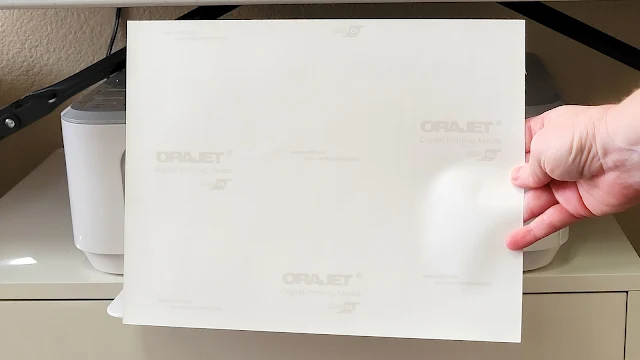
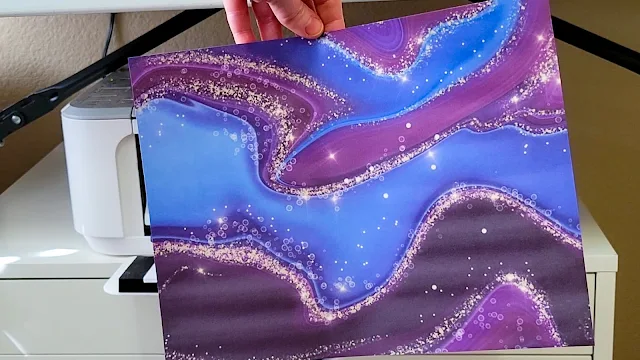
Place a sheet of inkjet printable vinyl into your inkjet printer. I have used the Starcraft Inkjet Printable and Oracal's 1917 Inkjet Printable vinyl and both work well.
From Silhouette Studio click File > Print. Adjust the settings for glossy paper and "Best" print. Send the image to print.
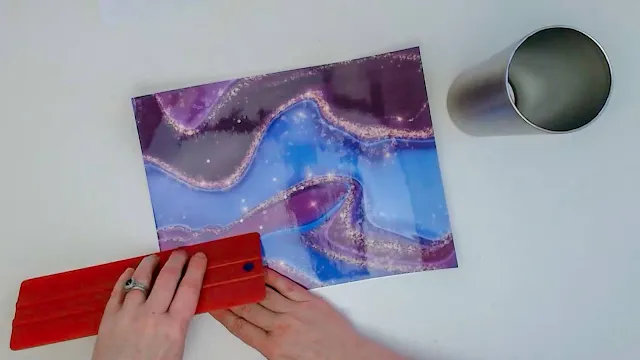
Once the wrap is printed, wait a few minutes for the ink to fully dry. Then, cover the entire printed wrap with laminate before you begin wrapping the tumbler.
Now that you have printed the vinyl wrap, you can use it to fully wrap around the tumbler.
For tips on how to wrap a tumbler in vinyl, check out this blog post on the So Fontsy blog.
Get Silhouette School lessons delivered to your email inbox! Select Once Daily or Weekly.





.png)


Where can we get the tumblers?
ReplyDeleteHow well do the laser printed wraps hold up to being washed?
ReplyDelete