Making a wood sign with your Silhouette is one of the most popular projects you can do with your machine. But applying vinyl to wood can sometimes be a little tricky.
In this tutorial, we'll share some tips on how to apply vinyl to wood, so you can start making your own vinyl wood signs with ease!
Find the Wood Grain
Look closely at the wood and note which way the “lines” on the wood run – this is called the wood grain. You’ll need to know the direction of the wood grain later on in the project so just take note of it.
Sand the Wood Smooth
It’s easier to adhere vinyl to smooth, flat surfaces, so if the wood is rough, use sandpaper to smooth it out until it's reasonably smooth. Start with a low-grit sandpaper or sanding block – like 150-grit and always sand in the same direction of the wood grain.
Use a rag to wipe away dust, then continue sanding, but switch to a higher grit sandpaper, like 180. Repeat with higher grit like 220. Wipe away all the dust.
Apply a Sealer
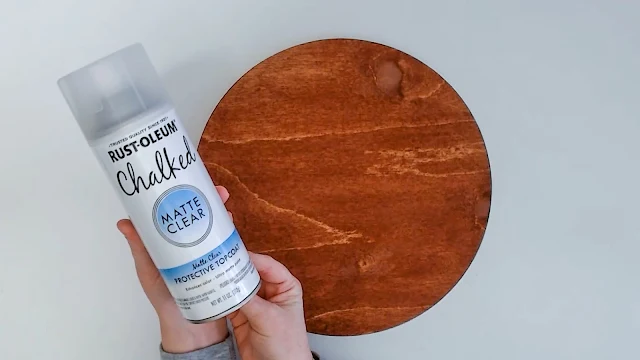
It’s difficult for vinyl to stick to unfinished wood. So even, if you want an "unfinished wood” look, sealing the project with a clear, matte sealer will help considerably. It will also protect the wood as well.
If you choose to paint or stain the wood sign, applying a clear sealer over the dried paint or stain will also help the vinyl adhere better as well.
Use the Hinge Method to Apply Vinyl
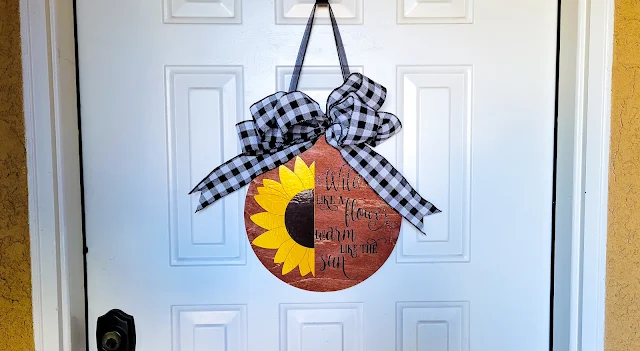
After cutting and weeding the vinyl, apply transfer tape. For this example I used a sunflower design from the Round Signs Designs bundle on So Fontsy.
Use the hinge method to apply the vinyl to the wood sign. This method allows you to position the vinyl precisely where you want it before application and keeps the decal in that position as you apply it.
Burnish the Vinyl
Before removing the transfer tape, use a flat burnishing tool to get the vinyl to stick to the wood. Pull the burnishing tool toward you over the vinyl rather than push it to avoid digging it into the vinyl or wood.
Remove transfer tape in the opposite direction of the wood grain
This helps to avoid the transfer tape pulling up wood splinters or paint chips (if you painted the sign). Also, roll the transfer tape back upon itself to remove it from the wood instead of pulling it straight up.
Once you've removed the transfer tape, use your finger to burnish the vinyl again. Your finger truly is the best tool for this. Focus more on pressing the vinyl into the wood, rather than just rubbing your finger over it.
Should I seal Vinyl on Wood?
Applying a product over the vinyl to seal it onto the wood isn’t necessary. In fact, sealer can find its way under the vinyl which will cause it to lift. A good quality, permanent adhesive vinyl like Oracal 651 does not need to be sealed, and since the wood was sealed prior to vinyl application the wood is already protected as well.
To create this vinyl round wood sign, grab the design and 23 other round sign designs from the Round Sign Bundle 2.0 at So Fontsy while the bundle is 86% off!


.png)


No comments
Thanks for leaving a comment! We get several hundred comments a day. While we appreciate every single one of them it's nearly impossible to respond back to all of them, all the time. So... if you could help me by treating these comments like a forum where readers help readers.
In addition, don't forget to look for specific answers by using the Search Box on the blog. If you're still not having any luck, feel free to email me with your question.