Use Silhouette Studio's Offset tool to create double-sided print and cut projects in Silhouette Studio!
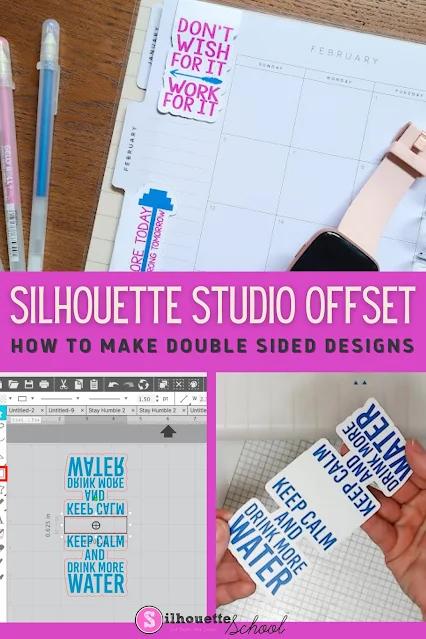
This tutorial will walk you through how to make double sided print and cut projects with Silhouette CAMEO using the offset tool in Silhouette Studio! This technique can be used in so many ways including to make double sided tags, cards and even magnet bookmarks like we're making today.
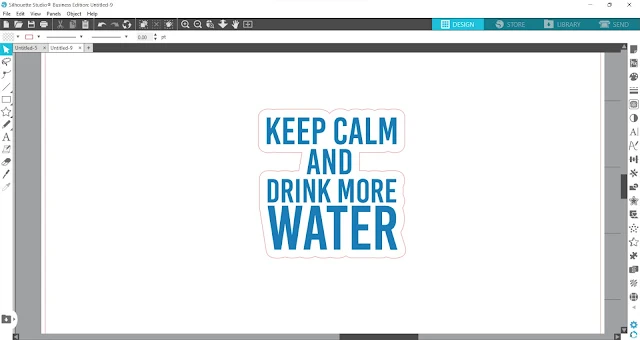
Open the desired SVG or image in Silhouette Studio and resize it appropriately for your project. We're going to use this text design to create a double-sided magnet bookmark so about 2" is a good size.
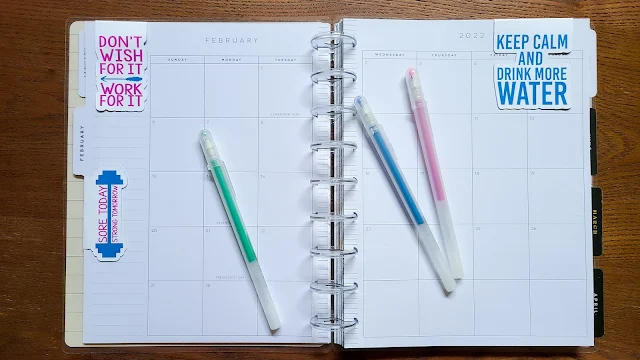
We are using some motivational water tracking quotes to create some inspirational magnetic bookmarks for our planner. You'll find this water tracker bundle in the So Fontsy Staff Picks Design and Font Bundle.
The Silhouette Studio offset tool will help us make this design double sided so the magnet can bend over the page as a bookmark.
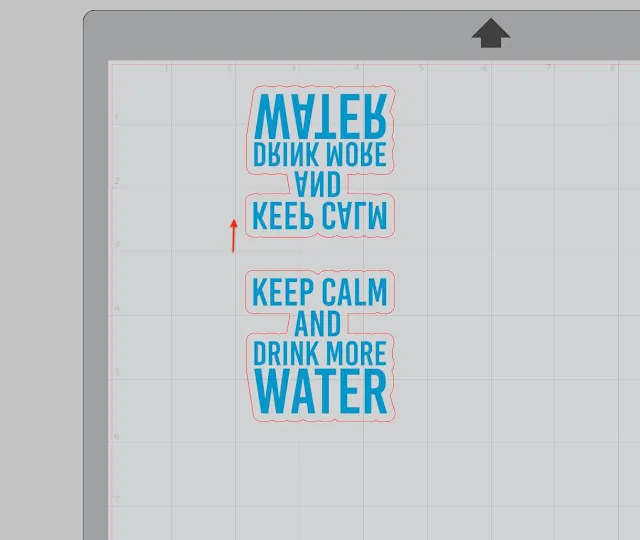
Open the Offset tool to add about an 0.125-inch offset. If you get any "inner pieces" or "islands" from the offset > right click the offset > release compound path. Delete those inner parts.
Select both the design and the offset and open the Replicate tool. Click "Mirror" up to make a copy directly above the original.
Select one of the two sets and tab either up or down to create a little bit of space between the two.
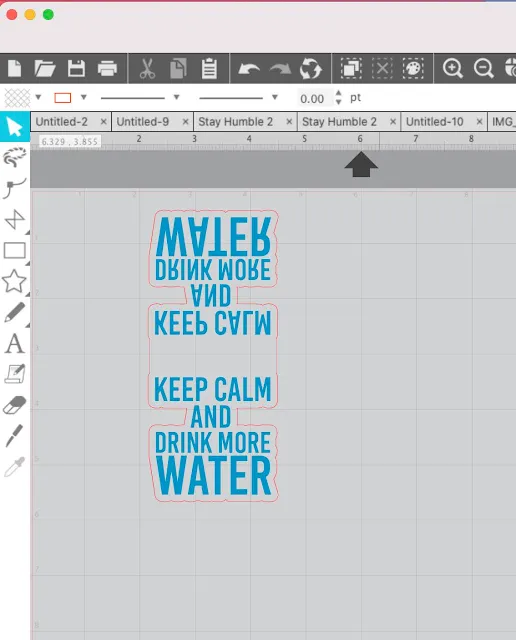
Use the Draw a Rectangle tool to draw a rectangle that is as wide as the design and slightly overlaps each of the two offsets. Note: I changed the rectangle color to black here so you could more easily see.
Select only the offsets and the rectangle and Right click > Weld.
Group the offset and the two designs together by selecting all > right click > Group.
The final step is to add a horizontal perforated line directly across the middle. This is helpful so you can easily fold the magnet in half over the page.
Use the Draw a Line tool to draw a line then change the line style to perforated.
You've now created a design that when folded in half is double sided.
Since magnet paper is thinner than a magnet sheet, these bookmarks work best with notebook paper or other similar types of thinner paper.
Grab the designs used in this project in the So Fontsy Staff Picks Design and Font Bundle.
Get Silhouette School lessons delivered to your email inbox! Select Once Daily or Weekly.











.png)


I'm guessing your directions skipped a step, but should you have mirrored the top image and offset before you welded the offsets with the rectangle box? Your final product is readable on both sides, but on your screenshot the upper keep calm is mirrored still so print is not printed the correct way.
ReplyDeleteI wondered too if the top image and offset needed to be mirrored,
ReplyDelete