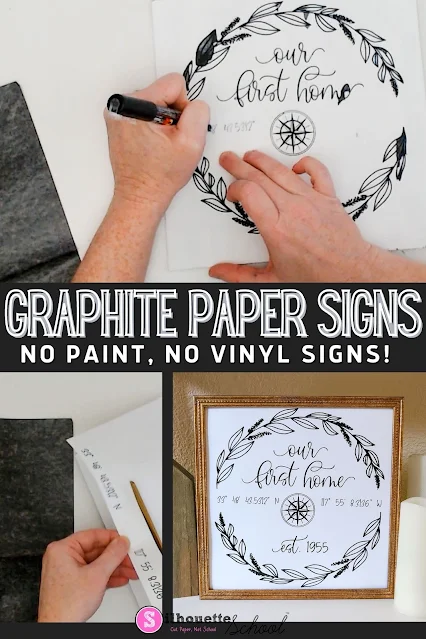
Vinyl, stencils, and torch paste aren't the only way to make signs...you can also use Silhouette Studio to set up designs to use with graphite transfer paper!
Using graphite transfer paper gives you a really cool hand drawn look.
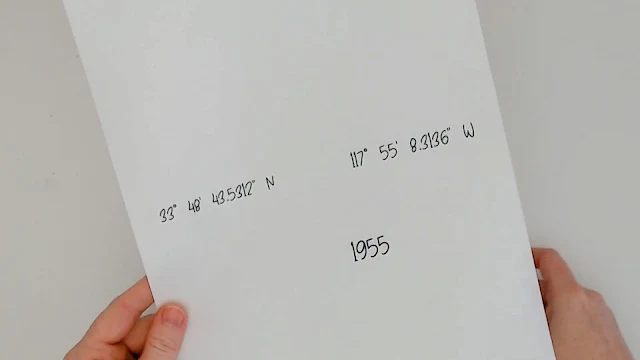
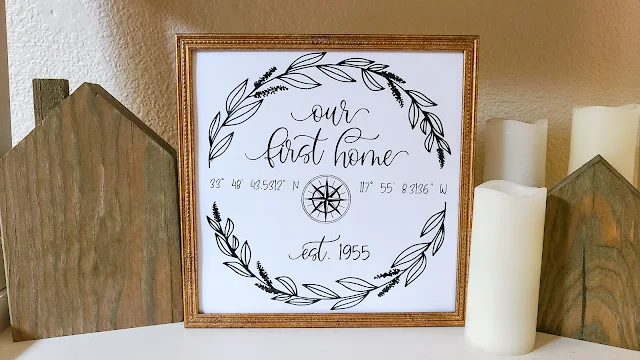
Start by setting up your design in Silhouette Studio. I am using this design from So Fontsy's DIY Farmhouse Decor Bundle, which I added custom GPS coordinates to.
Make sure the design is filled with solid black and that the line colors are also black.
With the design set up in the Silhouette software, print out the design or part of the design you want to transfer onto regular copy paper.
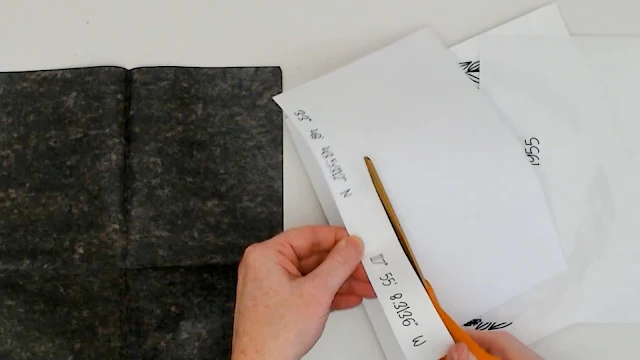
Then, trim around it with scissors.
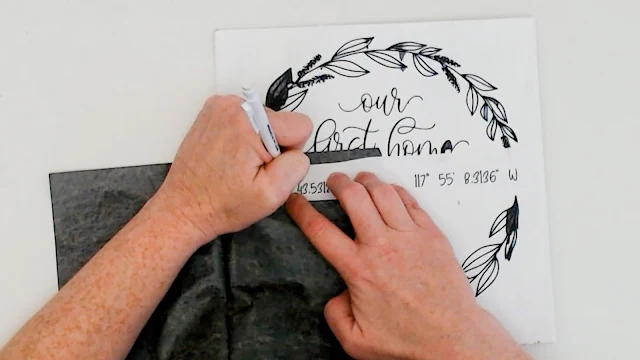
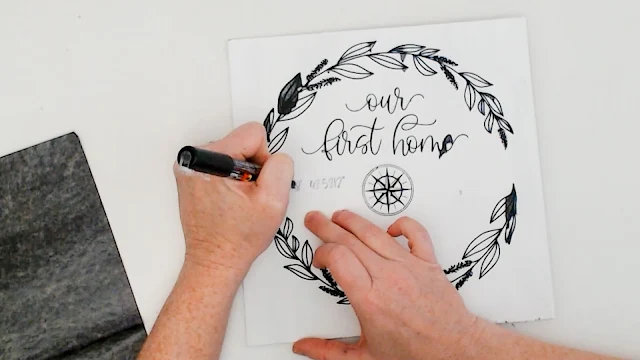
Position the printout on your project with a piece of the graphite transfer paper behind it. The graphite paper should be between the printed sheet and the sign itself.
You can buy transfer paper at the craft store or an art supply store, but you can also make your own transfer sheets.
With either method, use a pencil to trace over the design on the printout. Trace with firm pressure making sure to go over every area of the design.
This transfers the design you traced onto the sign.
Now, use paint or a paint pen to fill in the letters (or design) you transferred onto the sign.
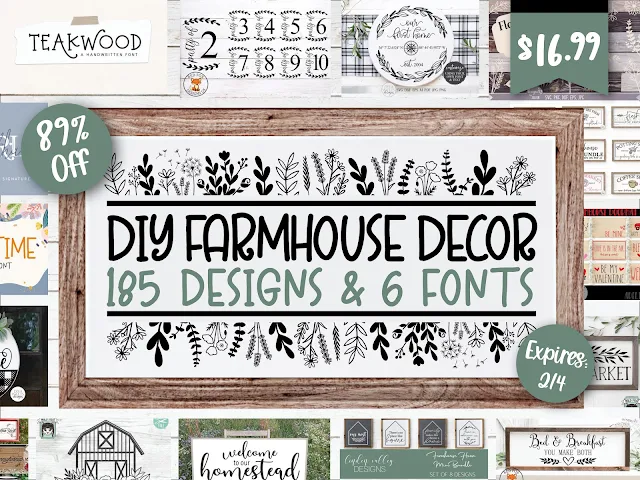
And if you like this design and the fonts used in the sign, you can grab them for yourself in the DIY Farmhouse Decor Bundle at So Fontsy.







.png)


No comments
Thanks for leaving a comment! We get several hundred comments a day. While we appreciate every single one of them it's nearly impossible to respond back to all of them, all the time. So... if you could help me by treating these comments like a forum where readers help readers.
In addition, don't forget to look for specific answers by using the Search Box on the blog. If you're still not having any luck, feel free to email me with your question.