Silhouette CAMEO 4 print and cut is probably one of the most intimidating things for beginners. But it shouldn't be! While I would not suggest print and cut be your first Silhouette CAMEO 4 project, you should learn how to print and cut with CAMEO 4 as soon as you can as it opens up a lot of possibilities!
To help you worth through this first print and cut project, I am not only including a free Silhouette design download for you, I am going step by step so you can follow right along!
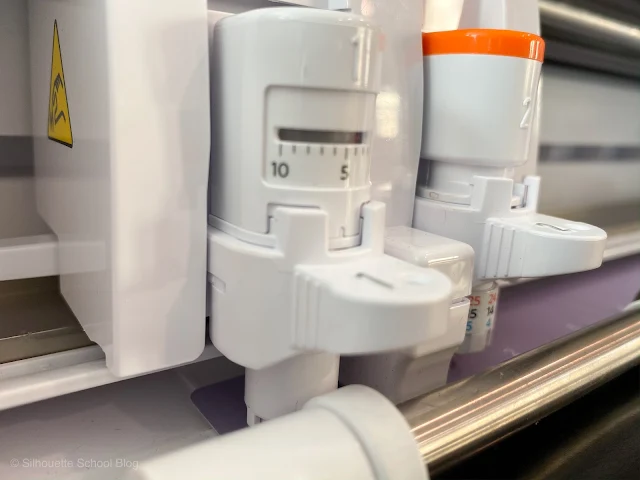
We'll start like we always do by launching Silhouette Studio then powering on and connecting your Silhouette CAMEO to your computer. I'm going to assume you are using the CAMEO 4 autoblade so make sure the blade is fully seated and locked into the left carriage.
How to Open an Image in Silhouette Studio
Before you can open an image in Silhouette Studio the design area must be setup.
Start in the Silhouette Studio Send panel. Go to the machine list at the bottom and select the machine that's "Available" or "Ready to Load."
Move to the Design area of the software. The process to set up a page for Print and Cut is different than everything else in Silhouette Studio, but to make this as easy as possible, and avoid any print and cut problems due to settings, I have set up the page for you if you use the free print and cut file I am providing.
Later once you're comfortable with the print and cut process - it will be VERY important you focus on learning how to setup the design page for print and cut in Silhouette Studio. I have a step by step tutorial here.
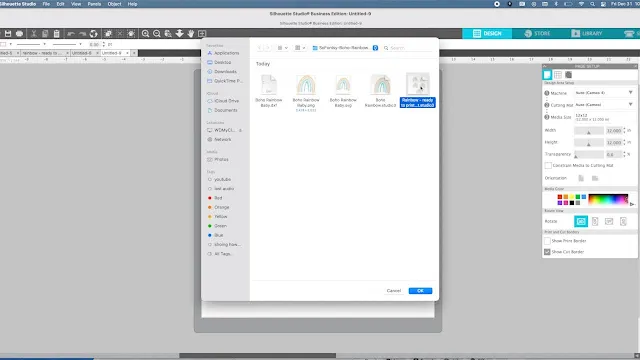
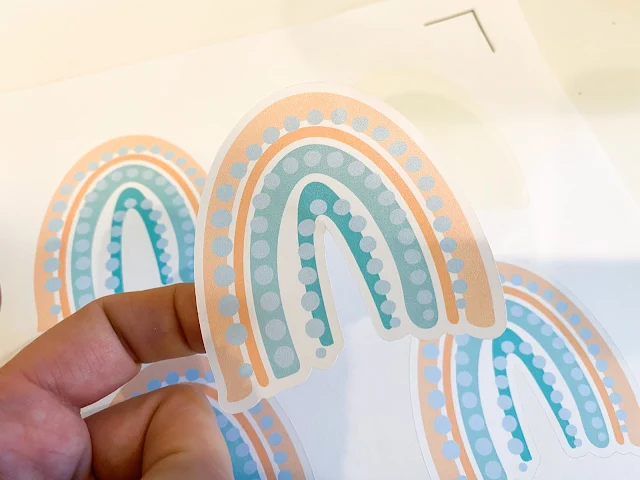
For right now, download the free print and cut image onto your computer. Unzip the zip folder. Then in Silhouette Studio go to File > Merge and navigate to the rainbow folder. Click the .Studio version to open.
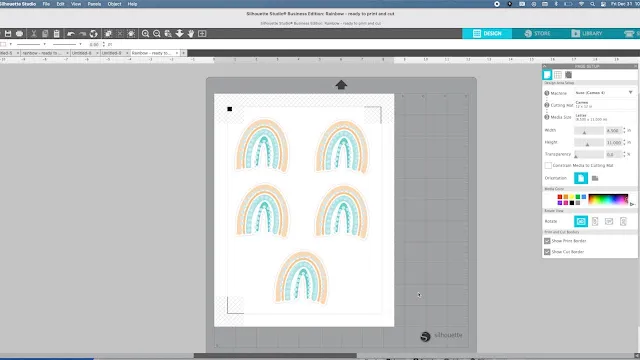
The file and the correct page setup will open for you in Silhouette Studio. The black marks on three corners are the registration marks. They will print with the design so the Silhouette CAMEO can read them and know where to cut.
How to Print from Silhouette Studio to a Printer
Take everything else out of your printer tray and place one sheet of paper or sticker paper in the printer. I would recommend using Online Labels Matte Sticker Sheets. They are easy to print with and easy to cut and make beautiful stickers. Do not use glossy material as a beginner.
Return to Silhouette Studio and go to File > Print or click the Printer tool along the top toolbar. Adjust your print settings to get the best quality print.
How to Cut a Print and Cut with Silhouette CAMEO 4
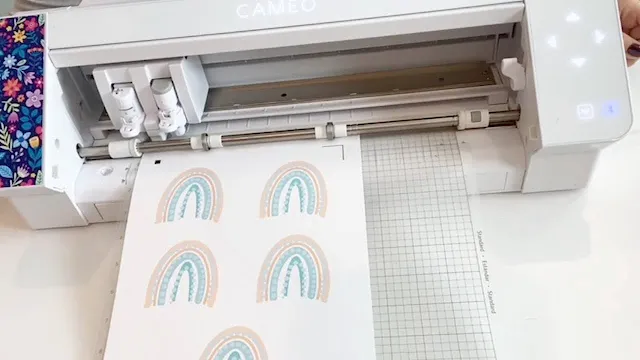
Take the printed sheet and place it on a Silhouette cutting mat. I don't always use a Silhouette brand cutting mat, but for print and cut I would suggest you do.
Position the sheet so the square mark is on the top left and place the sheet on the cutting mat SLIGHTLY overlapping the cutting mat's left and top grid lines.
Press the up arrow on the CAMEO 4's control panel and then hold the cutting mat so the left margin is aligned with the gray line and the top margin is gently touching the roller bar.
The mat will automatically be fed in after 3-5 seconds.
Silhouette Cut Settings for Print and Cut with Sticker Paper
Move to the Send panel and change the material to Sticker Paper, White.
Make sure the designs all have bold red line around them.
Press Send to begin the cutting process.
The CAMEO will first look for the three registration marks and when it's successful it will reset the blade and begin cutting.
When the cut is complete don't unload the cutting mat right away. With the mat still loaded in the machine, use a weeding tool or hook to try to lift one of the stickers up off the sheet.
If it lifts easily you can feel pretty confident your design has cut well. If it required ANY pulling or snagged, return to the Send panel and click "Send" again to cut the design again.
Congrats you've just completed your first Silhouette CAMEO 4 print and cut project!
You can find more Silhouette CAMEO 4 Beginner tutorials including how to make your first vinyl cut with CAMEO 4 and how to cut heat transfer vinyl with Silhouette CAMEO 4 here.
Get Silhouette School lessons delivered to your email inbox! Select Once Daily or Weekly.










.png)


How come my Cameo 4 doesn’t cut the same printer to cut the same size for multiple papers? For example I have been making bookmarks and it started out great. My first 50 cuts where right on and then I created some more and now they will not cut the same size when I send each page to the Cameo 4. Very frustrating and I have asked and nobody seems to be able to answer me. Ready to return this Christmas present.
ReplyDeleteHey there! If you're printing and cutting, lighting is VERY important. Check out this Youtube video for print and cut troubleshooting: https://youtu.be/6rkONiJhmts
DeleteI downloaded a logo to print with my cameo 4. It looks printer ready, but when I try to print, it says cut complete without actually having done anything. Anyone know what I'm doing wrong or why it's not cutting?
ReplyDeleteHey there! We'd really need more information and pictures/screenshots of what is happening. You can click the 'more' dropdown for the email link.
Delete