A lot of Silhouette beginners start by cutting vinyl. While I would recommend cutting heat transfer vinyl, over adhesive vinyl as your first Silhouette CAMEO project if you're here to learn how to cut vinyl with Silhouette CAMEO read on!
Picking the right design is key to having a successful first Silhouette CAMEO vinyl cut. You want to look for a design that's at least 5 inches wide and five inches high. There should be no small areas and it should be a single color design. I have a free Silhouette cut file you can download and use to follow along this tutorial.
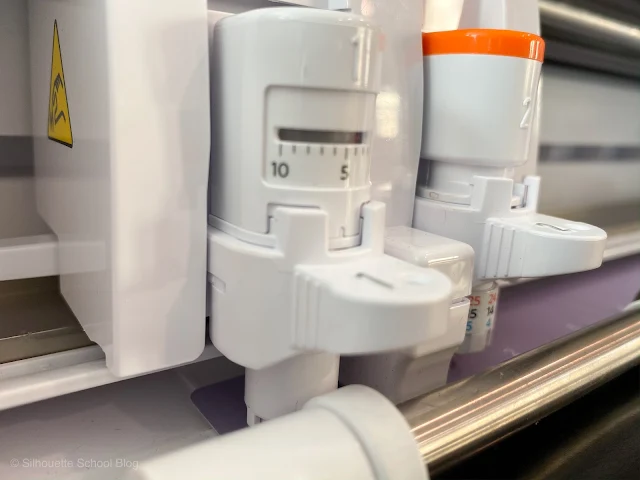
Launch Silhouette Studio then power on and connect your Silhouette CAMEO 4 to your computer. I'm going to assume you are using the CAMEO 4 autoblade so make sure the blade is fully seated and locked into the left carriage.
How to Open a Heat Transfer Vinyl Design in Silhouette Studio
Start in the Silhouette Studio Send panel. Go to the machine list at the bottom and select the machine that's "Available" or "Ready to Load."
Now move to the Design area of the software. Open the Page Setup tool from the right toolbar. Make sure the Machine is set to CAMEO (Auto). The Cutting Mat should be set to CAMEO (Auto) and the Page Size should be set to Auto (12x12).
What File Type Should I Use in Basic Silhouette Studio?
To open a file in the design area depends where the file is coming from. There are two main options: the library or your computer. For this tutorial, I suggest you follow along with me exactly so I'm giving you a free design specifically picked for this beginner vinyl project.
You can download the beginner Silhouette design set from our sister site So Fontsy. We are going to use the Never Give Up design for the first Silhouette CAMEO cut.
After the zip file is downloaded on your computer open the folder. You will have several file types. This file includes the .Studio file type for easy opening!
To open a file from your computer go to File > Merge and navigate to the file on your computer to open it.
How to Set up a Design to Cut Vinyl on Silhouette CAMEO
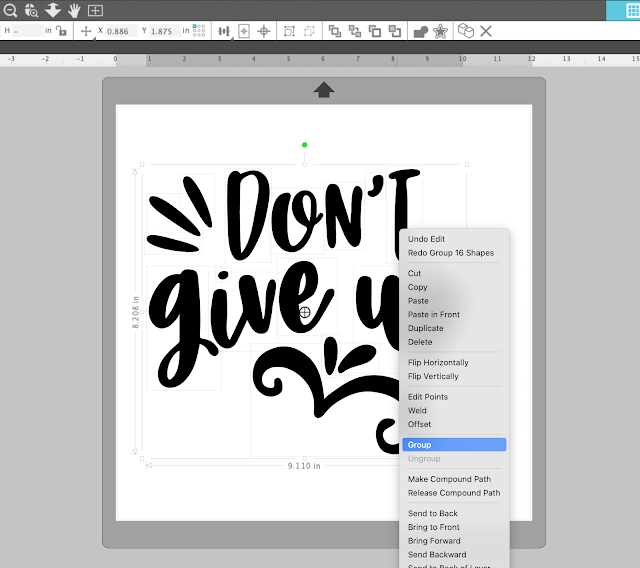
If you click on the design to select and move it and only part of the design moves, you'll need to group all parts of the design together. With your mouse far away from the design, click and drag diagonally across the design to select all of it. Then right click > Group.
To resize the design in Silhouette Studio, click directly on it and move ONE of the corner nodes in or out to scale the design to be around 4-5". It doesn't have to be exact this is just an easy size to cut.
Select the design again and move it towards the bottom left corner of your work area.
Use the Draw a Rectangle tool from the left sidebar to draw a box around your design. The box should be at least half an inch from all edges of the design. This is called a weeding box and it will help us in several ways later.
How to Set Vinyl Cut Settings in Silhouette Studio
Move to the Send panel and make sure the rectangle and the design have bold red lines. These are the cut lines. If the cut lines are not bold and red, select the design and click "Cut" next to the "Action".
Change the material type of Vinyl, Smooth. The software will reset with default cut settings for the material..unfortunately the force is too low. Manually increase the force setting to 14.
How to Load Vinyl in Silhouette CAMEO
Place a sheet of adhesive vinyl on the cutting mat. Press it down well so it sticks to the cutting mat.
On the CAMEO control panel click the Up arrow until it flashes.
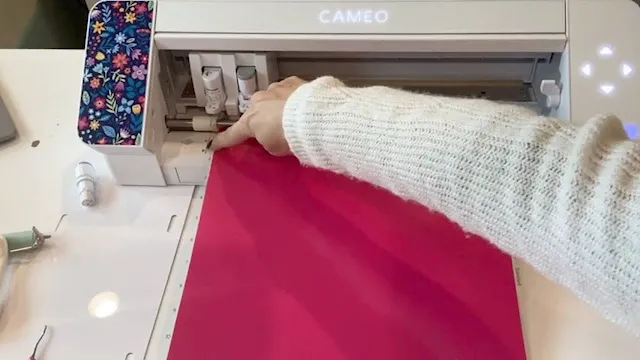
Take the cutting mat (with the vinyl on it) and with two hands hold it gently up to the CAMEO's rollers. Make sure the left edge of the cutting mat is lined up with the gray line.
After a few seconds the machine will start pulling in the cutting mat.
Return to Silhouette Studio's Send panel to click "Send". The vinyl cutting will begin.
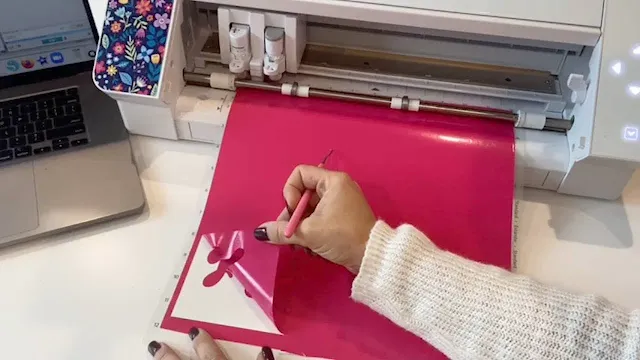
When the cut is complete don't unload the cutting mat right away. With the mat still loaded in the machine, use a weeding tool or hook to try to left one of the corners of the box that was cut around your design. If it lifts easily you can feel pretty confident your design has cut well.
If it required ANY pulling or snagged, return to the Send panel and click "Send" again to cut the design again.
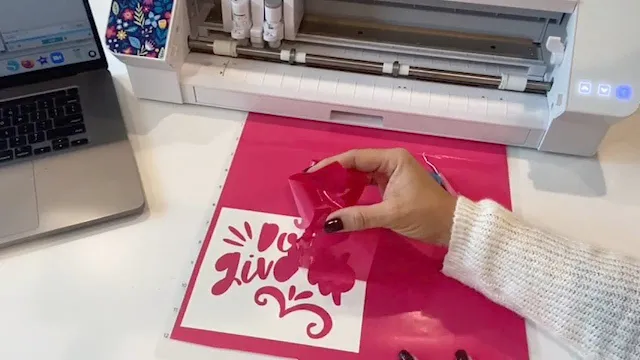
Once you have confirmed the vinyl cut well, unload the mat by pressing the down arrow on the CAMEO 4's control panel. Use the weeding tool now to remove that weeding box completely.
Remove any other areas in or around the cut vinyl decal.
How to Pick Up Vinyl with Transfer Tape
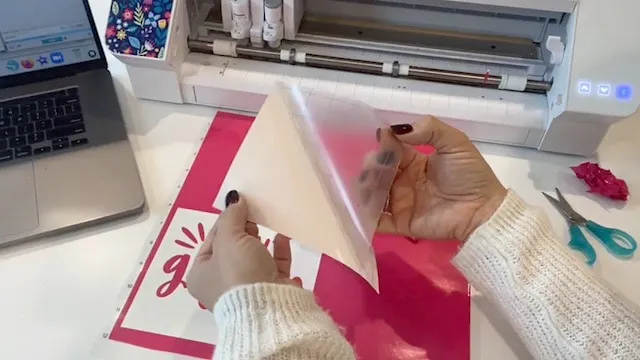
Cut a piece of transfer tape that's slightly larger than the vinyl decal.
Remove the backing of the transfer tape to expose the sticky side.
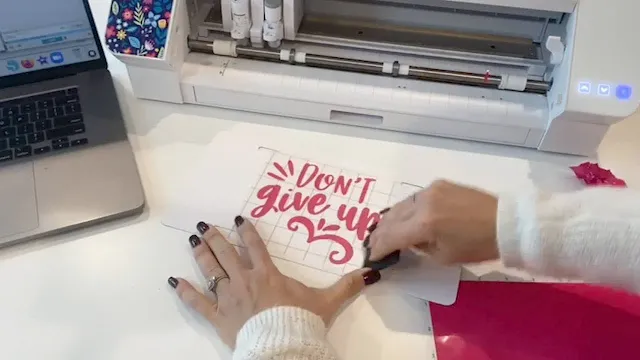
Use a scraper tool or credit card to burnish the transfer tape over the vinyl.
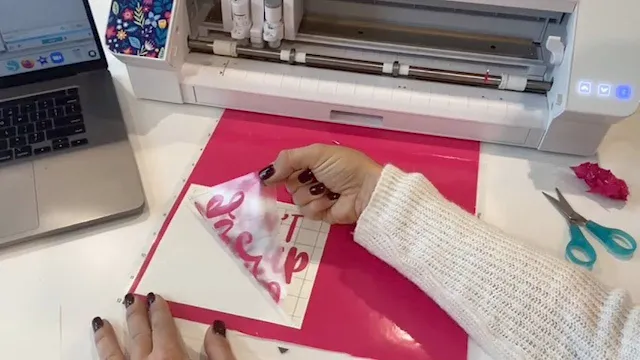
Now place the vinyl decal where you want it. Again burnish through the transfer tape.
This time peel back the transfer tape but leave the vinyl decal on the surface.
You can find more Silhouette CAMEO 4 Beginner tutorials including how to make your first heat transfer vinyl cut with CAMEO 4 and how to do Silhouette CAMEO 4 print and cut here.
Note: This post may contain affiliate links. By clicking on them and purchasing products through my links, I receive a small commission. That's what helps fund Silhouette School so I can keep buying new Silhouette-related products to show you how to get the most out of your machine!
Get Silhouette School lessons delivered to your email inbox! Select Once Daily or Weekly.












.png)


This comment has been removed by the author.
ReplyDeleteMy Cameo 4 does not have a Vinyl Smooth selection. Should I use Vinyl Glossy?
ReplyDelete