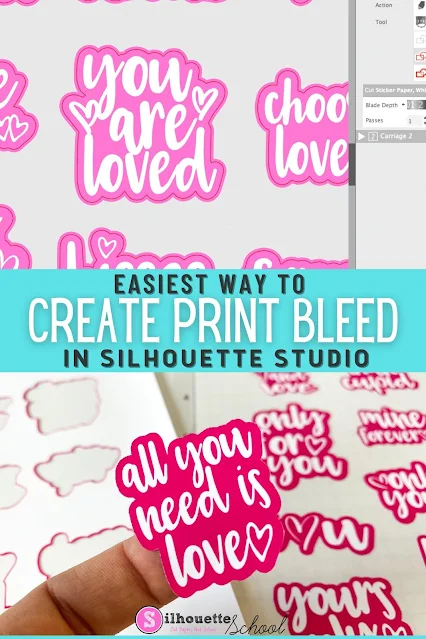
You can add a bleed around images in Silhouette Studio to avoid getting a white edge around print and cut designs.
This tutorial will walk you through how to quickly add a bleed in Silhouette Studio so you get perfect print and cuts on things like planner stickers and vinyl stickers.
There are several ways to create a bleed around images in Silhouette Studio. In this tutorial I'll show you how to create a bleed around a design that has an edge that's already a single color using the design's line itself.
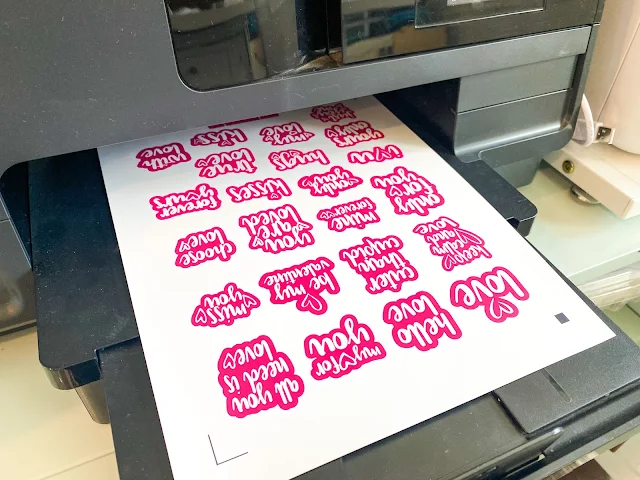
Let's look at this set of Valentine's Day stickers from So Fontsy as an example. The stickers all have a pink edge and will be printed on white sticker paper from Online Labels - my favorite printable sticker sheets.
What Cause the White Edge Around Silhouette Print and Cut Stickers?
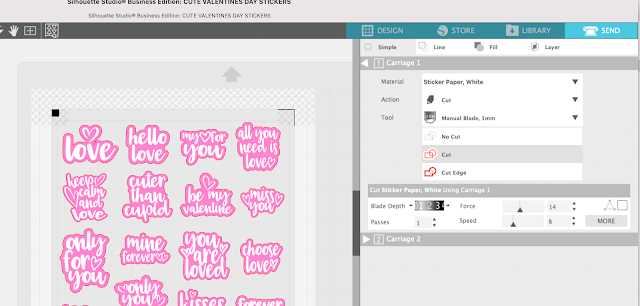
Right now if we go to the Send panel we can see that the red cut line is at the edge of each design - meaning right where the pink design and white paper will meet. This leaves the opportunity for a little white edge around some or all of the stickers, if the Silhouette CAMEO print and cut is off just a smidge.
To ensure each sticker is pink from edge to edge we need to add a print bleed.
How to Create a Bleed in Silhouette Studio with Line Weight
Select the entire set of designs.
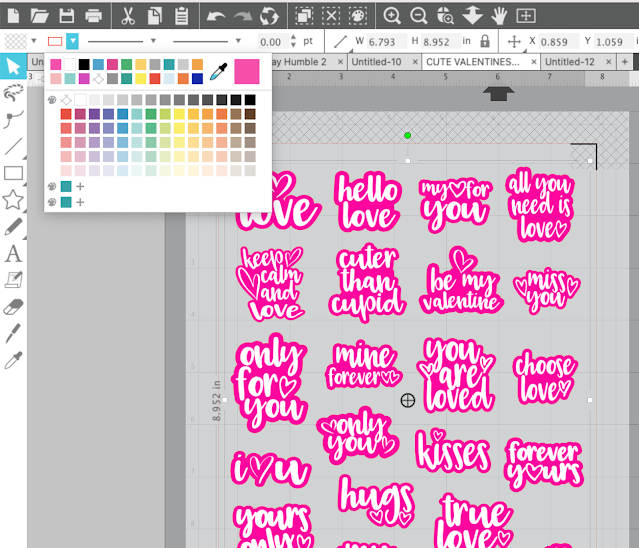
From the Quick Access toolbar we want to change the line color and line weight around the design. Expand the Line Color tool.
If the line color is not the same color as the design, select the color dropper and use it to pick the main color of the design - in this case pink.
Keep the set of designs selected and from the Quick Access Toolbar, now increase the line weight to at least 2.0 pt. The higher the line weight, the more of a bleed you will create. This will "thicken" the edge around the design.
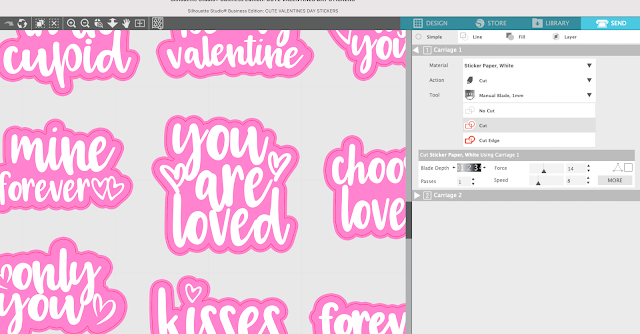
Move to the Send panel..this time you'll see that you have created a bleed around the design by increasing the line thickness, but that the cut line remains where it originally was.
Avoid Stickers with White Edges with Silhouette CAMEO Print and Cut
Go ahead and put a sheet of Online Labels sticker paper into your printer and send to print from Silhouette Studio. The cut line will not be visible at all on the printed sheet.
Place the printed sheet on a Silhouette cutting mat and from the Send panel send the stickers to cut on the Silhouette CAMEO.
When the stickers are done being print and cut you'll notice the cut line is inside that bleed area ensuring your stickers have a full edge to edge color rather than any chance of a white edge. The bleed area is what's left behind on sticker sheet when it's weeded away.
Your stickers have a perfect full color and no white edges!
Get Silhouette School lessons delivered to your email inbox! Select Once Daily or Weekly.







.png)


Thank you!
ReplyDeleteAny thoughts on how to create a bleed around a patterned image?
Also, I really appreciate all your videos and information you provide!!
This is just amazing, I have taught some of the basic things which is related to the embroidered of tees. The best part is the design of the text which is very adorable to seen and brighter to display.
ReplyDeleteNowadays I can’t think straight because my elder sister has assigned me a Law essay and the topic is too much difficult because British essay writing by Professionalessayservice and need to confirm the essay topic complete on time.