Adding vinyl wall decals doesn't have to be stressful. If you know how to apply vinyl decals straight and centered AND you know the best vinyl to use - it's easy!
This Silhouette tutorial will go over all of that so you can cut and apply your vinyl wall decal perfectly on the first try!
Open Silhouette Studio and import or open the design you want to use for the wall decal. I'm using this farmer's market design from the Bundle of Bundles on So Fontsy.
Resize the design appropriately for your project. To make the design as wide as possible on a 12-inch roll of vinyl, you may need to rotate the design.
Use the rotation handle or the rotate tool in the Transform Panel...
...and the mat rotation tools, if necessary.
Next, grab some 631 Oracal vinyl, sometimes referred to as removable vinyl. But don't let the "removeable" fool you. This vinyl is specifically intended for indoor use like the painted drywall inside your home.
Basically, the vinyl isn't supposed to rip the paint off your walls when you remove it to redecorate (like using permanent vinyl would).
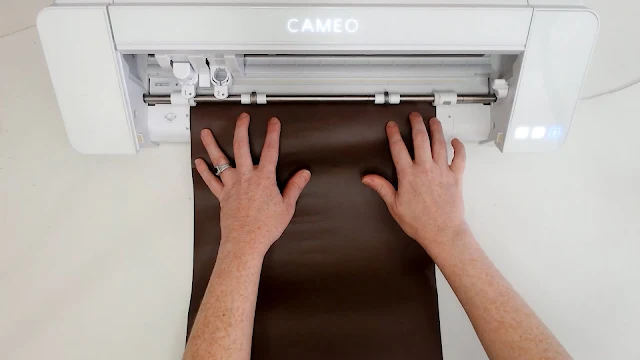
Cut out your design in 631 vinyl with your Silhouette CAMEO
... and weed away the excess vinyl.
Next, apply a medium-tack transfer tape over the design.
How Apply Vinyl to Walls
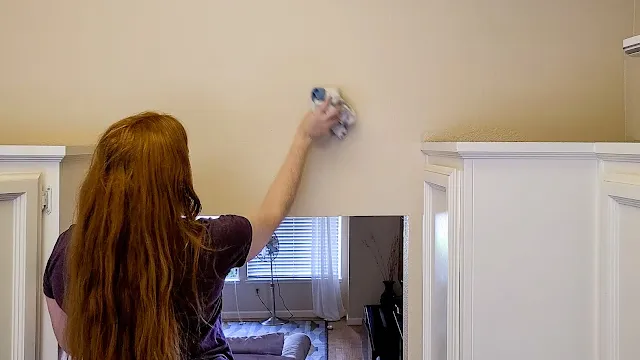
Wipe down the wall surface so it's nice and clean. Make sure it's completely dry.
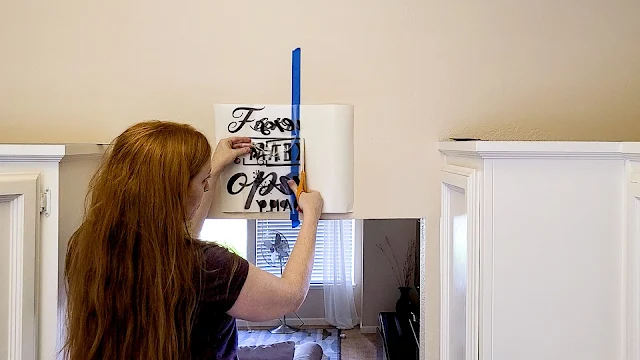
Use a piece of blue painter's tape down the middle of the decal to initially place it on the wall. This is the hinge method of applying vinyl we talk about so often!
Use a ruler or tape measure and carpenter's level to get the decal centered and straight.
Like you would anytime you are using the hinge method, peel up one side of the transfer tape and cut away the vinyl backing.
Fold the sticky transfer tape back over onto the wall. Then, repeat on the other side of the decal.
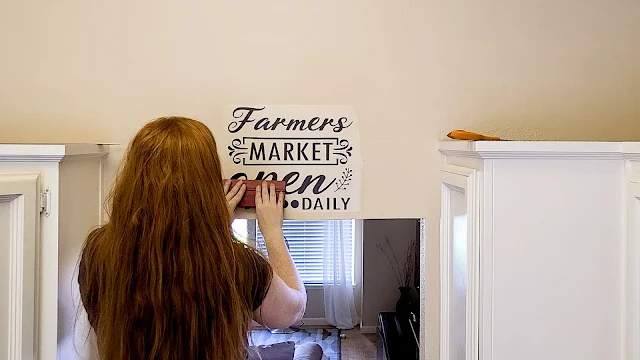
Burnish the vinyl to the wall through the transfer tape. If your walls are textured, a tennis ball can be helpful for getting the vinyl to stick really well.
Note: For best application, let the decal stay on the wall with the transfer tape over it for 24 hours. This is recommended on the manufacturer's website. It allows the vinyl more time to adhere to the wall which will make removing the transfer tape much easier!
To remove the transfer tape, start at one of the corners and slowly roll the transfer tape back onto itself. You can cut away the transfer tape you've removed as you remove it, if necessary.
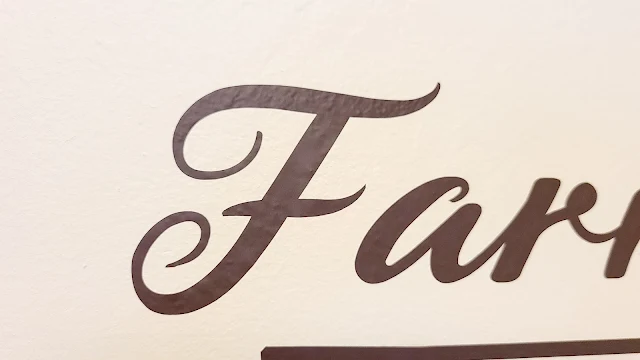
After removing the transfer tape, take your finger and burnish the vinyl into the wall once again. You should be able to see the texture of the wall through the vinyl.
Before burnishing....
After burnishing...
See - pretty it's pretty easy to put vinyl decals on walls!
Create your own vinyl wall decal and grab the design used in this project in the Bundle of Bundles 5.0 at So Fontsy.
Get Silhouette School lessons delivered to your email inbox! Select Once Daily or Weekly.










.png)


No comments
Thanks for leaving a comment! We get several hundred comments a day. While we appreciate every single one of them it's nearly impossible to respond back to all of them, all the time. So... if you could help me by treating these comments like a forum where readers help readers.
In addition, don't forget to look for specific answers by using the Search Box on the blog. If you're still not having any luck, feel free to email me with your question.