Wood burning on wooden spoons is actually really easy to do..and you can make them food safe!
Using vinyl stencils or silk screen reusable stencils made with Ikonart and torch paste you can make beautiful custom wood burned wooden spoons!
This tutorial is going to assume you already know how to cut a vinyl stencil with Silhouette CAMEO or make an Ikonart reusable stencil with an inkjet printer or by using black vinyl on the laser sheets! If you don't, follow one of the linked tutorials.
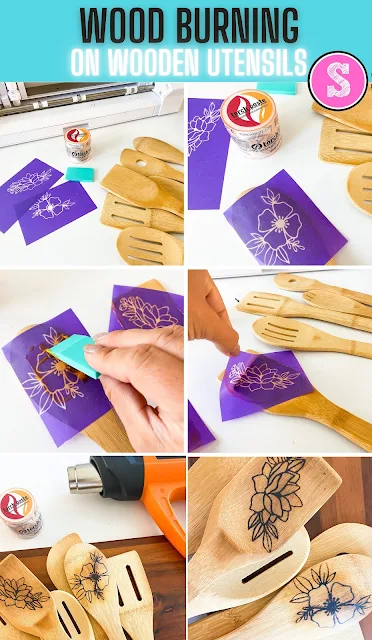
Once your stencil or stencils is ready, grab the wooden spoons and torch paste. I prefer the torch paste over the scorching pen because it's not only faster to use, it also covers better.
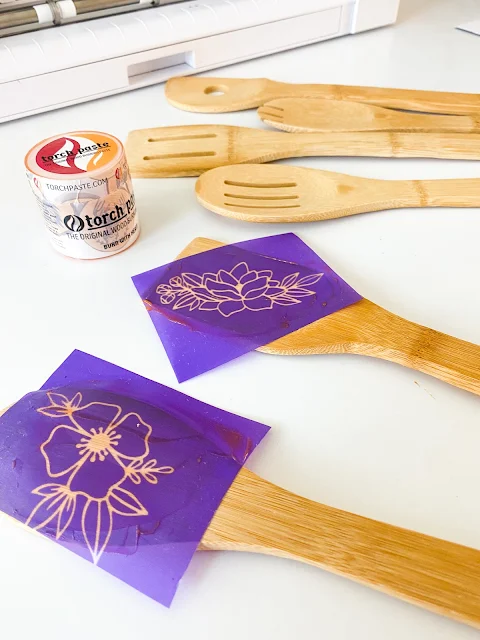
Place the stencil directly on the wooden spoon and press down really well making sure there are no gaps or wrinkles where the torch paste could bleed under the stencil.
Using a silicone mini squeegee or scraper, scoop up a small amount of torch paste and spread it across the stencil.
Remove any excess and put it back into the jar.
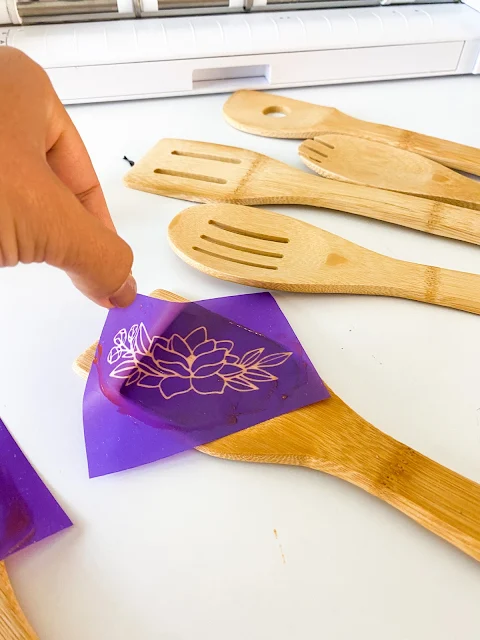
When the time is up, carefully peel off the stencil.
TIP: Save 15% on the Ikonart Stencil kit with my code SILSCHOOL to make reusable stencils for painting, shirts, wood burning, etching and more!
A vinyl stencil is one time use so you'll need to throw it out.
Note: This post may contain affiliate links. By clicking on them and purchasing products through my links, I receive a small commission. That's what helps fund Silhouette School so I can keep buying new Silhouette-related products to show you how to get the most out of your machine!
Grab your heat gun and move it over the area of the wooden spoons until you get a nice dark wood burn. The key is to keep the heat gun moving so you don't torch one area too much.
If you plan to use the wooden spoons for anything other than decor, you will want to seal them.
To make these wood burned wooden spoons food safe is to apply a food safe wood sealer. You have a few options for food safe wood sealers. I would recommend Tung Oil because of it's fast drying time, resistance to water, and because it does not dis-color or change the wood finish. All that's needed is to rub a few coats over the wood burned area (or the entire wooden spoon).
The floral designs used to wood burn these wooden spoons can be found here.
Get Silhouette School lessons delivered to your email inbox! Select Once Daily or Weekly.


.png)


Can you use the torch paste with other stencil vinyl? Or did it have to be theirs?
ReplyDeleteI have used Duck Brand contact paper (that you use for lining drawers) on all of my stencils including for painting on wooden signs and have tried it on the torch paste and it works fine.
ReplyDeleteDoes anyone know where to buy TorchPaste in the UK ?
ReplyDeleteDon't have a Cricut nor Silhouette. I just used one of my large white plastic stencils and it still worked great. I didn't even use spray adhesive - but if you do (which I did on a small wood magnet) burn your project before you try to get the stickiness off - it will come off by rubbing hard if you're using food grade mineral oil. Just found this out by trying - couldn't find an answer to this dilemma anywhere. I'm new to this, & even with using their squeegee, it was hard to get the extra gel off the edges so next time I will try wiping off with a lint free cloth before removing the stencil & see if that helps. That being said, it was a very intricate stencil and the detailed edges are still great! Definitely try 1st on practice pieces, keep heat gun moving & be patient
ReplyDelete