If you're looking for a quick and easy gift a custom wood cutting board with vinyl doesn't get much easier or make a bigger statement.
I love putting vinyl on wood cutting boards and always make sure to use the hinge method to ensure the vinyl is straight and centered.
Start by measuring your wood cutting board. I got this one on Amazon for under $15. It's completely ready to go...no sanding or staining needed.
If your cutting board has a handle like mine you will only want to measure the area where the vinyl decal can easily fit. For me that's a 12" x 5.5" area.
In Silhouette Studio use the Draw a Box tool to draw out a box in the same size. This will help you with sizing your cutting board designs so they fit the space well.
Now you want to open or merge in the cut files. I am using two Christmas cut files from So Fontsy. You can find the swirly Christmas tree cut file here and the Farmhouse Christmas design here. I intentionally picked one vertical design and one horizontal designs so I could put my cutting board either up and down or on it's side.
Take each design and just size it within the box you drew.
When you're ready to cut, go to the Send panel. Select Vinyl, Glossy from the material list. From the default settings, I would suggest increasing the force to 14 and turning on the segment line over cut.
Prep your mat and material and send the design to cut on your Silhouette CAMEO or Portrait. I'm using a Silhouette CAMEO 4 and the 1mm manual Silhouette CAMEO 4 blade.
Once the design is cut, weed the vinyl. For this swirly Christmas tree, I reverse weeded the vinyl since there are so many small and intricate parts.
After you're done weeding place a piece of transfer tape over the entire vinyl decal.
Do not peel off the backing off the vinyl yet. We are going to use the vinyl hinge method to apply the vinyl straight and centered.
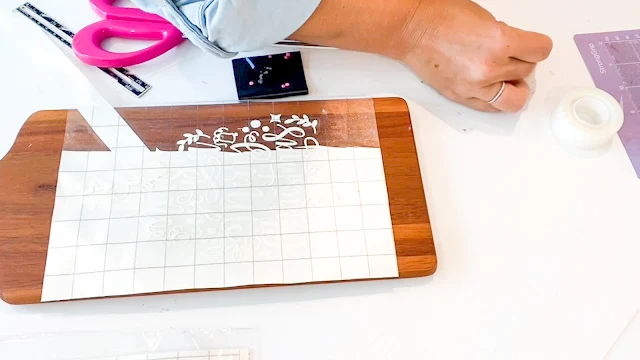
Lay the entire sheet on top of your cutting board and grab a ruler and keep a roll of tape close by.
Use the ruler (I prefer a sewing gauge for precise measuring) to help center the vinyl decal as it lays on the cutting board. Once you have it centered grab a piece of tape long enough to go across the entire design and place the tape down the center like a hinge.
Confirm one more time the design is centered.
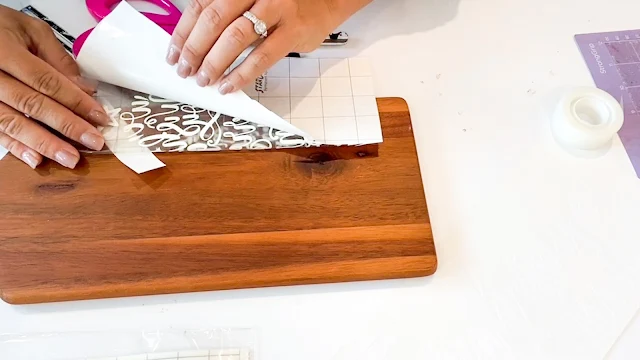
Working on one side of the tape hinge, separate the transfer tape and the vinyl from the vinyl backing.
Use scissors to trim off the backing.
The transfer tape will now hold the design in place.
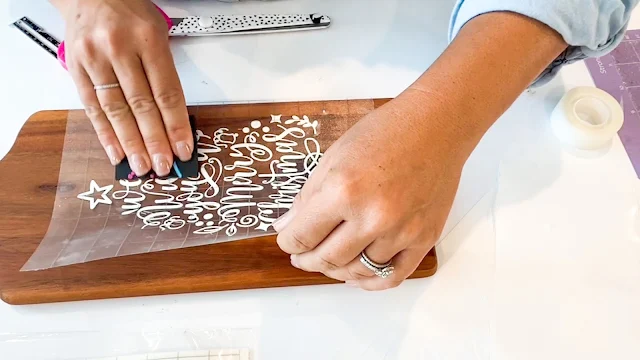
Now the entire vinyl design is on the cutting board. Burnish it well and then from one of the corners peel off the transfer tape leaving the vinyl on the wood cutting board.
See how easy it is to apply vinyl on wood cutting boards?!
If you are making a double sided cutting board flip it over and repeat the process.
Vinyl is not food safe so these cutting boards with vinyl are really just for decoration, but you could seal with a food safe sealer if you insist on using them for more than just gorgeous DIY farmhouse decor!
Get Silhouette School lessons delivered to your email inbox! Select Once Daily or Weekly.


.png)


that was a very nice idea for the cutting board. I don't own any of the crafting machines but they are truly amazing.
ReplyDeleteWhat kind of board? How is it prepared so we only add the vinyl?
ReplyDelete