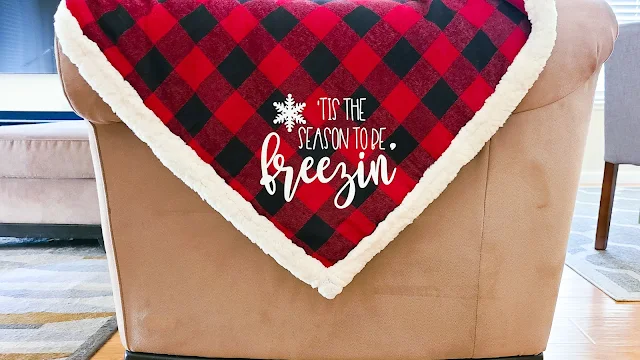
Flocked HTV is a type of heat transfer vinyl that has a luxurious soft and fuzzy texture to it, like a suede or velvet.
Working with flocked HTV is very similar to regular HTV, but there are some differences that are important to know so that your project goes more smoothly. In this tutorial, we'll show you how to cut, weed, and press flocked HTV to create this snuggly buffalo plaid blanket.
Best Cut Files for Flocked HTV
Because flocked HTV is thicker than traditional HTV, it does work better with larger, less intricate SVG designs. The design used for this buffalo plaid blanket comes from the Winter SVG Design Bundle at So Fontsy.
Don't forget to mirror your design as well.
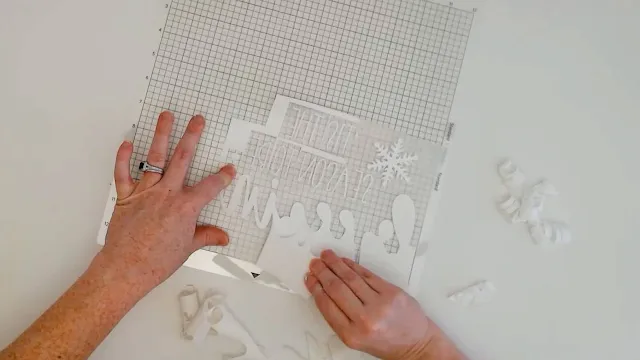
It's also highly recommended to add weeding lines/weeding boxes to the design prior to cutting. Weeding lines/boxes make weeding out the excess HTV a lot faster and easier.
How to Cut Flock HTV
Just like with any HTV (or any project for that matter), always do a test cut. The default settings for flocked HTV in Silhouette Studio are different than Siser's recommended settings for their flocked HTV. So, which setting do you use? Test both cut settings!
Weed out the square around the triangle (in the test cut design). If it comes up easily and cleanly, then those are good cut settings.
Even after finding ideal cut settings, once your CAMEO has stopped cutting, perform a test weed prior to unloading the cutting mat to ensure you got a good cut.
If you are still getting tugging and pulling, and the HTV isn't lifting easily and cleanly, then you should adjust your cut settings and cut again.
It is worth it to take the extra time to cut it out again to get a better cut! You will actually save time by simply performing another cut instead of trying to wrestle with poorly cut HTV and risking ripping it when weeding.
Also, be sure to take extra care when weeding flocked HTV. The carrier sheet on Siser's flocked HTV is not as sticky their other types of HTV which means smaller pieces like the dot of an "i" or an apostrophe could more easily fall off accidently.
How to Press Flocked HTV with a Heat Press
If your blanket has collected any pet hair or dust, clean off the pressing area with a lint roller prior to pressing. Actually, you can use this trick before pressing any kind of HTV!
Press Siser's flocked HTV at 320 degrees. If you use pressing pillows, you can use one for this project, but it's not necessary.
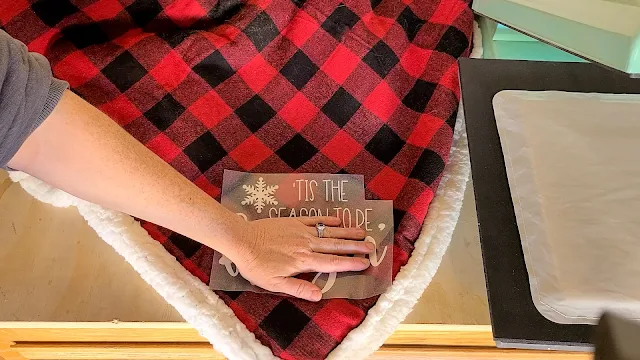
Just make sure the thick edges of the blanket hang off the edge of the press so they do not interfere with pressing the HTV.
Pre-press the blanket for 2-3 seconds (cover with a piece of parchment or cover sheet).
Apply the weeded transfer face down (the carrier sheet side facing up), cover with parchment or a cover sheet and press for 10-15 seconds.
Let the blanket and transfer cool before you remove the carrier sheet. This is different than regular HTV which you may be used to peeling immediately after pressing. Instead, with flocked HTV let the design cool completely.
Once cool, peel off the carrier sheet...
... and snuggle up with your new blanket!
Grab the design used in this project from the Winter SVG Design Bundle over at So Fontsy.
Get Silhouette School lessons delivered to your email inbox! Select Once Daily or Weekly.


.png)


what would be different if i used my cameo 3?
ReplyDeleteIt would be the same!
DeleteWhat is your opinion on using several different colors of flocked HTV to create a design. Not layering on top of each color, but side by side. Should it be pieced together and pressed all at once, or each color pressed alone. Wondering also if it shrinks as it heats up under the press. Thank you for your opinion
ReplyDelete