Did you know you can get a deep engraving with your Silhouette CAMEO 4 - even on metal?
 |
| This is a sponsored blog post but all opinions are my own |
The trick is all in the engraving tool, the metal sheets, the cutting mat and of course the settings. Lucky for you I have found the perfect combination of all four to get the best engraving with CAMEO 4.
I introduced you to the Zoom Precision engraving tool awhile back when we were engraving small silver charms, dog tags, and ornaments.
Now I'm back to show you how awesome the Zoom engraving tool works on colored metal sheets.
I tried a bunch of different combinations of settings and cut settings until I found the perfect combo. Why do I do this? So you don't have to waste your time or materials testing.
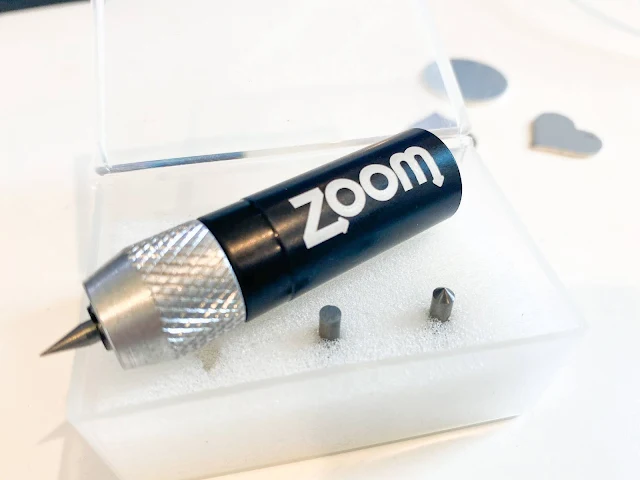
The Zoom Engraving Tool comes with the tool base that fits perfectly into the Silhouette CAMEO 4's left carriage (there's also a CAMEO 3 option) without any type of adapter.
It also includes three different tips: bold, standard, and fine.
How to Use the Zoom Engraving Tool in CAMEO 4 for Metal Sheets
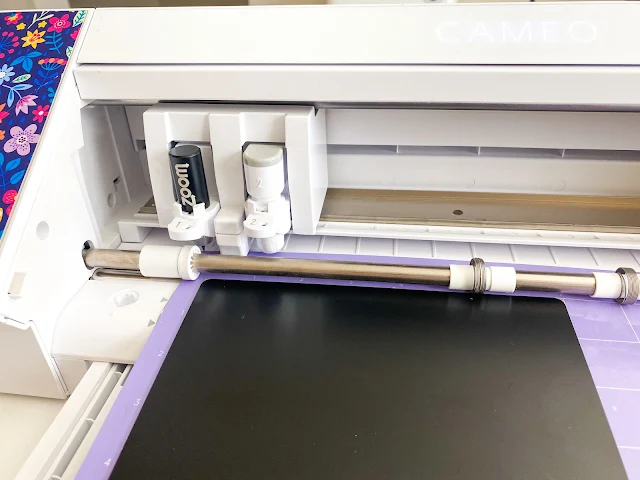
For engraving on these metal sheets, which are also from Zoom Precision, I would HIGHLY suggest you use the fine engraving tip. To swap out the tips, twist the top of the tool and slip the tip in, then tighten by twisting. Place it right into the CAMEO 4 tool 1 carriage.
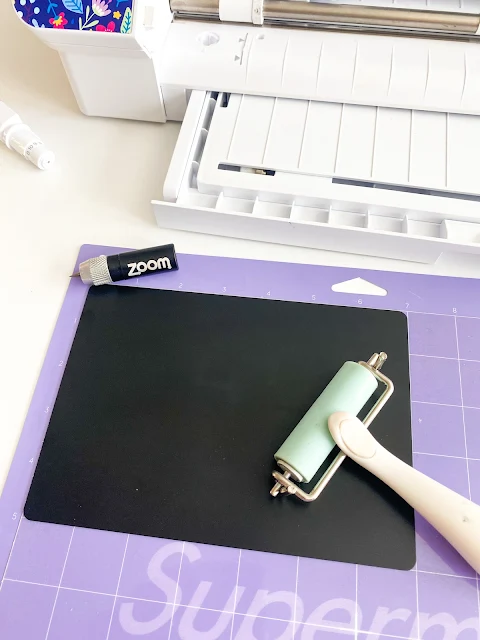
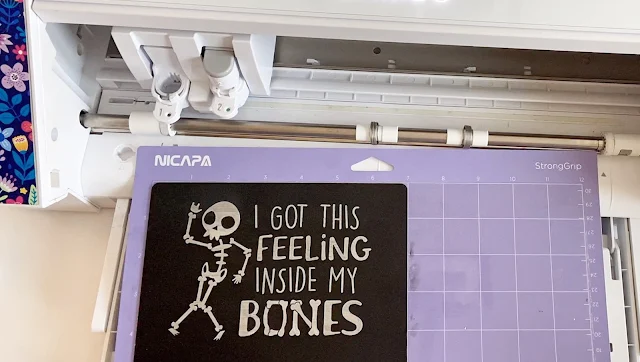
Take the metal sheet out of the protective sleeve and place it on an VERY sticky mat. These sheets come i two sizes - credit card size and 5x7. They are heavy and engraving requires a lot of movement of the mat, rollers, and tool so you want to make sure the metal sheet is extremely secure on the cutting mat.
I found the Nicapa SuperMats are perfect for holding the metal sheets securely in place.
Just to make sure it was fully stuck on, I rolled my brayer over top. You can't over-stick these - it's not like paper where there's a risk of damaging the material with the adhesive from the mat.
Pull the roll feeder out from the bottom of the CAMEO 4 to provide some extra support and keep your mat as straight as possible.
Go ahead and load the mat into the Silhouette CAMEO 4 while you prepare your design in Silhouette Studio.
How to Fill a Design in Silhouette Studio to Get a Solid Engraving
In the Silhouette Studio software, open the Page Setup panel and slide the Transparency bar over so you reveal the grid lines.
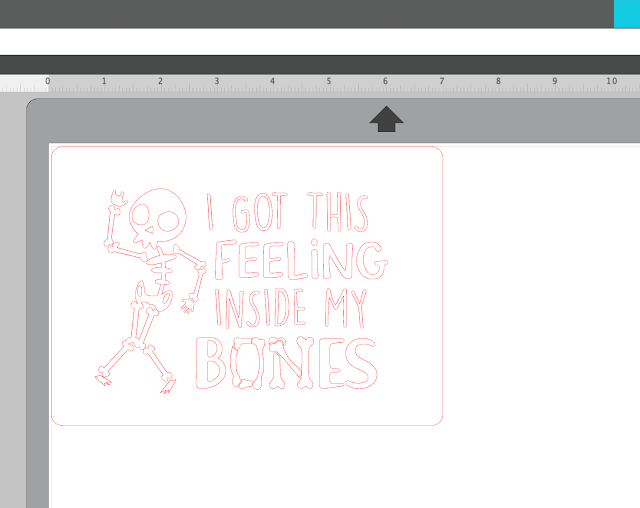
In the work area I would suggest you use the Draw a Rectangle tool to draw out a 5x7" rectangle to match the size and shape of the metal sheets.
Place it directly covering the same grid lines as where your actual metal sheet is on the cutting mat.
Now open the design you are going to engrave. I am using this Halloween design from So Fontsy's October SVG and Font Bundle.
Size and position the design within the rectangle you drew. If you engrave the design like this you will get nothing more than the outline - just as it would cut. We need to fill the design to get a solid engrave.
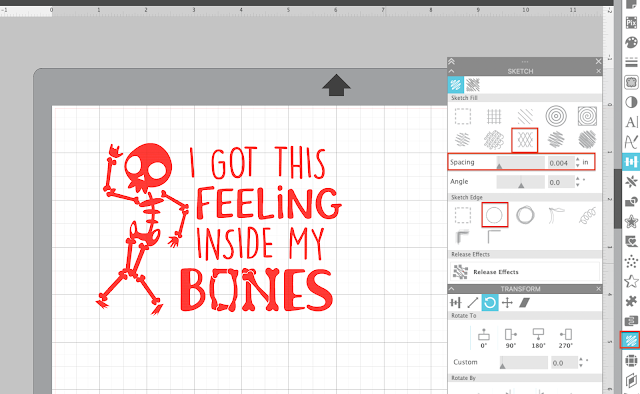
Open the Sketch Fill tool from the right sidebar.
Change the Sketch Edge to Line. Change the Sketch Fill to the hashed. Finally adjust the spacing to .004.
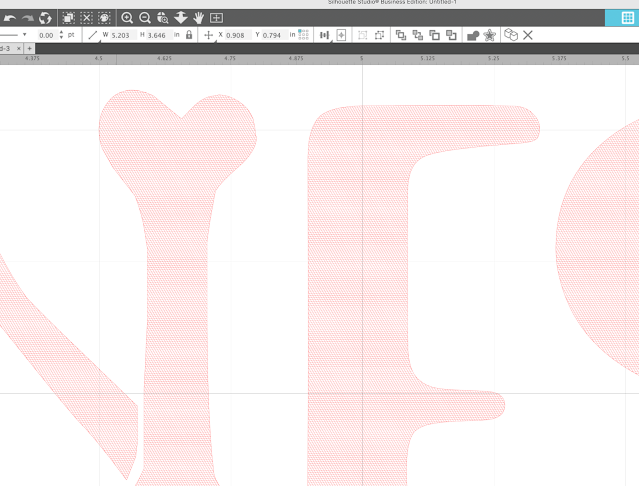
Your design should now appear solid red, but if you look really close you can see it's all a bunch of tightly spaced lines.
Best Silhouette Cut Settings for Engraving
Move to the Send panel in Silhouette Studio. We need to adjust several settings here.
- Change the Material to Heavy Cardstock
- Change the Tool to "Pen" which will automatically change the Action to "Sketch"
- Select the rectangle you drew and select "No Sketch"
- Select the design you want to engrave and select "Sketch"
Adjust the sketch or engrave settings to: Force 25, Speed 4, 2 Passes
When you're ready you can send the design to begin engraving, keeping in mind that this is going to take awhile.
The machine is not only at a low speed it also has thousands of sketch lines to engrave since the "fill" is made of lines that are super close together.
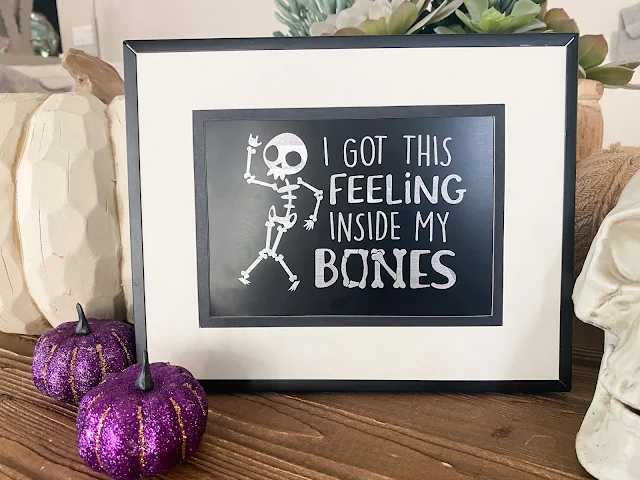
Here's a closer look so you can see just how well the Zoom Precision tool engraves on the metal sheets!
Isn't this awesome?
I also engraved a few of the smaller size metal sheets with the Zoom engraving tool.
They come out really cute as well and you could use them for gift tags, wine bottle tags, or ornaments! There are lots of possibilities to engrave with Silhouette CAMEO 4 and the Zoom precision tool and metal sheets!
Get Silhouette School lessons delivered to your email inbox! Select Once Daily or Weekly.










.png)


This is a really cool Tutorial for the Cameo. I love it and i have to try these
ReplyDeleteThis is so awesome! Thank you for sharing!
ReplyDeleteThank you for sharing this!
ReplyDeleteCan the Zoom Engraving Tool work with the Cameo 3 too?
The Zoom tool keeps popping out of the cartridge holder when cuttting- any way to stop that from happening?
ReplyDeleteHi there! Two things, you'll want to make sure that you bought the correct zoom tool for your machine and that your tool holder is clicked in all the way. If you keep having trouble, please drop us an email!
DeleteHi, thanks for this tutorial. I just tried to do it with the same material and my cameo 4 but it didn't work. I use the same settings that you have on your tutorial but I can barely see the image. What can I do differently?? Thank you
ReplyDelete