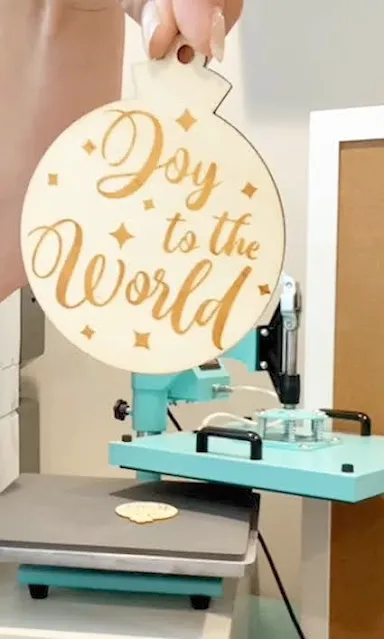
A few weeks ago I shared how to use torch paste gel with wood burning stencils using either a heat gun or heat press.
Wow...I didn't realize this was such a mind blowing statement because it literally says on the wood burning gel (albeit in size 5 font) you can use 400 degree heat press. Anyway...I figured it was time to show you how to use a heat press with torch paste gel for your wood burning signs.
The beauty of using the heat press is literally in the amount of time you can save. You can press multiple items at one time and it should only take you about a minute with the heat press as opposed to up to 5 or 10 for each individual item (longer if you have a big item) with a heat gun.
I've done some trial and error to figure out how to get the best, most even wood burn with a heat press.
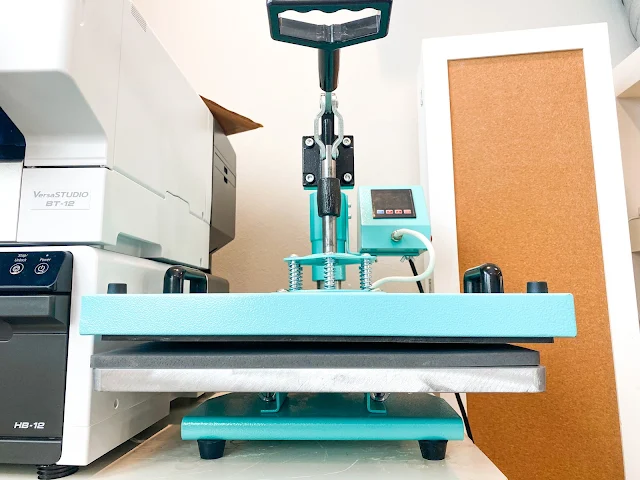
A swing away heat press is ideal for this, but if you have a thin enough piece of wood a clamshell should also work.
Heat up your heat heat press to 400 degrees and set the timer for 15 seconds.
While you're waiting, prepare the wood by applying the torch paste over a stencil.
Since I have an entire tutorial on how to use torch paste with stencils I am going to assume you know the basics:
- Create your stencil using the Ikonart Stencil Kit or vinyl
- Apply to the piece of wood
- Scrape a thin layer of torch paste gel over the stencil
- Let the stencil and wood burning paste sit for at least 2 minutes
- Peel off the stencil
If you need a full step by step refresher on how to use torch paste gel with stencils, check out this tutorial.
After you've peeled up the stencil you should be able to see the light orange torch paste on your piece of wood.
It's going to still be wet so don't touch it.
Place the piece of wood in your heat press.
Lower the top platen down so it hover over the wood but don't fully close the press. Set the time for 15 seconds. This is not going to activate the torch paste, it's just going to dry it slightly.
After the 15 seconds open the heat press and cover the wood piece(s) with a sheet of butcher paper (shiny side down toward the wood.
This time close the heat press completely and let it sit on the wood for 15 seconds.
Open the press and check the wood burn. It probably needs a little more time.
Rotate the item 180 degrees and re-cover with the butcher paper, but in a different (clean) area of the paper.
Again close the heat press. This final press should be for 10-15 seconds. Repeat one more time if you want a darker burn.
Open the heat press and remove the wood items from the bottom platen.
Check the butcher paper. It probably has some residual torch paste on it so just make sure not to use that same area of the sheet again for another press or they will transfer to your wood.
Note: This post may contain affiliate links. By clicking on them and purchasing products through my links, I receive a small commission. That's what helps fund Silhouette School so I can keep buying new Silhouette-related products to show you how to get the most out of your machine!
Get Silhouette School lessons delivered to your email inbox! Select Once Daily or Weekly.


.png)


Can you paint or stain over a design after you use the torch paste and heat press? Thank you.
ReplyDeleteCan you paint or stain over a design after you use the torch paste and heat press? Or can you do it before?
ReplyDeleteThank you.
Stain or paint after the heat. Fumes from stain could be toxic and paint might bubble up. Hope this helps.
ReplyDelete
ReplyDeleteHas anyone tried this with the Cricut Easy Press?
Yes. Works great.
DeleteYes and I prefer it much better than my heat gun. So much faster and much more even. Look up how to on YouTube! It's a life changer!
Delete