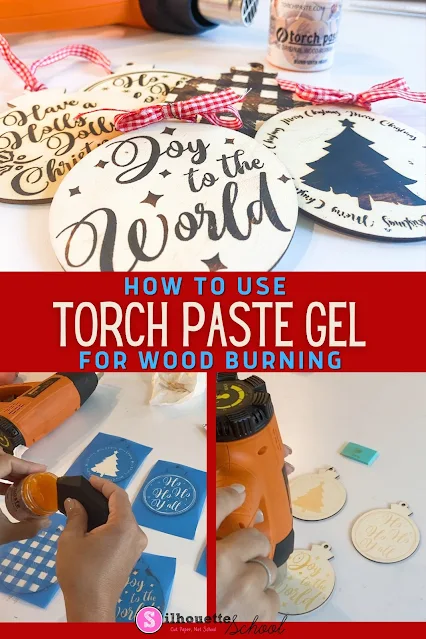
If you've never used torch paste gel to wood burn stencil designs you're about to have your mind blown!
I've done several wood burning with singe pen and Silhouette CAMEO tutorials in the past, but woodburning paste takes it another step further by allowing you to wood burn items that won't fit in the Silhouette CAMEO like wood canvas, frames or wood blocks. Read on for how to use torch paste gel to wood burn with stencils!
Wood Burning with Stencils Supply List:
Here's a list of what you'll need!
- Torch Paste Gel for Wood Burning
- Ikonart Stencil Making Kit* (to make reusable mesh stencils)
- SVG Designs (I'm using a Christmas SVG set found in the September SVG and Font Bundle
- Wood Craft Blanks such as these 4" unfinished ornaments
- Heat Gun (or Heat Press)
*use code SILSCHOOL to get an extra 15% Off
It all starts with creating or cutting a stencil with Silhouette CAMEO. You can use vinyl or stencil material to cut out a stencil design or you can use the Ikonart stencil making kit - which would allow you to make a reusable stencil for wood signs that you can use over and over again.
For this project I'm going to make a set of wood ornaments. The unfinished wood blanks come in a pack of 50 from Amazon.
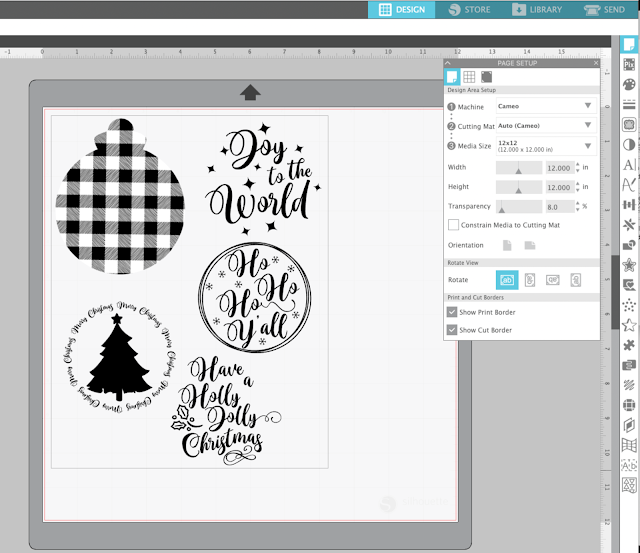
Last year I created a template so I could apply printable heat transfer to these wood blanks, and now I am going to use that same template to size my designs.
The designs I'm using are part of a wood round Christmas set from the September SVG and Font Bundle on So Fontsy!
If you're not familiar yet with how to make a reusable stencil with the Ikonart Stencil Kit, here's a beginner tutorial on the steps including how to print from Silhouette Studio onto the Ikonart inkjet printer sheets.
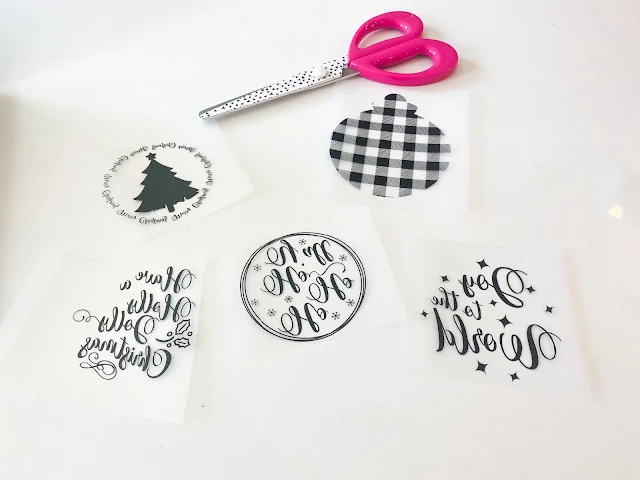
Since I am making a set of wood ornaments, I cut the printed sheet apart after printing.
Expose and then wash out the stencil. If you need a refresher for how to make a silk screen stencil with Ikonart this beginner tutorial should help.
If you are making a vinyl stencil go ahead and cut your stencils and weed.
How to Use Torch Paste Gel for Wood Burning with Stencils
Now you want place your stencil directly on the piece of wood. Make sure to press it down well so there are not areas where the torch paste could seep through and bleed.
Use a small silicone scraper and scrape a layer of torch paste across the entire stencil. Wipe off any excess and turn to the container. A little of this stuff goes a long way.
I like the torch paste gel because it goes on orange so you can see it, unlike the single pens which are "invisible" so you're kind of left wondering...did this work?
Leave the stencil on the piece of wood for about 2 minutes to let the torch paste gel set slightly.
Carefully remove the stencil.
If you are using a custom reusable stencil like I am, you can wash it off and let it dry to use it again later.
The final step is to use a heat gun to activate the torch paste gel to get the wood burning effect. The key here is to keep the heat gun moving so you get an even wood burn and don't scorch the unfinished wood.
If you don't have a heat gun, you can actually use a heat press at 400 degrees to activate the torch paste...I would suggest pressing in about 10 second clips.
Personally I prefer the heat gun because, while I takes a little longer and you can only do one at a time, you have more control.
And that's it..that's all there is to using torch paste gel with wood burning stencils! Let your creativity run wild!
Get Silhouette School lessons delivered to your email inbox! Select Once Daily or Weekly.


.png)


Love the torch paste!-I just received mine and it is so easy to use.
ReplyDeleteIt would be cool to do a torch psste background with paint or vinyl over it for layered interest.
ReplyDeleteDoes the stencil film have a sticky back?
ReplyDeleteCan you use this over stained wood?
ReplyDeleteI would stain after, not before!
DeleteSo, no need to completely wipe off the torch paste before using the heat gun?
ReplyDelete