You can make DIY cake toppers with Silhouette CAMEO pretty easily if you know a few tricks.
You'll need the right font and the right material to ensure your custom cake toppers are a success! Read on for my tips on how to design cupcake toppers in Silhouette Studio and then cut on CAMEO 4 in this start to finish cake topper tutorial.
You can find lots of pre designed cupcake and cake topper SVGs but if you want to customize them with a number, date, or name - you'll need to know how to design them yourself!
Cake toppers need to be a single cut file in order for everything to be held together and stable even while standing on a small support like a toothpick or skewer.
It all starts in Silhouette Studio with the right font. Look for a font that's got some weight to it. You want something that's pretty big and bold. This helps with not only the design part of the process but also with the stability of the design once it's cut.
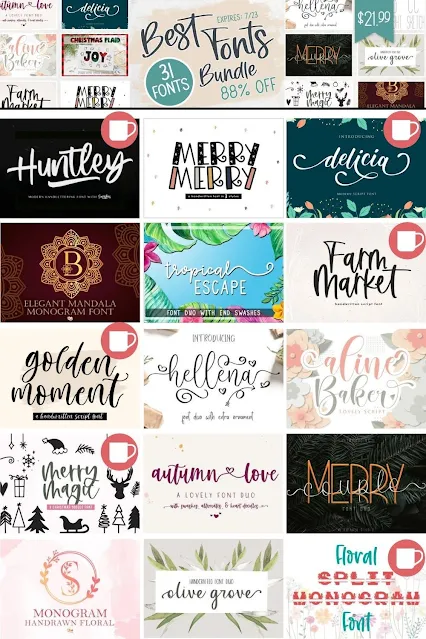
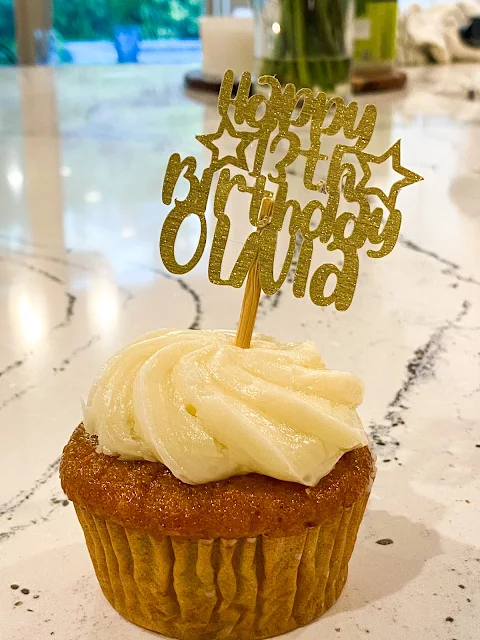
I used the font My Sweet Farmhouse from So Fontsy's Best Fonts Bundle to create a set of Birthday Cupcake toppers for my daughter's 13th birthday.
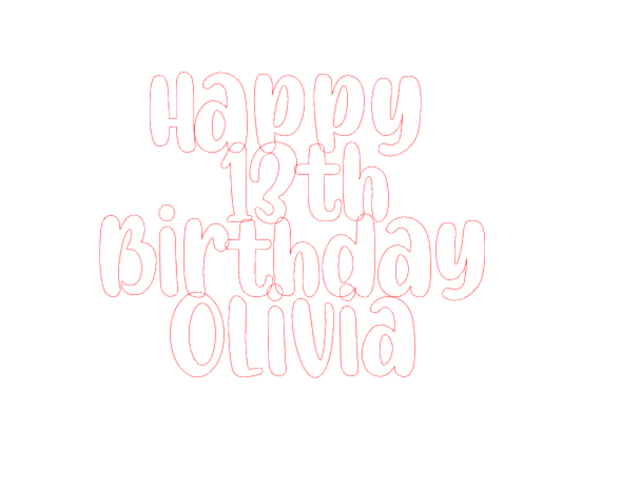
Once the font was downloaded and installed on my computer, I started in Silhouette Studio by typing each line of text in it's own text box. This gives you the most freedom for positioning and layout.
I then started to arrange each line of text so it would overlap with text either below or above it. Bonus points if there was overlapping in both directions. This is important because remember the entire design needs to eventually be welded together.
For any letters that did not overlap with another letter and were still "floating" I either used the Character Spacing tool to bring the characters closer together or I ungrouped that single line of text and manually adjusted the positioning of the letters.
You can see, for example, I tilted the "i" in the bottom line so it would overlap with the letters next to it.
Once you have designed in a way that avoids any "floating" letters, it's a good idea to add some shapes to help with added support or to connect any letters that can't otherwise be connected.
I used the Flexishapes tool to add two stars - one on each side. I scaled and rotated them in a way that their points would connect as many characters and rows as possible.
The final step is to select the entire design > right click > Weld. Once you've welded your design try to move it around the work area. If any characters don't move with the entire design, they aren't welded to the design. Fix those areas so they cut with the rest of the design.
Now you're ready to cut the cake topper with your Silhouette CAMEO.
Smaller designs, like this one for cupcakes, are usually more stable and can stand upright with just a sturdy piece of glitter or textured cardstock.
Larger cake toppers will most likely need to be stabilized so they stand up straight. You can do that by either cutting multiple copies of the shape so they can be layered for added stability or by creating a larger offset base shape around the entire designing and then layering them together.
Use a Xyron machine to put adhesive on the back of the top layers to apply them to the other layers.
Get Silhouette School lessons delivered to your email inbox! Select Once Daily or Weekly.


.png)


No comments
Thanks for leaving a comment! We get several hundred comments a day. While we appreciate every single one of them it's nearly impossible to respond back to all of them, all the time. So... if you could help me by treating these comments like a forum where readers help readers.
In addition, don't forget to look for specific answers by using the Search Box on the blog. If you're still not having any luck, feel free to email me with your question.