If you haven't asked "What's the Best Silhouette Cut Setting for ____FILL_IN_THE_BLANK___?" are you even really a Silhouette crafter?
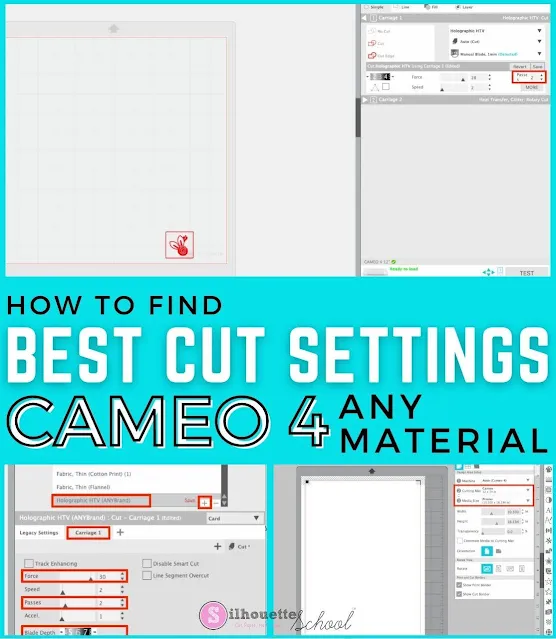
While Silhouette Studio offers 100+ recommended cut settings for various materials they are a starting point. They don't take into account the exact material you are using, the condition of your blade, and sometimes (like in the case of permanent vinyl and smooth HTV) they're just wrong. For this reason it's important to know how to find the best Silhouette CAMEO 4 cut settings so you don't waste an entire sheet of material.
Why It's Best Not to Cut And Hope...
The process to find the best cut settings for whatever material you are cutting takes a few extra minutes the first time you cut that specific material. You should consider it an investment because determining the best Silhouette CAMEO 4 cut settings will save you time and material later.
The steps to find the best cut setting are the same no matter what material you are cutting whether it's holographic heat transfer vinyl, a third party brand of adhesive vinyl, felt, or something else. You should start in Silhouette Studio.
Below I have listed the full step by step process. I am also including a video on this process so you can see as I worked to find the best Silhouette CAMEO 4 cut settings for holographic vinyl which can be challenging to cut due to the added holographic layer.
How to Find Best Silhouette CAMEO 4 Cut Settings
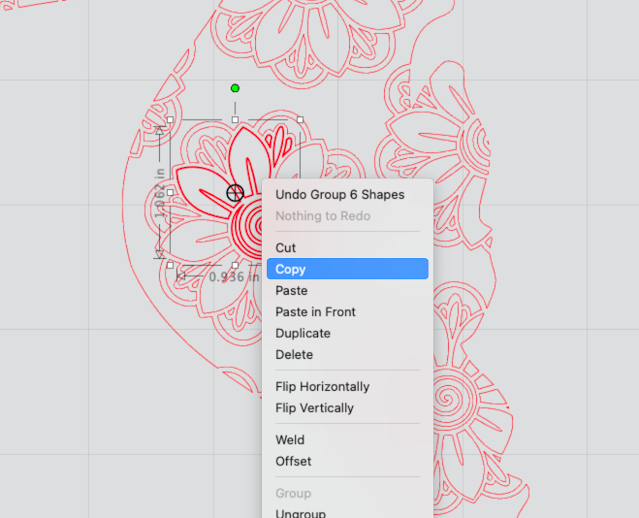
Open your design in Silhouette Studio. Ungroup and/or Release the Compound Path to access a SMALL portion of your design.
Copy/Paste that part of the design into another Design Area, placing the design at the bottom of the work area.
Open the Silhouette Studio Send Panel. Select a Material from the list that's MOST like the material you are trying to cut in thickness, rigidity, and density.
Now on your Silhouette CAMEO 4, load the material and from the software, click "Send" to send to cut.
Testing Silhouette CAMEO Cut Settings with Test Weed
When the cutting is done DO NOT REMOVE the material or mat (if you used one) from the cutting machine. The reason you put the design at the bottom of the work areas is so it would cut at the bottom of your sheet of vinyl and you could easily access it to weed out the weeding box around the design.
Fine Tuning Silhouette CAMEO Cut Settings
If the design didn't cut well...return to the software. In the Design area, duplicate the design you just cut and place it right next to the first test cut.
Delete the original.
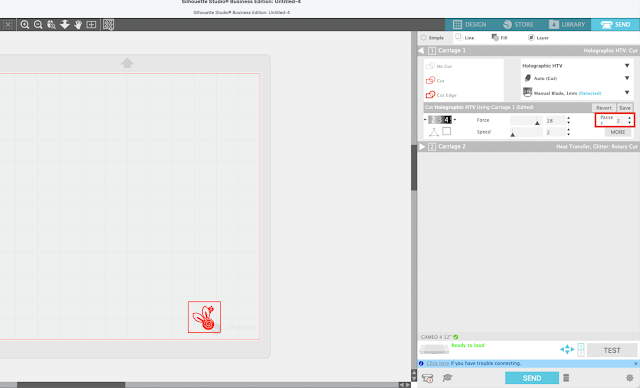
In the Send panel you'll want to make a single adjustments to your cut settings. Your first adjustment should be to increase the number of passes. In this example I increased the passes from 1 to 2.
Send the design to cut again.
If you find these cut settings still did not work well for your material you can repeat this process this time increasing the blade depth or the force. There is no hard and fast rules just keep in mind increase the blade depth exposes more of the blade allowing it to cut deeper and force is the amount of downward pressure on the blade.
How to Save Cut Silhouette Cut Settings
Keep making one change at a time until you find the best cut settings. When you finally do, you want to save those cut settings for that material as a custom cut setting so you don't have to repeat this process again the next time you go to cut this material. Jot down the settings that you found that worked.
Click "More" which will open the Advanced Cut Settings.
Click the + at the bottom of the material list to add a new material setting. Name the material. I usually name the product and add the specific brand.
Make sure you are on "Carriage 1" (Add it if you don't have that tab) then adjust the settings to what you found worked and click "Save."
Finally return to the work area with the full design. When you go to the Send panel select your custom cut setting which can be found using a search or towards the bottom of the list under the User Defined area.
Cut confidently knowing you have found the best Silhouette CAMEO 4 cut settings that work for whatever material you are using!
Get Silhouette School lessons delivered to your email inbox! Select Once Daily or Weekly.


.png)


Ive just come back to crafting after been away a while and oh my goodness how the software has advanced...I luv your video and also your tips and tricks and think your a fabulous teacher as I've learnt so much just by watching and reading...keep up the good work
ReplyDelete