If you're about to tackle your first vinyl cut with Silhouette CAMEO 4 - I have 10 beginner tips to help make it a success!
From picking a beginner-friendy design to knowing the best techniques for applying vinyl straight and centered, these 10 tips will help make your first Silhouette vinyl project a win!
1. Use a Large, Not Too Complicated Design
Success with your first vinyl project starts with the design itself. Your best bet is a large, relatively simple design - nothing too intricate or complex. Also, shy away from making your design really small (at least for your first project). Larger designs are typically easier for your machine to cut out and, easier for you to weed.
This text design is the perfect example. The words have clean, smooth lines, and it was cut at 7 inches across.
To make this sign for yourself, find the SVG at So Fontsy as part of the Modern Farmhouse SVG Design Bundle. If you like the modern farmhouse home decor style, you're gonna love this bundle! It has 29 SVGs at 89% off. What's not to love?
2. Use a New(ish) Blade and Cutting Mat
The blade you use doesn't need to be straight out of the box, but a new, sharp blade is always going to give you better results than one that's dull. Paper will dull your blade much faster than vinyl, so consider dedicating a blade to vinyl and another to paper. Write on them with a Sharpie to tell them apart.
If you need some troubleshooting help with the Cameo 4 Autoblade, find the help you are looking for in this post to help correct cutting issues with the Autoblade.
3. Use a Sticky Cutting Mat
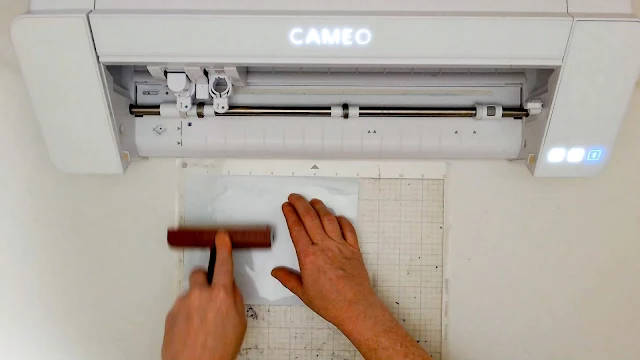
Make sure the vinyl won't move from the mat while cutting. If your mat is brand new, it's going to be really, really sticky so you won't need to apply much pressure to the vinyl to get it to stick. For a slightly used mat, run a brayer across the vinyl to lay it down smoothly and firmly to the mat.
Also, cutting with a mat might be easier for your first vinyl project, so consider using a mat before you try cutting vinyl without one. Once you're ready to tackle cutting vinyl without a mat, check out this blog post that walks you through it.
4. Do a Test Cut with Silhouette CAMEO
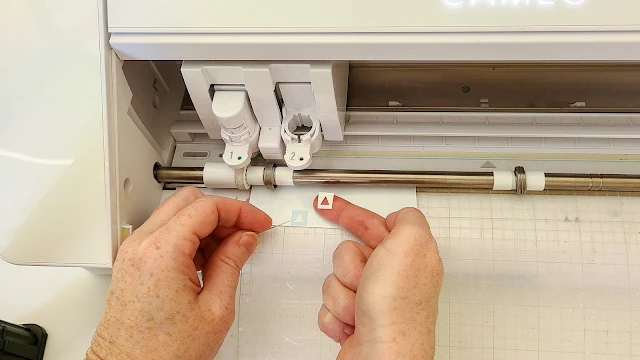
Avoid the frustration and waste from a badly cut vinyl project by taking the time to do a test cut! Before starting, cut off a small piece of the vinyl you are going to use for your project to use for your test cut. Then, read more about how to perform a test cut in this blog post. You'll be glad you did!
5. Test Weed Vinyl
After cutting out the project, don't unload the mat just yet. Instead, grab a weeding tool and weed out a small area of the design. What you are checking to see is if the excess vinyl releases smoothly from the design. It should (because you found the perfect cut settings in your test cut!), but if for some reason the weeding is difficult, now is your chance to adjust the cut settings and send the design to cut again. As long as you haven't unloaded the mat or material from the CAMEO, the second cut will be in the exact same place as the first.
6. Keep the Vinyl on the Mat to Weed
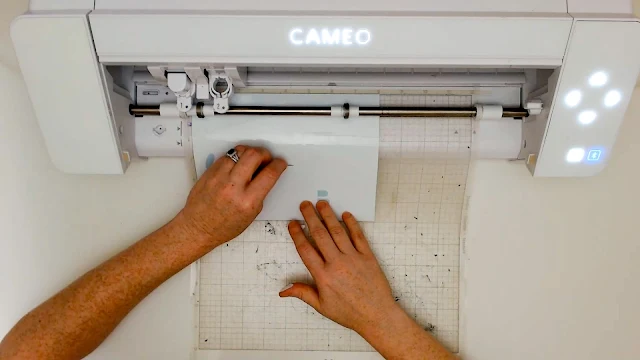
Weed out the excess vinyl from the design with it still attached to your cutting mat. This helps tremendously for weeding because it keeps the vinyl down, providing light resistance as you lift up the excess vinyl.
In addition, try applying the transfer tape to the vinyl with it still on the mat as well. Vinyl can curl from being stored on a roll or can curl after being removed from the cutting mat, which makes applying transfer tape difficult. Avoid this, by applying the transfer tape to the weeded vinyl design with it still lying flat on the mat.
7. Apply Transfer Tape Smoothly
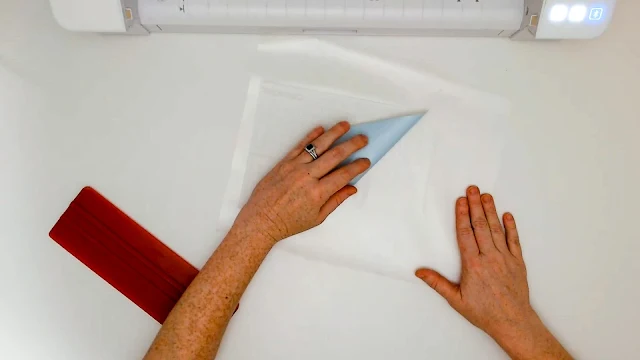
Cut a piece of transfer tape slightly larger than the finished decal. Stick the edge of the transfer tape at one edge of the weeded vinyl. Then, use a wide burnishing tool to push the transfer tape down and across the vinyl design while hold the other edge of the transfer tape taut.
8. Remove the Mat from the Vinyl...Not the Vinyl From the Mat
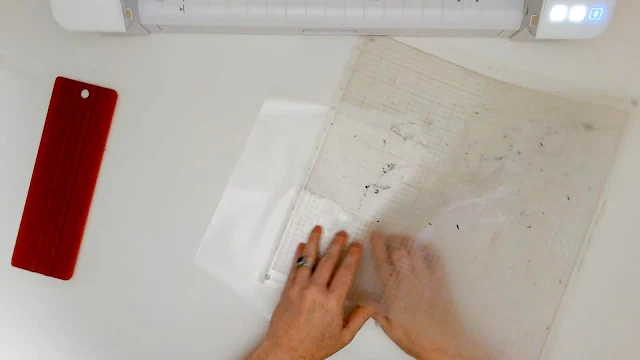
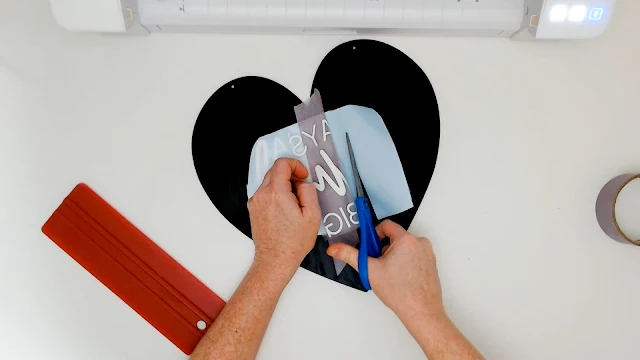
Avoid curling the vinyl when removing it from the cutting mat by flipping it over and rolling the cutting mat away from the vinyl. Hold the back of the vinyl down with your hand and use the other to roll the cutting mat away. The cutting mat is very flexible so you can practically roll it all the way back onto itself to release it from the vinyl.
Remove the vinyl's backing in the same way. Flip the vinyl over and roll the vinyl backing off the back of the vinyl.
9. Apply Vinyl to a Clean, Smooth, Flat surface
For success with your first vinyl project, consider avoiding vinyl application on curved surfaces, like round ornaments, or rough surfaces, like untreated wood. A clean, smooth, flat surface will be easiest to apply vinyl to.
For wood, sand it very well before painting, and then seal with a clear topcoat or protective finish. If you aren't painting the wood, at least sand and cover it with a clear coat or sealer, because the sealer is what will give the vinyl something to stick to.
For nonporous surfaces, like glass or tile, wipe it down with isopropyl alcohol and allow to dry. This removes oil, dirt, debris, etc. that might interfere with the vinyl's application to the surface.
10. Use the Hinge Method to Apply Vinyl
Apply the vinyl on straight and exactly where you want it (on the first try) by using the hinge method. This might just become your favorite way to apply vinyl!
Now, with your first vinyl project under your belt, you are well on your way to creating some amazing things with vinyl and your Silhouette Cameo 4! You can create the farmhouse sign in this post by grabbing the design in the Modern Farmhouse SVG Design Bundle at So Fontsy.
Note: This post may contain affiliate links. By clicking on them and purchasing products through my links, I receive a small commission. That's what helps fund Silhouette School so I can keep buying new Silhouette-related products to show you how to get the most out of your machine!
Get Silhouette School lessons delivered to your email inbox! Select Once Daily or Weekly.







.png)


No comments
Thanks for leaving a comment! We get several hundred comments a day. While we appreciate every single one of them it's nearly impossible to respond back to all of them, all the time. So... if you could help me by treating these comments like a forum where readers help readers.
In addition, don't forget to look for specific answers by using the Search Box on the blog. If you're still not having any luck, feel free to email me with your question.