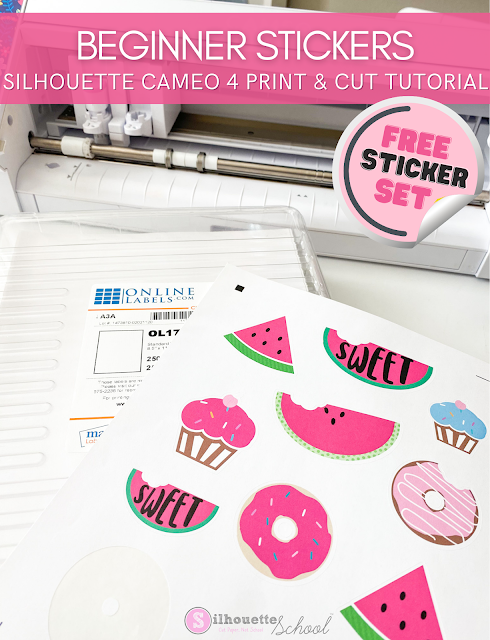
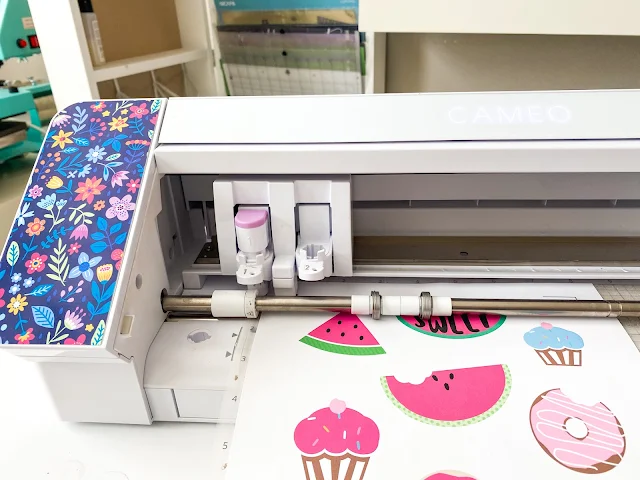
If you've never made print and cut stickers with your Silhouette CAMEO 4 this beginner tutorial will walk you through everything you need to know.
I'm also going to include the free sticker designs for download so you can focus on the process of printing and cutting.
First thing you'll want to do is grab the free sticker download from our sister site So Fontsy. A .studio file is included and the stickers are sized and ready to print and cut. Unzip the file and open the folder.
Power on your Silhouette CAMEO 4 and make sure you have a Bluetooth connection or that the cutting machine is connected to your computer with the USB.
Launch Silhouette Studio and go to the Send panel. From the Machine List select the "Active" or "Ready" Silhouette CAMEO 4 machine. Doing this first before you go to the Design Area will have the software automatically make some selections for you based on the machine you are using to cut.
Move to the Design Area and open the Page Setup panel from the top of the right sidebar. You'll notice CAMEO 4 (Auto) is selected along with the "Auto" cutting mat. The software is basing these selections off the machine you selected in the Send panel.
There are still several changes you need to make on this panel:
- Change the "Media Size" to "Letter"
- Ensure the Orientation is set to portrait
- Check the box to "Show Print Border"
Move to the third tab on the Page SetUp Panel. This is where you will turn on the Registration Marks which are needed to tell the machine where to cut around your printed images. Check "On" to turn on the registration marks.
Now you can add your design. Go to File > Merge and navigate to the .studio file of the free sample sticker sheet.
The sticker designs should open in the same work area where you've been working. They are already sized and grouped together for you.
Select the sticker set and move it so NO stickers designs are touching any of the hashed areas around the registration marks. All sticker designs should also be inside both the print border and the cut border.
This set is designs with a small offset around the stickers which will give them a small white border.
Move to the Send panel. With the entire set of stickers still selected click "Cut Edge". This will put a cut line around the very outer edge (the offset) of each of the stickers.
Best Sticker Paper for Silhouette CAMEO 4 Stickers
Now you are ready to print the stickers on your home inkjet (or laser) printer. I highly recommend using Online Labels Sticker paper. They're the best sticker sheets I've found and have been using them for years. There are lots of different sticker paper finishes but for beginners I would recommend the White Printable Matte Sticker Sheets.
I like the final look of glossy stickers better, but they are more challenging to get the machine to find the registration marks on which is why I am recommending matte sticker sheets for beginners.
Take everything out of your printer tray and load just one sheet of sticker paper.
From Silhouette Studio click the Printer icon along the top toolbar. You will get a print preview.
Click "print" and the print settings window will open. Yours will probably look slightly different than mine, but I would suggest you select the "Best" quality print and change the paper type to whatever option is closest to premium matte, matte photo, or matte brochure. This will give you the best quality, brightest, and most vibrant stickers.
When you're ready send the images to print. From this point forward DO NOT MOVE YOUR DESIGN IN SILHOUETTE STUDIO.
Along with the sticker designs the registration marks will print.
How to Cut Stickers with Silhouette CAMEO 4
Take the printed sticker sheet and place it on your Silhouette CAMEO 4 cutting mat positioning it so the top and left edge of the printed sticker sheet slightly cover the left and top grid line on the mat.
Make sure the sticker sheet is firmly stuck to the cutting mat.
Press the Load button on the CAMEO 4 and wait for it to blink. Then using two hands to hold the cutting mat on each side, place it so the left edge of the mat is aligned with the gray line on the CAMEO 4. The top edge of the mat should be gently resting near the rollers. In about 5 seconds the rollers will start feeding the mat in.
Make sure you have a blade loaded in the left carriage (Carriage 1) of the CAMEO 4. If you have a 1mm manual blade I would recommend that otherwise you can use the Autoblade. If you use the 1mm manual blade you will need to adjust it to a blade depth of 2.
Finally, make sure there's enough light in the room you're working in, but you also want to make sure there are no shadows in the area around that top left registration mark and tool carriage.
Cutting Stickers with Silhouette CAMEO 4
Return to Silhouette Studio's Send panel. The software should automatically detect the tool you have in the carriage thanks to the tool sensor on the back.
From the Material list select "Sticker Paper, White" to have the Silhouette Studio software select the default cut settings which work well for this Online Labels sticker paper. If you're used to the autoblade you likely don't pay much attention to the default cut settings, but if you're using the manual blade you'll find the recommend blade depth (2 in this case) here.
Click "Send" to begin the cutting process. The Silhouette CAMEO 4 will first start looking for the registration marks. Once it finds all three, it will then begin cutting stickers.
Before you unload the cutting mat, leave it loaded in the CAMEO 4 and gently try to lift one of the stickers to ensure a complete cut.
The Silhouette Studio default cut settings usually work really well for this Online Labels white matte sticker paper, but if you didn't get a clean cut and the sticker is difficult to lift, return to the Send panel and click Send to send the design to cut with an additional pass.
Get Silhouette School lessons delivered to your email inbox! Select Once Daily or Weekly.


.png)


Thank-you
ReplyDeleteGreat tutorial! What paper would you recommend to use when making stickers to put on the popular water bottles?
ReplyDeleteHow do you calibrate the cameo 4 pro
ReplyDeleteWhen I click the printer icon the preview is blank. How do I fix this?
ReplyDeleteHi there! You may need to add a line weight to your design before it will show up that it will print.
DeleteHi! Would appreciate you help! I am looking forward on buying a used Silhouette Cameo 3. Is it true that the previous user must deregister from it first or is there a proper way to set the Cameo 3 to be able to use it? Thanks a lot! I appreciate your help! ����
ReplyDeleteHi there! You can use machines on different computers with no issues. The registration process is more to get your software/design library set up which you can do without purchase of a machine.
ReplyDeleteHi i just want to ask how to i pull out the whole a4 sticker without getting it rolled?
ReplyDeleteHi there! I am not entirely sure I understand what you're meaning. If you're having rolling issues during cutting, I'd make sure to use the cutting mat and ensure it's evenly stuck by using a brayer. Check out tips for using a brayer here: https://www.silhouetteschoolblog.com/2019/12/why-and-when-to-use-brayer-silhouette.html
Delete