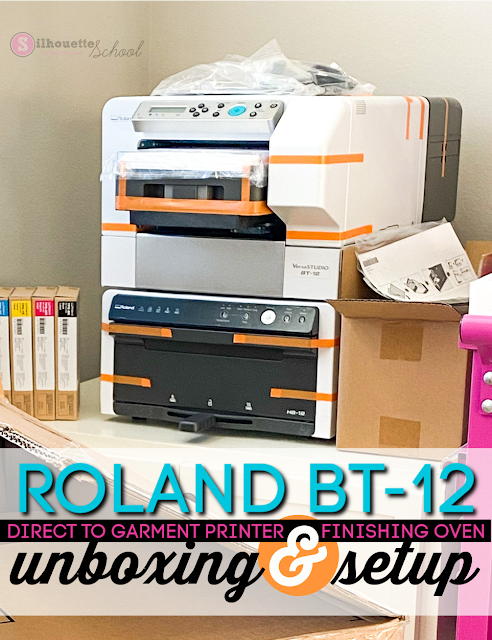
Setting up the Roland BN-12 Direct to Garment printer is a pretty quick and easy process..you can literally go from opening the box to completing your first print in less than an hour.
One of the great things about the Roland BN-12 DTG is just how beginner friendly it is even if you've never printed directly to garment before. This beginner Roland BN-12 unboxing and set up tutorial will take you through step by step.
If you're not even sure what Direct to Garment (DTG) is or how it's different than sublimation, you can check out this tutorial for an introduction to DTG.
The Roland BN-12 printer will arrive in three different boxes. One includes the printer itself, another the finishing oven, and a third smaller box.
Carefully unpack the boxes. You'll find the power cords and cleaning supplies along with a bunch of manuals, inks and then three main parts: the printer, the finishing oven, and the cassette tray.
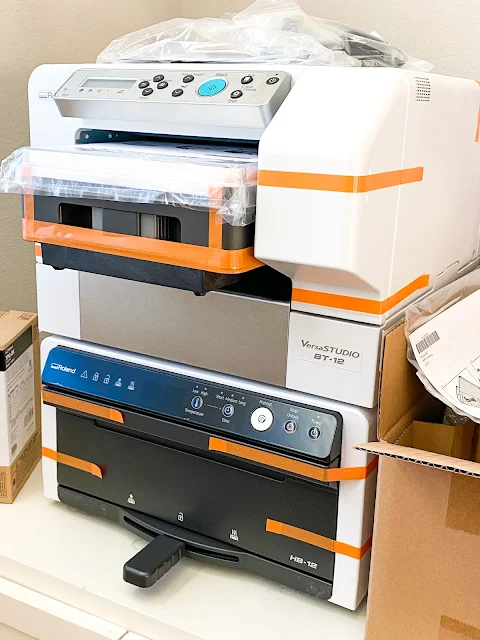
Remove all of the orange tape from the printer and finisher (Roland HB-12).
Open the door to the finishing oven and pull out the box that's hidden inside there. That's where the power cord to the oven is found. Connect the cord between a power source and the power connection on the back of the oven.
Carefully place the printer on top of the oven. There are little divots in the top of the oven where the printer's feet fit.
Connect the printer's power cord (found in the other pack of "stuff") between a power outlet and the side of the printer.
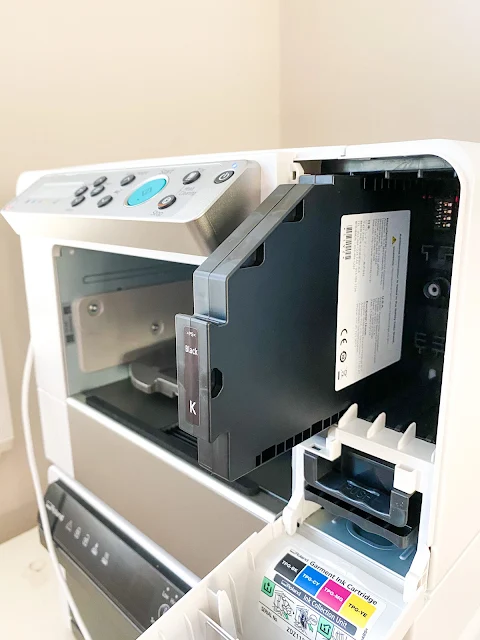
Unpack the inks and install them into the front of the printer. I had a helper with part - which was super easy.
You can slide the cassette tray into the printer up to the white line marked on the side of the tray to store it when not in use.
A USB cord to connect from the printer to your computer is not included, but any will work (I used the same one I use for my Silhouette machines.)
Downloading and Install the BT-12 Print Drivers
The Roland BT-12 Direct to Garment Printer and the Roland Design Software can both be installed on MAC or PC.
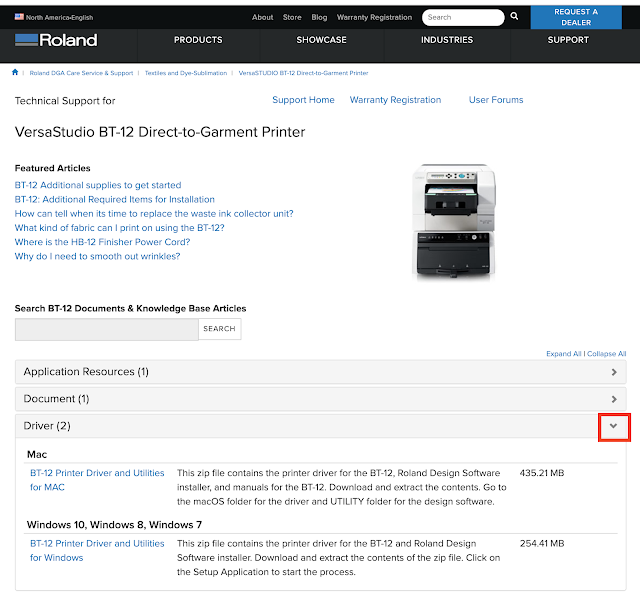
Go to the Roland website and expand the Driver section. Download the Software Setup Package zip file for your type of computer.
The downloaded zip file will contain both the print drivers and the software. Find the file in your downloads and unzip it.
Mac Users: Open the folder and go to the macOS folder expanding it until you get to the Driver. Double click to launch the driver installation
Windows Users: Click the Setup Application to start the installation process
Once the print driver is successfully installed go into your computer preferences > printers and make sure the Roland is set as the default printer by right clicking the printer and selecting as the default printer.
Installing the Roland Design Software
Now we're ready to install the Roland Design Software which can also be downloaded from the zip file you downloaded.
This is about the simplest and straight forward software I've ever used. There's almost no learning curve.
Mac users will want to return to the BT-12_SoftwarePackage_forMac and this time expand the Utility folder the click the Roland Design Software installation file.
PC users will find the software in the zip file downloaded as well. Clicking on the Setup Application will begin the installation.
Once the software is installed it's very simple to use.
How to Use the BN-12 Cassette Tray
The cassette tray is what will hold your garment...whether it's a shirt, tote bag, towel, wine bag or something else. If you want to maximize production, I would suggest getting a second tray or purchasing a BT-12 DTG printer bundle that includes an extra A4 tray. This way you can have a project printing and another in the oven at the same time.
Slide off the clear top cover. You can use this as a guide to help mark where your design should be positioned, but I found it easier not to use it.
On one end of the tray are two gray buttons that when squeezed will pop open the hinged top part of the tray.
The black tray is marked with two R's and a bunch of other marks. The top of your garment needs to be in the direction of one of those two R's.
In most cases if the design is larger or horizontal you will want the top of the garment to be on the R on the long side of the tray allowing the design to be printed up to 11" wide - such is the case with this tote bag.
The + marks on the black tray are all 2" apart....and they correlate to the same marks in the software. This is important because the software does not tell you the size or dimension of the image you import. You need to base the size solely off these marks.
Instead of using the clear cover to mark where my design should be, instead I prefer to fold my garment in half and line the center fold up with the center line on the tray (marking sure it's correctly oriented with the right "R") then unfold the item so it fully covers the tray.
The area of the textile that's on the tray is where the image will be printed. The rest of the garment needs to be tucked under the tray and the top smoothed out, before that top part of the tray is locked back down.
Setting Up Finishing Oven Time and and Temperature Settings
The last thing you'll want to do is set up the preferences for the HB-12 finishing oven. There are three modes: Standard, Professional, and Professional 2.
The oven is set to Standard mode by default, but for the best color and best lasting color I would recommend changing to the Professional 2 mode. To change modes on the Finishing Oven, press the Temperature and Time buttons at the same time for at least 2 seconds.
Professional 2 mode will give you the best lasting color, but it also requires the most time in the finisher and it's the only mode that requires regular maintenance due the press coming in direct contact with the printed fabric during the fixing process.
Of all the manuals and info that come with the Roland BT-12 printer and finisher, I found this pamphlet and specifically this chart to be the most helpful.
Now that you have your Roland BT-12 printer and HB-12 finisher set up you are ready for your first Direct to Garment project!
Note: This post may contain affiliate links. By clicking on them and purchasing products through my links, I receive a small commission. That's what helps fund Silhouette School so I can keep buying new Silhouette-related products to show you how to get the most out of your machine!
Get Silhouette School lessons delivered to your email inbox! Select Once Daily or Weekly.


.png)


No comments
Thanks for leaving a comment! We get several hundred comments a day. While we appreciate every single one of them it's nearly impossible to respond back to all of them, all the time. So... if you could help me by treating these comments like a forum where readers help readers.
In addition, don't forget to look for specific answers by using the Search Box on the blog. If you're still not having any luck, feel free to email me with your question.